Make Your Own No Bake Granola Bars in Just Minutes!
Welcome to Snack Nova, where we believe that making delicious food should be easy and fun! Today, we’re diving into the world of homemade no bake granola bars. These tasty little treats are perfect for breakfast, snacks, or whenever you need a little energy boost. With just a handful of ingredients, you can whip up a batch of these delightful granola bars that are not only customizable but also healthy. So, let’s get started on this delicious journey!
Why You’ll Love This Recipe
Homemade no bake granola bars are not just a treat; they come packed with benefits that make them a fantastic addition to your kitchen repertoire. Here are some reasons why you’ll fall in love with this recipe:
- Quick and Easy: With minimal prep time, you can have these bars ready to chill in just 15 minutes!
- Customizable: Tailor the ingredients to suit your taste or dietary needs. Want more chocolate? Go for it!
- Nutritious: Packed with oats, nuts, and seeds, they offer a great source of energy and fiber.
- Cost-effective: Save money by making your own bars instead of buying expensive store-bought options.
- Perfect for On-the-Go: These bars are easy to take with you for a healthy snack anytime, anywhere.
Essential Ingredients for Your No Bake Granola Bars
Let’s break down the ingredients you’ll need for this recipe. Each one plays a vital role in creating the perfect granola bar.
- Oats: 2 cups of old-fashioned rolled oats form the base of your bars. They provide fiber and help keep you full.
- Nut Butter: 1/2 cup of your favorite nut butter (think peanut, almond, or cashew) adds creaminess and healthy fats.
- Sweetener: 1/3 cup of honey, maple syrup, or agave syrup will sweeten your bars naturally.
- Mix-ins: 1/2 cup of chocolate chips, dried fruit, seeds, or nuts for added flavor and texture.
- Vanilla Extract: A teaspoon of vanilla enhances the taste, making each bite even more delightful.
- Salt: A pinch of salt balances the sweetness and brings out the flavors.
Step-by-Step Instructions to Make Granola Bars
Ready to make your yummy no bake granola bars? Follow these simple steps:
- Prepare Your Pan: Line an 8×8-inch baking dish with parchment paper, leaving some overhang for easy removal later.
- Mix Dry Ingredients: In a large bowl, combine the oats and your chosen mix-ins like chocolate chips or nuts.
- Heat Wet Ingredients: In a small saucepan over low heat, melt the nut butter and honey together, stirring until smooth. Add the vanilla extract and salt.
- Combine Wet and Dry Ingredients: Pour the melted mixture over the oat mixture and stir until everything is well coated.
- Press into the Pan: Transfer the mixture to your prepared baking dish and press it down firmly for an even texture.
- Chill: Place the pan in the fridge for at least 2 hours until the bars are firm.
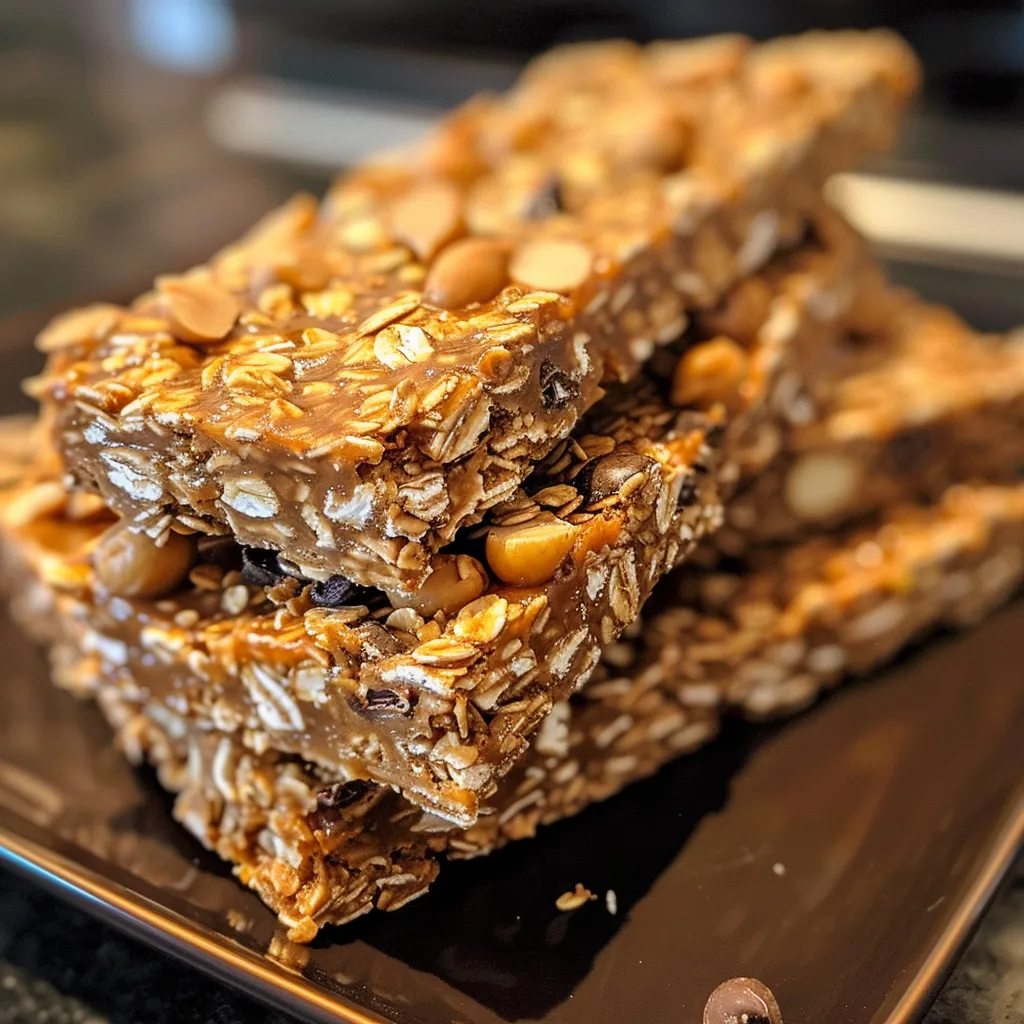
- Slice and Serve: Once set, lift the bars out using the parchment paper and cut them into 10-12 bars. Enjoy immediately or store for later!
Pro Tips for Perfect Granola Bars
Here are some expert tips to ensure your granola bars turn out perfectly every time:
- Choose Your Nut Butter Wisely: Creamy nut butter works best for binding the mixture together. Natural nut butters with no added sugar are ideal.
- Don’t Skip the Chilling Step: This allows the bars to firm up, making them easier to cut and eat.
- Be Creative with Mix-ins: Think beyond chocolate chips—try dried cranberries, coconut flakes, or pumpkin seeds!
- Adjust Sweetness: If you prefer less sweetness, reduce the amount of honey or maple syrup.
- Use a Sharp Knife: A sharp knife makes cutting the bars much easier and neater.
- Store Properly: Keep your bars in an airtight container in the fridge for up to a week, or freeze for longer storage.
- Experiment with Flavors: Add spices like cinnamon or nutmeg for a flavor twist!
- Press Firmly: Make sure to press the mixture firmly into the pan to keep the bars from crumbling.
Common Mistakes to Avoid
Even the most seasoned cooks can make mistakes. Here are a few common pitfalls to avoid:
- Not Measuring Ingredients: Accurate measurements ensure the right texture and flavor.
- Skipping the Salt: A pinch of salt enhances the overall taste, so don’t forget it!
- Using Old Oats: Fresh oats provide better flavor and texture, so use the freshest you can find.
- Not Allowing Enough Chill Time: If you cut the bars too soon, they may fall apart.
Variations to Try
Once you’ve mastered the basic recipe, try these fun variations:
- Chocolate Peanut Butter: Use chocolate chips and peanut butter for a decadent twist.
- Fruit and Nut: Add a mix of dried fruits like apricots and figs along with your favorite nuts.
- Chocolate Coconut: Mix in unsweetened coconut flakes and dark chocolate chips for a tropical flavor.
- Protein-Packed: Add protein powder to the mix for an extra energy boost!
Storing and Make-Ahead Instructions
Want to make these bars ahead of time? Here’s how:
- Refrigerate: Store your bars in an airtight container in the fridge for up to one week.
- Freeze: For longer storage, wrap individual bars in plastic wrap and place them in a freezer-safe bag for up to three months.
- Defrosting: Let frozen bars sit at room temperature for about 30 minutes before enjoying.
FAQs About No Bake Granola Bars
Here are some frequently asked questions to help you get the most out of your no bake granola bars:
- Can I use quick oats? Yes, but rolled oats give a better texture.
- What if my bars are too crumbly? Ensure you used enough nut butter and honey and press the mixture firmly in the pan.
- Are these bars suitable for kids? Absolutely! They make a great healthy snack for kids.
- Can I add protein powder? Yes, just be mindful of the moisture level; add a little extra nut butter if needed.
- What’s the best way to cut the bars? Use a sharp knife and cut them while they are still chilled for cleaner edges.
- Can I use agave syrup instead of honey? Yes, agave is a great alternative for a vegan option.
- How can I make these bars gluten-free? Use certified gluten-free oats and ensure your mix-ins are gluten-free.
- Do I need to bake these bars? Nope! That’s the beauty of no bake granola bars—they’re quick and easy!
Nutrition Tips and Dietary Adaptations
Want to make your granola bars even healthier? Consider these tips:
- Use Whole Ingredients: Opt for whole nuts and seeds for better nutrition.
- Limit Sweeteners: Reduce the amount of sweetener or use natural alternatives like mashed bananas.
- Incorporate Superfoods: Add chia seeds or hemp seeds for an extra nutrient boost.
Equipment Recommendations
Here’s what you’ll need for this recipe:
- Baking Dish: An 8×8-inch glass or metal dish works best.
- Parchment Paper: Essential for easy removal of the bars.
- Mixing Bowls: Use a large bowl for dry ingredients and a small saucepan for wet ingredients.
- Spatula: Great for pressing the mixture into the baking dish evenly.
Serving Suggestions
These bars are versatile and can be enjoyed in various ways:
- On Their Own: Perfect as a quick snack any time of day.
- With Fruit: Serve alongside yogurt and fresh fruit for a hearty breakfast.
- As a Dessert: Drizzle with chocolate or serve with a scoop of ice cream for a fun treat.
In conclusion, making homemade no bake granola bars is a fun and satisfying experience. With just a few simple ingredients, you can create a delicious, nutritious snack that suits your taste perfectly. So go ahead, gather your ingredients, and let’s get cooking! And remember, every kitchen mishap is just a step towards culinary mastery, so have fun with it. Happy snacking!
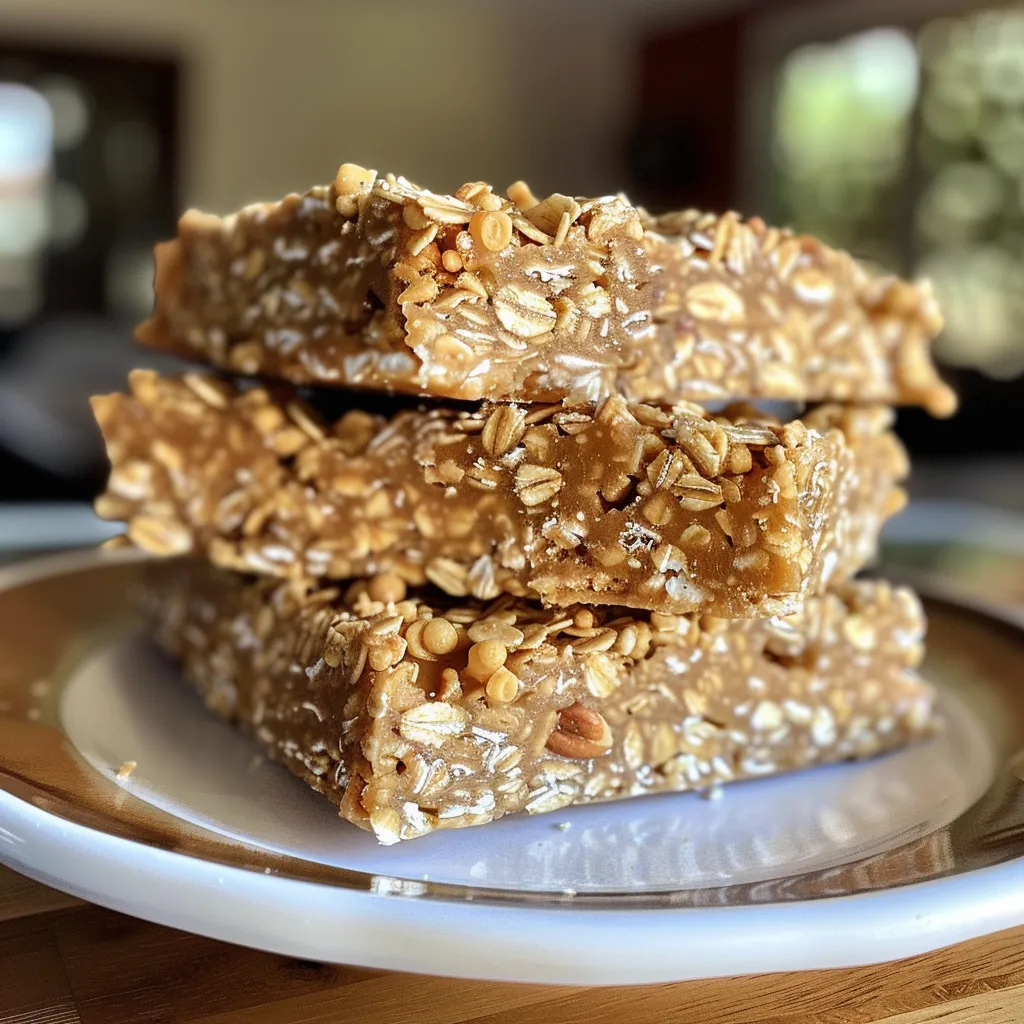
Homemade No Bake Granola Bars
Ingredients
Dry Ingredients
- 2 cups old-fashioned rolled oats
- 1/2 cup nut butter ((peanut, almond, or cashew))
- 1/3 cup honey ((maple syrup or agave))
- 1/2 cup mix-ins ((chocolate chips, dried fruit, seeds, or nuts))
- 1 teaspoon vanilla extract ((optional))
- Pinch salt
Instructions
- Line an 8x8-inch pan with parchment paper.
- Mix oats and mix-ins in a large bowl.
- Heat nut butter and honey until smooth, then stir in vanilla and salt.
- Pour wet mixture over dry ingredients and combine well.
- Press mixture into the pan and chill for 2 hours.
- Cut into bars and enjoy or store for later.