Discover the Joy of No-Bake Protein Balls
Welcome to the delightful world of No-Bake Protein Balls! These little bites of joy are not only a quick and easy snack but also a powerhouse of nutrition. Whether you’re looking for a post-workout boost, a midday pick-me-up, or a sweet treat that won’t derail your healthy eating, these protein balls have got you covered. In this article, I’ll walk you through everything you need to know—from ingredients to variations, and even troubleshooting tips, ensuring your journey in the kitchen is enjoyable and successful!
Why You’ll Love This No-Bake Protein Balls Recipe
Here are just a few reasons why you’re going to adore making these protein-packed snacks:
- Quick and Easy: With minimal prep time, you can whip up a batch in just about 15 minutes!
- Customizable: Use your favorite nut butters and add-ins to create a unique twist every time.
- Nutrient-Dense: Packed with protein, healthy fats, and fiber, these bites keep you satisfied longer.
- Kid-Friendly: Perfect for little hands and even better for picky eaters—everyone loves them!
- Great for Meal Prep: Make a big batch, store them, and enjoy them throughout the week.
Ingredients for No-Bake Protein Balls
Let’s dive into the tasty ingredients that make up these protein balls:
- 1 cup rolled oats: A fantastic source of whole grains. For gluten-free options, use certified gluten-free oats.
- 1/2 cup natural peanut butter: Adds a rich, nutty flavor. Feel free to substitute with almond or cashew butter if desired.
- 1/3 cup honey or maple syrup: This acts as the sweetener and binder. Choose maple syrup for a vegan option.
- 1/2 cup vanilla protein powder: Enhances protein content; you can use whey or plant-based protein.
- 1/4 cup mini chocolate chips: For a touch of sweetness—dark chocolate chips work wonderfully too!
- 2 tablespoons chia seeds: These add texture and are rich in omega-3 fatty acids.
- 1 teaspoon vanilla extract: For that lovely aroma and flavor.
- Pinch of salt: Balances the sweetness.
Feel free to experiment with these ingredients! You can swap out peanut butter for your favorite nut butter or even incorporate different protein powders for varied flavors.
How to Make No-Bake Protein Balls: Step-by-Step Directions
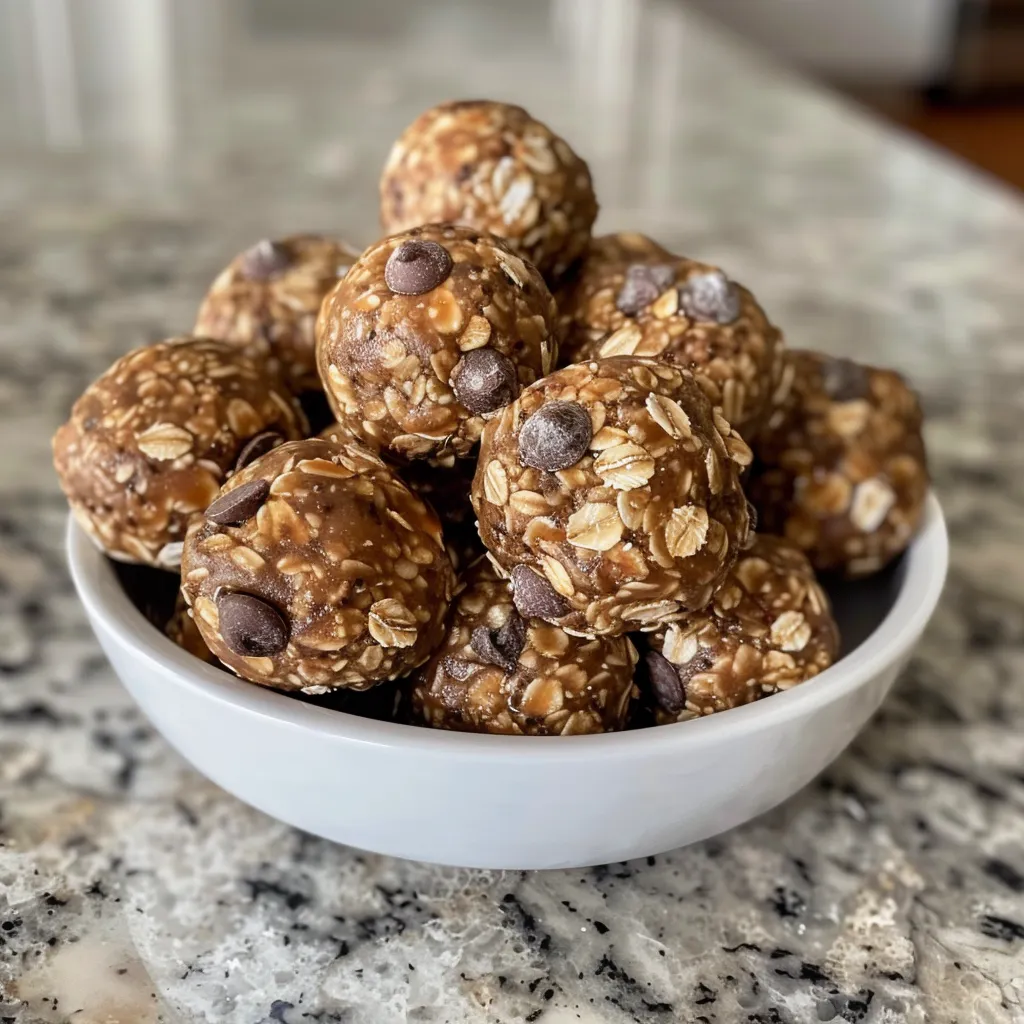
Ready to roll? Here’s how to make your No-Bake Protein Balls:
- Combine Dry Ingredients: In a large mixing bowl, combine the rolled oats, protein powder, chia seeds, and a pinch of salt.
- Add Wet Ingredients: Stir in the peanut butter, honey (or maple syrup), and vanilla extract until everything is well-mixed.
- Mix Until Combined: Ensure the mixture forms a thick, sticky dough. If it feels too dry, add a little more honey or a splash of milk.
- Fold in Chocolate Chips: Add the mini chocolate chips and mix until they’re evenly distributed throughout the dough.
- Shape the Protein Balls: Scoop out tablespoon-sized portions and roll them into balls using your hands.
- Chill and Serve: Place the protein balls on a baking sheet lined with parchment paper and refrigerate for at least 30 minutes before enjoying!
Pro Tips for Perfect No-Bake Protein Balls
Here are some expert insights to help you achieve the best results:
- Stickiness: If the dough is too sticky, try chilling it for a few minutes before shaping the balls.
- Mix It Up: Don’t hesitate to add in extras like dried fruits, nuts, or seeds for added flavor and texture.
- Sweetness Level: Adjust the sweetness according to your taste. You can add more honey or a sugar substitute if needed.
- Storage: Store your protein balls in an airtight container in the fridge for up to a week.
- Freezing: For longer storage, freeze them! Just pop them in a freezer-friendly container, and they’ll last up to 3 months.
- Meal Prep: Make a double batch to ensure you always have a healthy snack on hand!
- Serving Size: Each protein ball is about 100 calories, making it easy to keep track of your snacking.
- Experiment: Try different flavor profiles like coconut, cinnamon, or matcha for a fun twist!
Common Mistakes and Troubleshooting
Even the best chefs have off days! Here’s how to avoid common pitfalls:
- Too Dry: If your mixture is too crumbly, add a bit more honey or a splash of milk to achieve the right consistency.
- Too Sticky: If the dough is overly sticky, chill it in the fridge for a bit to make it easier to handle.
- Inconsistent Sizes: Use a cookie scoop for even-sized protein balls to ensure uniform cooking and serving.
- Flavor Lacking: If you find the flavor too mild, increase the vanilla extract or add a pinch of cinnamon for a flavor boost.
Variations on No-Bake Protein Balls
Feeling adventurous? Here are some delicious variations to try:
- Chocolate Chip Cookie Dough: Add a teaspoon of brown sugar and replace half the peanut butter with almond butter for a cookie dough flavor.
- Matcha Green Tea: Mix in a teaspoon of matcha powder for a unique twist and extra antioxidants.
- Coconut Almond Joy: Add shredded coconut and chopped almonds with a drop of almond extract for a tropical treat.
- Berry Blast: Incorporate dried cranberries or blueberries with a bit of almond butter for a fruity flavor.
Storage and Make-Ahead Instructions
To keep your No-Bake Protein Balls fresh and delicious:
- Refrigeration: Store in an airtight container in the fridge for up to 1 week.
- Freezing: For longer-lasting snacks, freeze the protein balls in a single layer and then transfer to a freezer-safe bag. They will last up to 3 months!
Comprehensive FAQ
Got questions? I’ve got answers! Here are some common queries about No-Bake Protein Balls:
- Can I use a different nut butter? Absolutely! Almond butter or sunflower seed butter are great alternatives.
- How many servings does this recipe yield? This recipe typically makes about 16 protein balls, depending on the size you roll them.
- Are these gluten-free? Yes, as long as you use certified gluten-free oats!
- Can I make them vegan? Yes! Substitute honey with maple syrup, and use plant-based protein powder.
- What if I don’t have protein powder? You can omit it, but the protein content will be lower. Consider adding more oats or nut butter to compensate.
- How long do they last in the fridge? They will stay fresh for up to a week when stored properly.
- Can I add other ingredients? Definitely! Feel free to add seeds, nuts, or even spices like cinnamon for extra flavor.
- How do I know when they are ready to eat? After chilling for at least 30 minutes, they should be firm enough to hold their shape.
Nutrition Tips and Dietary Adaptations
Here are some tips to maximize the nutritional value of your protein balls:
- Opt for Natural Sweeteners: Use honey or maple syrup instead of refined sugars to keep it healthy.
- Choose Whole Ingredients: Incorporate whole foods like oats, nuts, and seeds for added fiber and nutrients.
- Consider Protein Sources: If you’re vegan or lactose intolerant, opt for plant-based protein powders to suit your dietary needs.
- Enjoy Moderation: While these snacks are healthy, be mindful of portion sizes, especially if you’re counting calories.
Essential Equipment for Making Protein Balls
Here’s a quick list of handy tools you might need:
- Mixing Bowl: A large bowl is essential for combining ingredients.
- Measuring Cups and Spoons: Accurate measurements ensure the best results.
- Cookie Scoop: For uniform-sized balls, a cookie scoop is invaluable.
- Parchment Paper: Use it to line your baking sheet for easy cleanup.
Serving Suggestions
These No-Bake Protein Balls are versatile and can be enjoyed in various ways:
- As a Snack: Perfect for a quick snack at home or on the go.
- Post-Workout: A great way to refuel after a workout.
- Party Treats: Serve them at gatherings or as a healthy option at parties.
- With Coffee: Pair them with your morning coffee for a delightful treat!
Conclusion
There you have it! A comprehensive guide to making delicious and nutritious No-Bake Protein Balls that will satisfy your cravings and fuel your day. With endless possibilities for customization, you can keep your snack game fresh and exciting. So, gather your ingredients, roll up your sleeves, and let’s make some delightful treats together! Remember, cooking should be fun, and every bite is a reason to smile. Happy snacking!
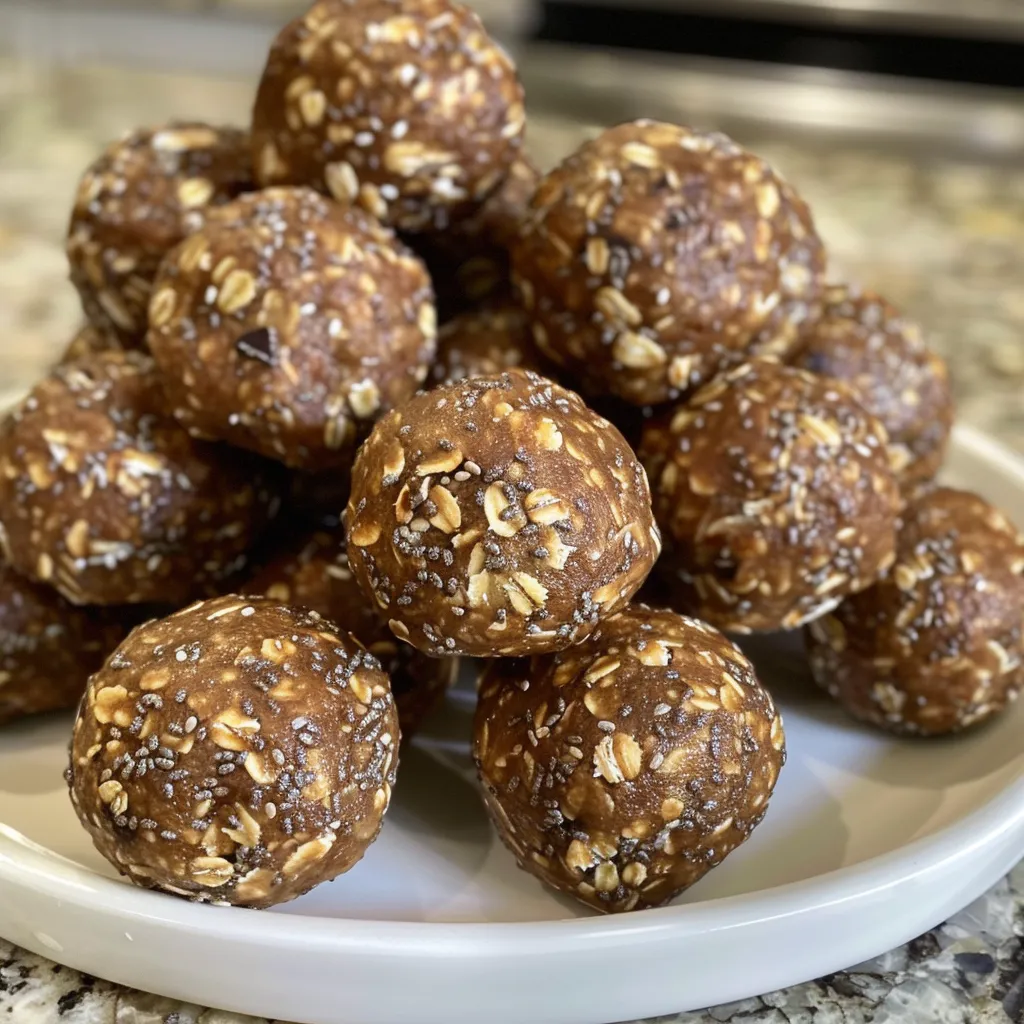
No-Bake Protein Balls
Ingredients
Dry ingredients
- 1 cup rolled oats
- 1/2 cup natural peanut butter
- 1/3 cup honey or maple syrup
- 1/2 cup vanilla protein powder
- 1/4 cup mini chocolate chips
- 2 tablespoons chia seeds
- 1 teaspoon vanilla extract
Additional
- Pinch of salt
Instructions
- Mix oats, protein powder, chia seeds, and salt in a bowl.
- Add peanut butter, honey, and vanilla; stir until combined.
- Form mixture into balls and refrigerate for 30 minutes.