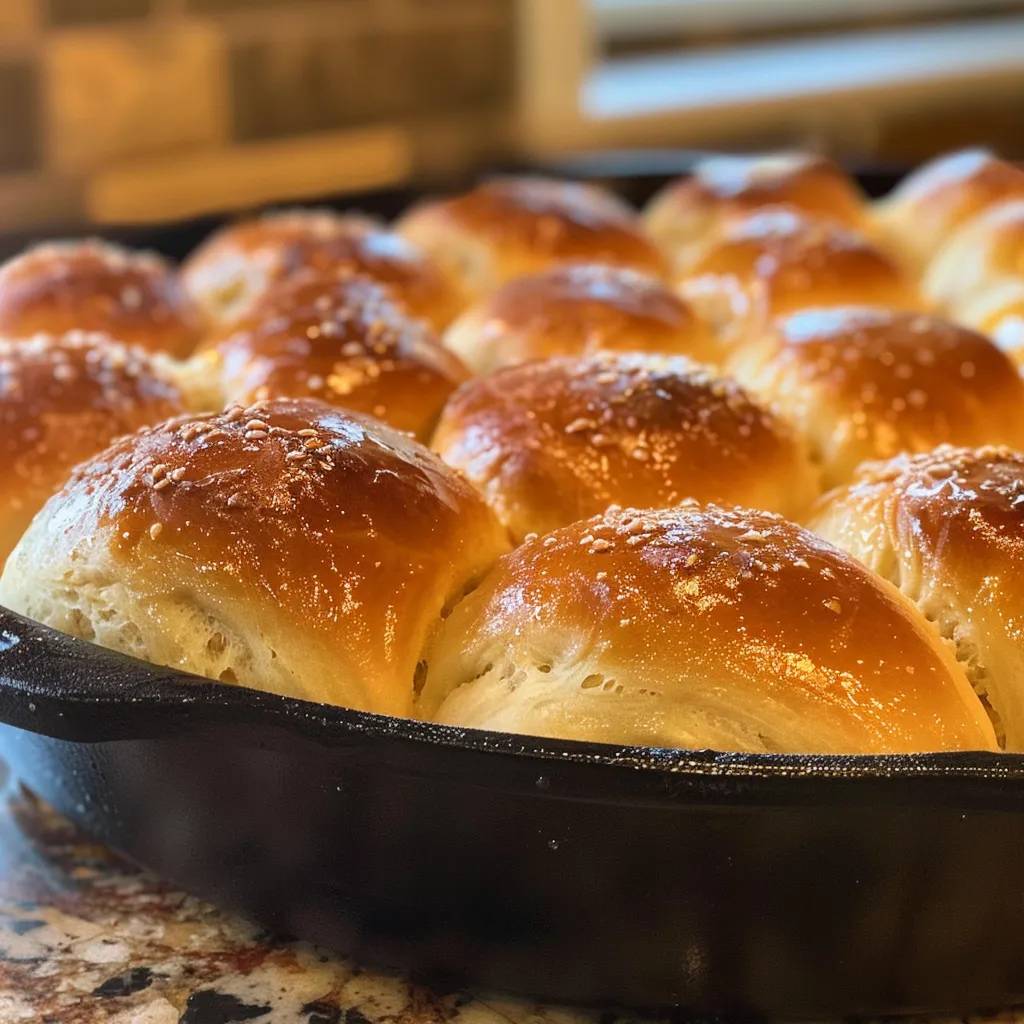
Welcome to the world of cozy cooking! If you’ve ever found yourself daydreaming about sinking your teeth into a warm, fluffy dinner roll fresh from the oven, you’re in the right place. In this article, I’m thrilled to share my easy cast iron dinner rolls recipe that will turn your kitchen into a haven of warmth and deliciousness. These rolls are perfect for family dinners, special occasions, or just as a comforting treat on a chilly evening. Let’s roll up our sleeves and dive in!
Why You’ll Love This Recipe
This recipe isn’t just any dinner roll recipe; it’s a celebration of texture, flavor, and ease. Here are five reasons why you’ll adore making these rolls:
- Perfectly Fluffy: Achieve that sought-after soft and airy texture with just the right amount of chewiness.
- Simple Ingredients: Made with pantry staples that you likely already have on hand—no fancy ingredients needed!
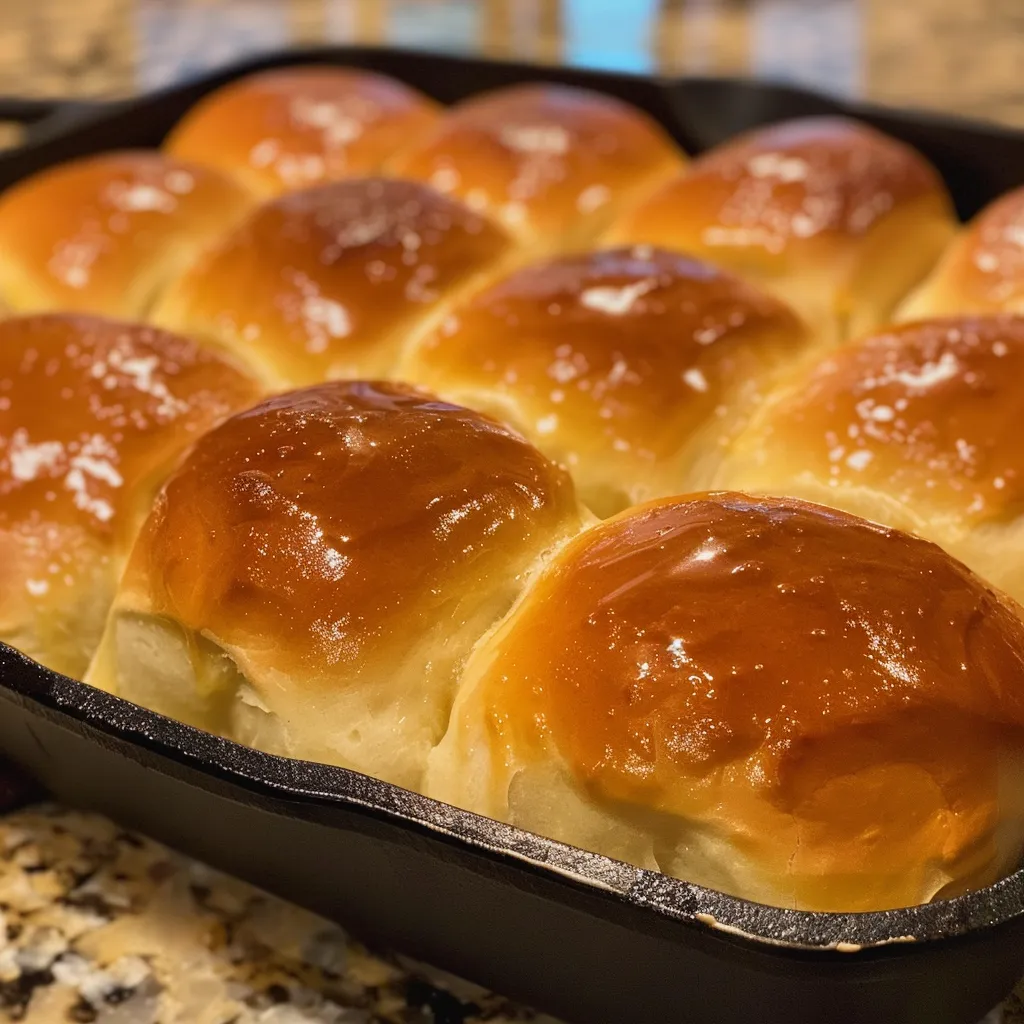
- Cast Iron Magic: Using a cast iron skillet gives these rolls a beautifully golden crust and even baking.
- Customizable: Easily adapt this recipe to include herbs, cheese, or spices to match your meal.
- Fun Activity: Great for family involvement—let everyone shape their own rolls!
Ingredient Breakdown
Before we get baking, let’s take a closer look at the ingredients you’ll need for these delightful dinner rolls, along with some handy substitutions:
- 1 cup warm milk (110º F): This activates the yeast. If you prefer, you can use almond milk or any dairy-free substitute.
- 2 1/4 teaspoons instant yeast: Instant yeast is perfect for quicker rise. Active dry yeast works too, but will require proofing.
- 1 egg: Adds richness to the dough. A flaxseed egg can be used for a vegan option.
- 4 tablespoons melted butter: For flavor and moisture. Coconut oil is a great dairy-free alternative!
- 3 tablespoons honey or sugar: Sweetens the dough. Agave syrup is another excellent choice.
- 1 teaspoon salt: Essential for flavor; it helps control yeast activity.
- 4 cups flour: All-purpose flour works best. For a gluten-free version, try a 1:1 gluten-free flour mix.
- 1 egg (for wash): Gives a beautiful shine to the top of the rolls. You can skip this for a vegan option.
- 1 tablespoon water (for wash): Mix with the egg for an egg wash.
How to Make Fluffy Cast Iron Dinner Rolls
Now that we have our ingredients ready, let’s gather around and get to the fun part—making these delicious rolls!
- Warm your milk and mix it with the yeast. Let it sit for about a minute until it gets foamy. This step is crucial for activating the yeast!
- In a large bowl, combine the egg, melted butter, and honey. Pour in the yeast mixture and whisk until smooth and well combined.
- Add two cups of flour and the salt to the mixture. Stir until everything is combined, then gradually add the remaining flour. Use a dough hook or your hands to mix for about five minutes until the dough is smooth and elastic.
- Cover the bowl with a damp cloth and let the dough rest for ten minutes. This allows the gluten to relax, making your rolls even fluffier.
- Divide the dough into twelve equal pieces and roll each into a tight ball. Place them in your oiled cast iron skillet, fitting them snugly together.
- Cover the skillet with a cloth and let the rolls rise in a warm place for one hour until they puff up and double in size.
- Preheat your oven to 375°F (190°C). Beat one egg with a tablespoon of water and brush this wash over the risen rolls for that beautiful golden color.
- Bake for about 20 minutes or until the rolls are golden brown and firm to the touch. Brush with melted butter right after baking for extra flavor.
Expert Tips for Success
Let’s sprinkle in some expert insights to ensure your rolls come out perfect every time!
- Check Your Yeast: Always ensure your yeast is fresh! If it doesn’t foam when mixed with warm milk, it’s best to start over.
- Patience is Key: Give the dough ample time to rise. A warm kitchen helps speed up this process.
- Kneading Technique: If hand kneading, remember to push the dough away from you, fold it back, and rotate it. This builds gluten strength.
- Don’t Over Flour: Adding too much flour can lead to dense rolls. The dough should be slightly sticky but manageable.
- Experiment with Add-ins: Try adding garlic powder, herbs, or cheese to the dough for a flavor boost!
- Serve Warm: These rolls are best served fresh out of the oven. If you have leftovers, reheat them slightly before serving.
- Store Properly: Keep them in an airtight container at room temperature for up to three days.
- Freezing Rolls: You can freeze the shaped rolls before the second rise. Just thaw and let them rise before baking!
Common Mistakes and Troubleshooting
Every cook has their off days. Here are some common pitfalls and how to avoid them:
- Too Dense Rolls: This may happen if you’ve added too much flour or not allowed enough time for the dough to rise.
- Flat Rolls: Ensure your yeast is active; if it doesn’t foam, the rolls won’t rise properly.
- Uneven Baking: Make sure your oven is preheated evenly. If needed, rotate the skillet halfway through baking.
Delicious Variations to Try
Once you’ve mastered the basic recipe, why not mix things up a bit? Here are some tasty variations:
- Herb-Infused Rolls: Add dried Italian herbs or fresh rosemary to the dough for a fragrant twist.
- Cheesy Rolls: Fold in shredded cheese, like cheddar or mozzarella, for a gooey surprise.
- Sweet Cinnamon Rolls: Incorporate cinnamon and sugar into the dough, roll it up, and slice before baking for a sweet treat!
- Garlic Butter Rolls: Brush with garlic-infused butter before baking to add a savory flavor.
Storage and Make-Ahead Instructions
Planning ahead? Here’s how to store and prepare your rolls:
- Room Temperature: Store leftover rolls in an airtight container at room temperature for up to three days.
- Freezing: Freeze baked rolls in a ziplock bag for up to three months. Thaw at room temperature before reheating.
- Make Ahead: Shape the rolls and place them in the skillet, cover, and refrigerate overnight. Let rise at room temperature for about 30 minutes before baking.
Frequently Asked Questions
Got questions? I’ve got answers! Here are some FAQs about making cast iron dinner rolls:
- Can I use all-purpose flour? Yes! All-purpose flour is perfect for this recipe. You can also use whole wheat flour for a healthier option.
- Why is my dough so sticky? It’s normal for the dough to be a bit sticky. Avoid adding too much flour; it should be manageable but not dry.
- What if my rolls don’t rise? Check the yeast! If it’s not active, that could be the reason. Ensure your liquid is warm, not hot.
- Can I make these rolls vegetarian? Absolutely! Just substitute the egg wash with a plant-based option or skip it altogether.
- What’s the best way to serve these rolls? Warm, with a pat of butter, or alongside your favorite soup or stew!
- How do I know when my rolls are done baking? They should be golden brown on top and sound hollow when tapped on the bottom.
- Is there a gluten-free version? Yes! Use a gluten-free flour mix, but be sure to check the package for any specific instructions.
- Can I double the recipe? Definitely! Just make sure you have a large enough skillet or divide into two for even baking.
Nutritional Tips and Dietary Adaptations
Cooking for everyone? Here are some nutritional tips:
- Lower Sugar: Substitute honey with a sugar alternative like stevia for a lower-calorie option.
- Dairy-Free: Use almond milk and coconut oil to make this recipe completely dairy-free.
- Whole Grain Option: Swap half of the all-purpose flour for whole wheat flour to increase fiber content.
Equipment Recommendations
Here’s what you’ll need to make these rolls:
- Cast Iron Skillet: Essential for that perfect crust and even baking.
- Dough Hook or Mixer: Makes mixing a breeze, but you can also knead by hand if you prefer a workout!
- Measuring Cups and Spoons: Precision is key in baking—don’t skip these!
Serving Suggestions
These rolls can be served in so many delightful ways:
- With Soup: Pair with a warm bowl of your favorite soup for a comforting meal.
- At Breakfast: Serve with jam or honey for a sweet breakfast treat.
- As a Side: They complement any main dish, from roasted chicken to hearty vegetable stew.
Conclusion
There you have it, my friends! A foolproof recipe for the fluffiest cast iron dinner rolls that are sure to bring joy to your table. Whether it’s a cozy family dinner or a festive gathering, these rolls are bound to impress. Remember, cooking is about having fun, so don’t hesitate to experiment and make this recipe your own. Happy baking, and may your kitchen always be filled with the delightful aroma of fresh bread!
Easy Cast Iron Dinner Rolls
Ingredients
Dough
- 1 cup warm milk (110º F)
- 2 1/4 teaspoons instant yeast
- 1 egg
- 4 tablespoons melted butter
- 3 tablespoons honey or sugar
- 1 teaspoon salt
- 4 cups flour
- 1 egg for wash
- 1 tablespoon water (for wash)
Instructions
- Mix warm milk with yeast and let sit until foamy.
- Combine egg, melted butter, honey, and yeast mixture; whisk until smooth.
- Add flour and salt; knead with a dough hook for 5 minutes.
- Let dough rest covered for 10 minutes, then divide into 12 balls and place in oiled skillet.
- Let rolls rise for 1 hour, then brush with egg wash and bake at 375°F for 20 minutes.