
Elevate Your Snack Game with Delightfully Easy Homemade Protein Bars
Welcome to the world of homemade protein bars, where nutritious meets delicious! These protein bars are not just a quick snack; they’re a fantastic way to fuel your body with wholesome ingredients. Whether you’re on a busy schedule, looking for a post-workout treat, or just want something satisfying to grab between meals, this recipe is perfect for you. Let’s dive into the joy of making your own bars!
Why You’ll Love This Recipe
This recipe is designed to be not only simple but also packed with benefits that will make you fall in love with homemade protein bars.
- Customizable ingredients: Tailor the recipe to fit your taste preferences or dietary needs by swapping in different nuts, nut butters, or sweeteners.
- Cost-effective: Making your own bars saves money compared to store-bought options, which can be pricey and often filled with unwanted additives.
- Natural sweetness: With Medjool dates as a base, these bars are naturally sweetened, providing a healthier alternative to refined sugars.
- Loaded with nutrients: Packed with healthy fats and protein, these bars are not just tasty but also nourishing.
- Perfect for meal prep: Make a batch at the beginning of the week, and you’ll have a convenient snack ready to go!
Ingredient Breakdown
Let’s take a closer look at the ingredients that make these protein bars shine:
- Medjool Dates: These sweet fruits are the base of our bars, providing natural sweetness and a chewy texture. If your dates are hard, soak them in lukewarm water to soften.
- Raw Cashews & Walnuts: These nuts contribute healthy fats and protein. Feel free to mix and match with other nuts like almonds or pecans.
- Almond Flour: A gluten-free option that adds bulk. You can substitute with oat flour if you prefer.
- Honey or Maple Syrup: A touch of sweetness to bind everything together. Go for maple syrup for a vegan alternative.
- Peanut Butter: This creamy ingredient enhances flavor and adds protein. Other nut butters like almond or sunflower seed butter work well too!
- Chia Seed Powder: For added nutrients and binding. If you don’t have this, you can skip it or use ground flaxseeds instead.
- Coconut Oil: Helps in binding and gives a lovely texture. Ensure it’s melted before mixing.
- Vanilla Extract: A splash of flavor that elevates the taste of your bars.
- Cinnamon: An optional spice to warm up the flavor profile, making it even more delightful!
- Dark Chocolate Chips: For a rich finish, sprinkle these on top. Choose dairy-free for a vegan option.
- Flaky Sea Salt: A sprinkle on top enhances sweetness and adds a delightful contrast.
Step-by-Step Instructions
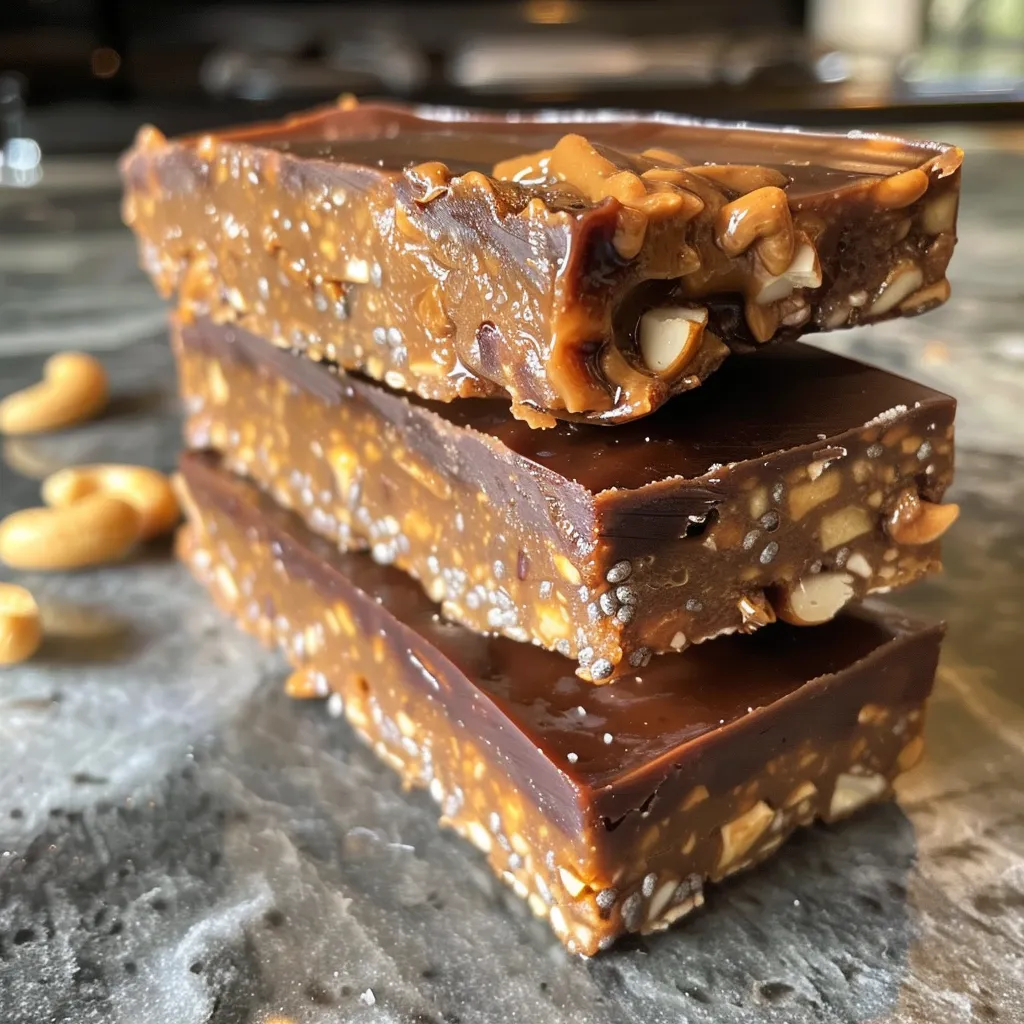
Now that you know what goes into these delicious bars, let’s get cooking!
- Soak the Dates: If your Medjool dates are a bit firm, soak them in lukewarm water for about 10-15 minutes until they soften.
- Prepare the Nuts: Soak your cashews and walnuts in a separate bowl for about 10 minutes to soften them.
- Combine Ingredients: In a food processor, pulse the chopped dates and nuts until well mixed. Add almond flour, honey, peanut butter, chia seed powder, melted coconut oil, and vanilla. Blend until the mixture resembles a dough.
- Press into Pan: Transfer the mixture into a lined loaf pan or any pan of your choice. Use your hands or the back of a spoon to pack it down evenly.
- Melt Chocolate: Melt dark chocolate with a little coconut oil in a double boiler or microwave. Pour it over the packed mixture and spread evenly.
- Freeze: Place in the freezer for about 2 hours or until the mixture is firm.
- Cut into Bars: Once firm, remove from the pan and cut into bars or squares. Enjoy your homemade protein bars!
Pro Tips for Success
To ensure your protein bars turn out perfectly, keep these expert tips in mind:
- Texture matters: For chewy bars, don’t over-process the dates. You want some texture!
- Experiment with flavors: Add in spices like nutmeg or even a touch of espresso powder for a unique twist.
- Storage is key: These bars can last up to a week in the fridge or several months in the freezer. Just ensure they’re sealed tightly!
- Don’t skip the salt: A sprinkle of flaky sea salt on top balances out the sweetness beautifully.
- Use fresh ingredients: Ensure your nuts and dates are fresh for the best flavor and texture.
- Mix-ins are welcome: Consider adding dried fruits, seeds, or coconut flakes for added texture and flavor.
- Be patient: Allow bars to set completely in the freezer before cutting for clean edges.
- Make them personal: Use this recipe as a base and modify it to fit your nutritional goals or preferences.
Common Mistakes and Troubleshooting
Sometimes things don’t go as planned, but no worries! Here are common issues and how to fix them:
- Bars are too crumbly: This usually means there’s not enough moisture. Add a bit more nut butter or honey to help bind.
- Bars are too sticky: If they’re sticking to your hands, try chilling them longer or using wet hands to handle the mixture.
- Chocolate won’t set: Ensure the chocolate isn’t too warm when pouring it over the bars. Let it cool slightly before spreading.
- Flavor is bland: Don’t be shy with spices or mix-ins! A dash of salt or a splash of vanilla can make a world of difference.
Variations to Try
Feel free to switch things up with these fun variations:
- Chocolate Chip Cookie Dough Bars: Add mini chocolate chips and a scoop of cookie dough flavor protein powder for a decadent treat.
- Berry Bliss Bars: Mix in dried cranberries or blueberries for a fruity twist.
- Nut-Free Version: Omit nuts and replace with sunflower seed butter and pumpkin seeds for a nut-free delight.
- Spiced Pumpkin Bars: Add pumpkin puree and spices like nutmeg and allspice for a seasonal favorite.
Storage and Make-Ahead Instructions
These homemade protein bars are fantastic for meal prep! Here’s how to store them:
- Refrigerate: Keep them in an airtight container in the fridge for up to a week.
- Freeze: For longer storage, wrap them individually and place them in a zip-top bag. They’ll last for up to 3 months in the freezer.
- Thawing: Simply take out a bar and let it sit at room temperature for a few minutes, or enjoy them straight from the freezer for a cool treat!
Frequently Asked Questions (FAQ)
Got questions? We’ve got answers!
- Can I add protein powder to these bars? Absolutely! Feel free to add 1-2 scoops of your favorite protein powder for an extra protein boost.
- How long do homemade protein bars last? They can last about a week in the fridge or up to three months in the freezer.
- Can I make these bars vegan? Yes! Use maple syrup instead of honey and ensure your chocolate is dairy-free.
- Do I need to use a food processor? While it makes blending easier, you can also mash the dates and mix by hand if needed.
- Are these bars gluten-free? Yes, they are naturally gluten-free as long as you use certified gluten-free oats and flours.
- What’s the best way to cut these bars? For clean cuts, use a sharp knife and cut when they are chilled after freezing.
- Can I substitute the nuts? Yes! You can use any nuts or even seeds if you’re looking for a nut-free option.
- What should I serve with these bars? They pair wonderfully with fresh fruit, yogurt, or a glass of almond milk!
Nutrition Tips and Dietary Adaptations
These protein bars are not only delicious but can also fit various dietary needs:
- Low-carb option: Use fewer dates and substitute with more nut butter and protein powder.
- High-fiber boost: Add ground flaxseeds or chia seeds for extra fiber and omega-3s.
- Reduction in sugar: Adjust the amount of honey or maple syrup to your desired sweetness level.
- Protein-packed: Incorporate additional protein powder or even hemp hearts for an added protein punch.
Equipment Recommendations
Here’s what you’ll need to whip up these bars:
- Food Processor: Essential for blending the ingredients smoothly.
- Loaf Pan or Baking Dish: Use any pan you have on hand to shape your bars.
- Parchment Paper: For easy removal of the bars after they’ve set.
- Mixing Bowls: Handy for soaking and mixing ingredients.
- Measuring Cups and Spoons: For precise ingredient measurements.
Serving Suggestions
Enjoy your homemade protein bars in a variety of ways:
- As a snack: Perfect for post-workout refueling or a midday pick-me-up.
- With yogurt: Crumble over Greek yogurt for a delicious breakfast or dessert.
- Packed in lunchboxes: A great addition to kids’ lunches or your own for work.
- On-the-go: Take a bar with you for a quick and healthy snack while traveling.
Conclusion
There you have it! A delightful, easy-to-make recipe for homemade protein bars that’s sure to elevate your snack game. Remember, the kitchen is a place for creativity and joy, so don’t hesitate to experiment with flavors and ingredients. Enjoy making these bars, and don’t forget to share your creations. Happy snacking!
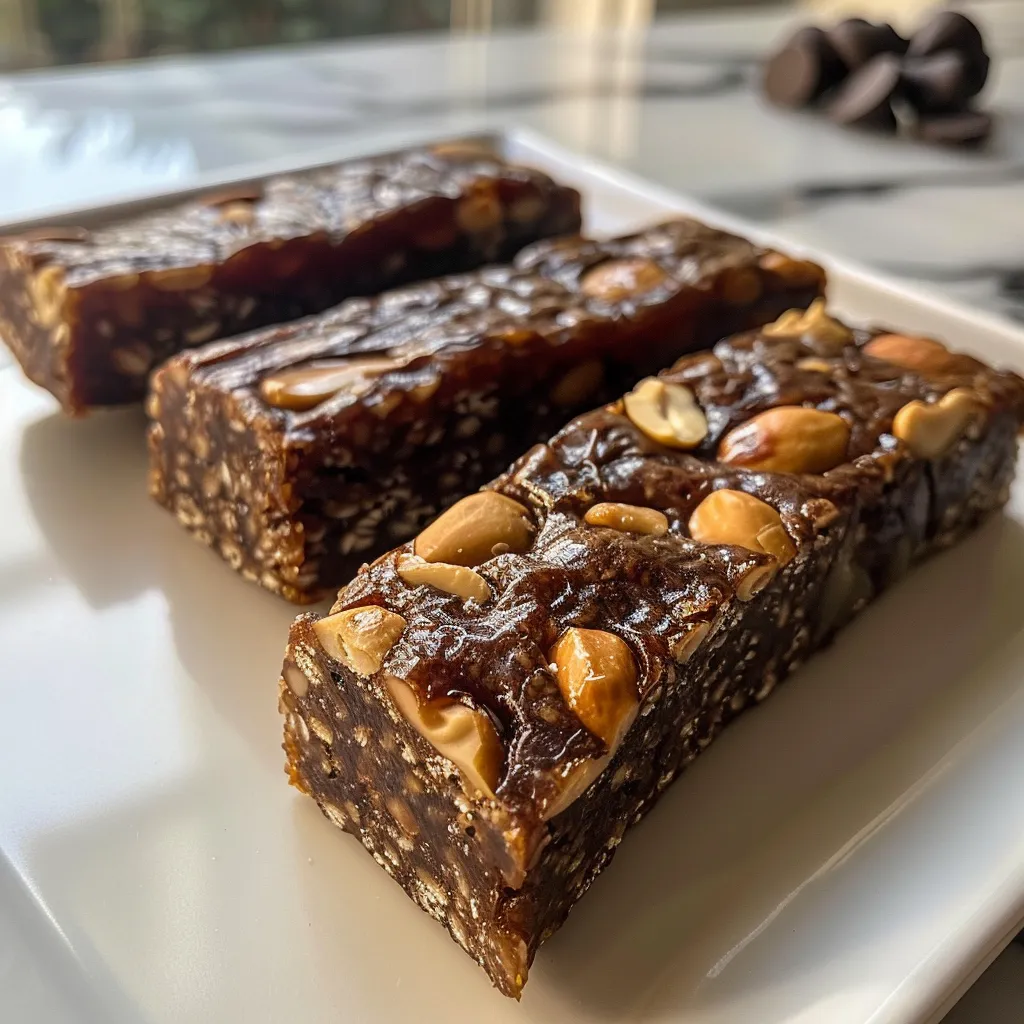
Homemade Protein Bars
Ingredients
Main Ingredients
- 10 pieces Medjool Dates, pitted (soaked if hard)
- 0.5 cup raw cashews (soaked 10 minutes)
- 0.5 cup raw walnuts (soaked 10 minutes)
- 0.75 cup almond flour
- 2 Tbsp honey or maple syrup
- 2 Tbsp peanut butter, drippy
- 1 Tbsp chia seed powder
- 3/4 Tbsp coconut oil, melted
- 1 tsp vanilla extract
- pinch cinnamon, optional
- 1-2 scoops protein powder, optional
- 1 cup dark chocolate chips, dairy free if needed
- 1 Tbsp coconut oil
- 1 Tbsp flaky sea salt, optional (such as Maldon)
Instructions
- If dates are hard, soak in lukewarm water until soft. Soak cashews and walnuts for 10 minutes.
- Line a loaf pan with parchment paper. Pulse dates and nuts in a food processor until combined. Add remaining ingredients and process until a dough forms.
- Press mixture into the pan, smoothing the top with a spoon or hands.
- Melt chocolate and coconut oil, then pour over the bars and spread evenly. Sprinkle with sea salt if desired.
- Freeze for 2 hours until firm. Cut into bars and store in the freezer.


