
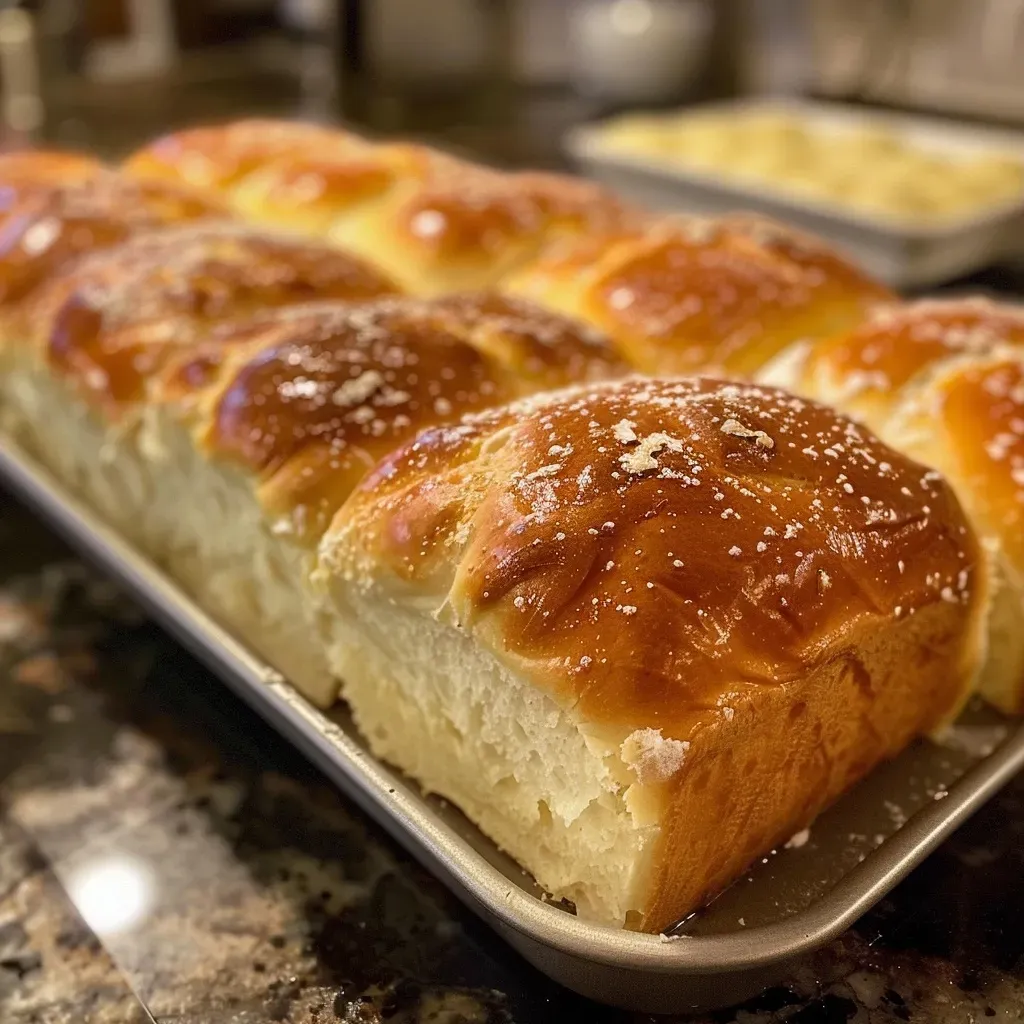
Welcome to Your Potato Bread Adventure!
Ever craved a loaf of bread that offers a delightful combination of fluffiness and flavor? Well, you’re in for a treat! This potato bread recipe is not just any ordinary bread; it’s a deliciously soft and tender loaf that will elevate your sandwich game and impress your family and friends. The secret ingredient? Potatoes! They add moisture and a unique flavor that makes this bread simply irresistible.
In this comprehensive guide, I’ll walk you through every step of the process, from selecting the perfect potatoes to baking the most heavenly loaf. You’ll also discover tips and tricks, common pitfalls to avoid, and some fantastic variations to personalize your bread-making experience. Let’s roll up our sleeves and dive into the world of homemade potato bread!
Why You’ll Love This Recipe
This isn’t just any bread; it’s comforting, versatile, and packed with advantages. Here are five reasons why you’ll absolutely love making potato bread:

★ Recommended Kitchen Tool
Meal Prep Container Set
Make this recipe even easier with a quality Meal Prep Container Set — a must-have kitchen staple!
- Incredibly Soft Texture: The addition of potatoes gives this bread a pillowy, tender crumb that you won’t find in regular bread.
- Longer Freshness: Potato bread stays fresh longer than traditional bread, thanks to the moisture content from the potatoes.
- Perfect for Sandwiches: If you’re a sandwich lover, this bread is your new best friend! It holds up beautifully with all your favorite fillings.
- Simple Ingredients: You likely have most of the ingredients in your pantry. It’s an easy recipe that doesn’t require fancy equipment!
- Customizable: With a few tweaks, you can make this bread uniquely yours. Think herbs, spices, or even cheese!
Gather Your Ingredients
Before we jump into the baking process, let’s take a closer look at the ingredients you’ll need, along with some helpful substitutions:
- 1 large Idaho Russet potato: Provides moisture and flavor. You can substitute with Yukon Gold for a slightly sweeter taste.
- 2 1/2 teaspoons instant yeast: This is what makes your dough rise. If you only have active dry yeast, that works too—just proof it in warm water first!
- 2 oz (about ¼ cup) granulated sugar: Adds a touch of sweetness and helps with browning.
- 11 oz (1 ¼ cup plus 2 T) water: Use the water from cooking the potato for extra flavor!
- 4 oz (1 stick) unsalted butter, softened: Adds richness. You can use margarine or a dairy-free alternative if needed.
- 2 oz (about ¼ cup) neutral vegetable oil: For moisture and a tender crumb. Olive oil can add a richer flavor!
- 2 1/2 teaspoons salt: Essential for flavor. Adjust to taste!
- 2 large eggs: Provide structure and richness. Use flaxseed meal mixed with water for a vegan option.
- 30 oz (about 6 ½ cups) bread flour: The backbone of your dough. Whole wheat flour can be used for a healthier twist.
- 2 oz (1/2 stick) melted butter: For brushing on top for a soft crust.
Let’s Bake: Step-by-Step Instructions
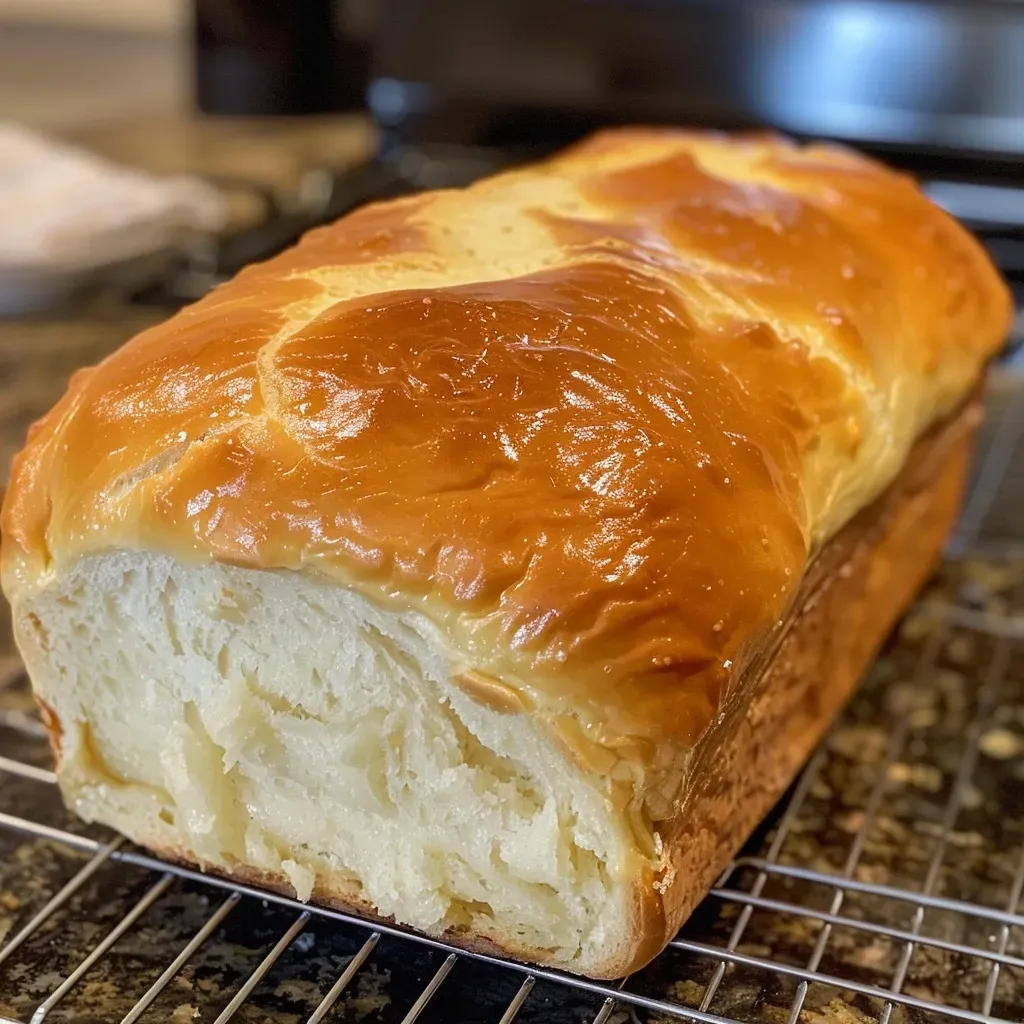
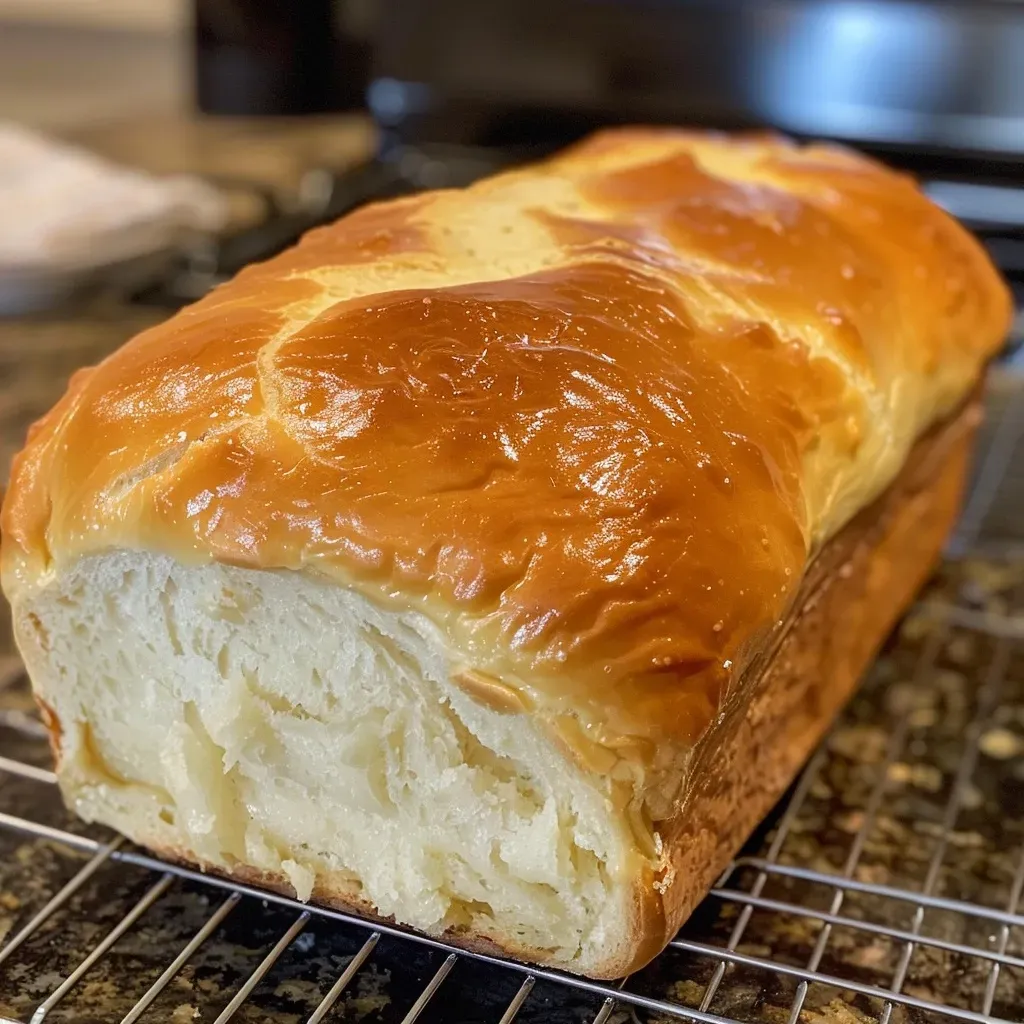
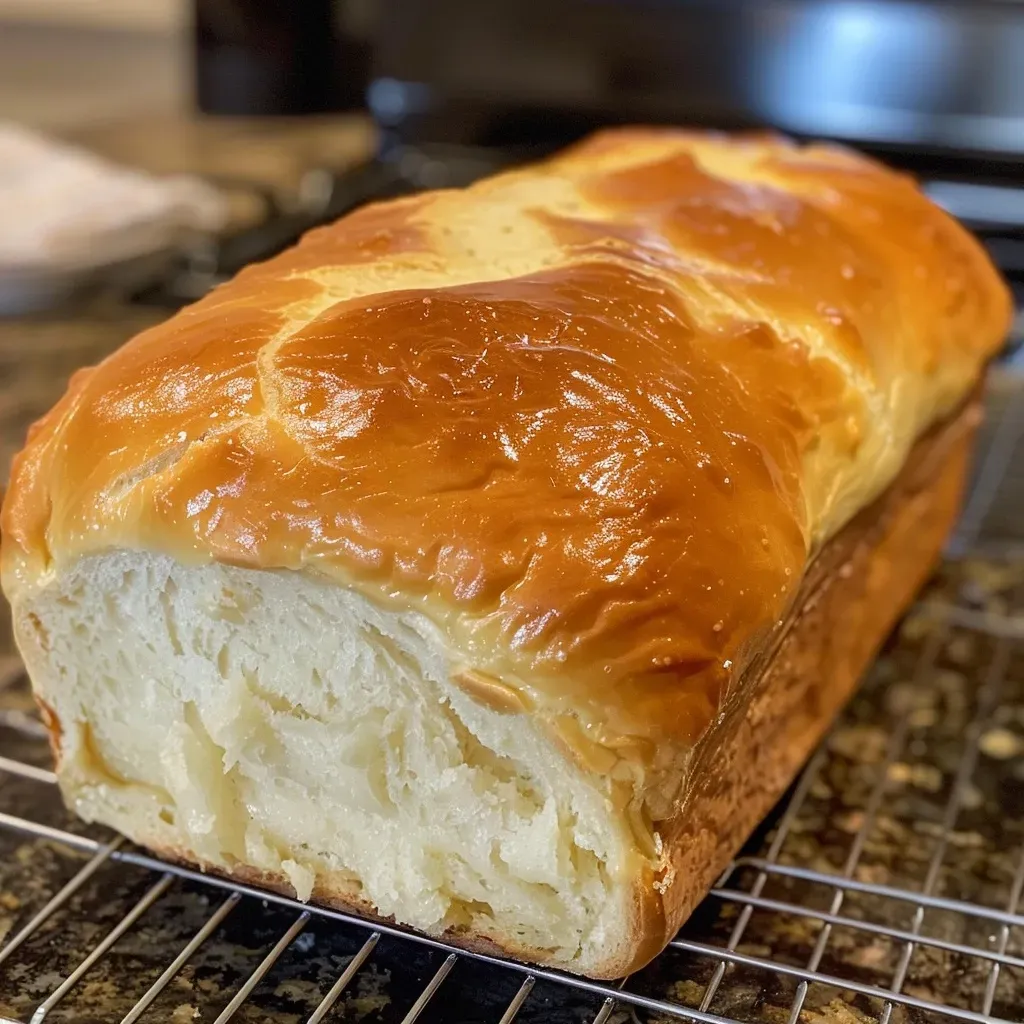
Now that we have our ingredients ready, it’s time to get to the fun part—baking! Follow these steps for a successful potato bread experience:
- Wash, peel, cube, and boil the potato in plain unsalted water for about 12 minutes, or until tender.
- Drain the potatoes over a bowl to catch the water. Measure out 11 oz of potato water and set aside to cool down.
- Mash the potato (by itself, without butter, milk, or seasonings) and measure out 6.5 oz (about 1 cup, slightly packed down). Save the rest of the potato for another use.
- Add all the ingredients for the dough (mashed potato, instant yeast, sugar, reserved cooking water, butter, oil, salt, and eggs) to the bowl of your stand mixer fitted with the paddle attachment.
- Mix on low speed to incorporate all the ingredients.
- Beat on medium-low speed for 3 minutes.
- Switch to the dough hook and knead on medium speed for 7-10 minutes, until the dough is very shiny, smooth, and stretchy. NOTE: The dough is pretty sticky, so a lot of it will remain stuck in the bottom of the bowl.
- Once smooth and supple, scrape the bowl down off the sides and into a compact round shape using an oiled spatula.
- Spray the exposed dough with pan spray or brush with oil.
- Cover the bowl with plastic wrap and refrigerate for at least 8 and up to 16 hours. The dough will be about doubled in size after refrigeration.
- Remove the dough from the fridge and cut it into two equal pieces.
- Press each piece firmly onto the counter to release as much of the trapped gases as you can. Shape into a rectangle of about 15” tall and 10” wide.
- Starting from a short end, roll each half of the dough tightly into a log. Press from either end of the log to compact it so it will fit into a 9×5” bread pan.
- Pan each log of dough in the same way and spray the tops with pan spray.
- Cover and let rise at room temperature until the dough rises above the top of the pans by about an inch. This could take a long time since your dough is starting out refrigerated, so plan for at least 3-4 hours.
- While the bread is rising, set a rack in the bottom third of your oven, and heat the oven to 350°F.
- When fully risen, bake the loaves for 30 minutes.
- Rotate the loaves 180 degrees, tent with foil, and bake an additional 5-10 minutes, until the loaves reach 195-200°F with an instant-read thermometer. Loaves will be deeply golden brown.
- Brush the tops of the loaves with the melted butter for a softer crust and a touch more richness.
- Allow loaves to cool in the pans for 15 minutes then turn out onto a cooling rack to cool completely.
Pro Tips for Perfect Potato Bread
To ensure your potato bread turns out perfectly, keep these expert tips in mind:
- Use the right potatoes: Russet potatoes are ideal due to their high starch content, which helps create a fluffy texture.
- Check the temperature: Make sure your potato water is warm (not hot) to avoid killing the yeast.
- Don’t skip refrigeration: This step enhances the flavor and texture of the dough.
- Be patient with rising: Temperature and humidity can affect rising times, so allow for extra time if needed.
- Rotate your pans: To ensure even baking, rotate the pans halfway through the baking time.
- Use a thermometer: An instant-read thermometer is key to knowing when your bread is done.
- Experiment with flavors: Add herbs, garlic powder, or cheese to elevate your bread to the next level.
- Store properly: Keep your bread in an airtight container to maintain freshness.
Common Mistakes and Troubleshooting
Even the best bakers can encounter issues. Here are some common mistakes and how to troubleshoot them:
- Dough not rising: This could be due to inactive yeast. Always check the expiration date of your yeast before starting.
- Dense texture: If the dough was over-kneaded or too much flour was added, it can lead to a dense loaf. Stick to the measurements!
- Crust too hard: If the crust turns out too hard, try baking at a slightly lower temperature or covering it with foil.
- Uneven baking: If the bread is baking unevenly, make sure your oven is preheated and that the pans are evenly spaced.
Delicious Variations to Try
If you want to switch things up, here are some fun variations you can try:
- Herb-infused potato bread: Add 2 tablespoons of your favorite fresh herbs (like rosemary or thyme) to the dough for a fragrant twist.
- Cheddar potato bread: Mix in 1 cup of shredded sharp cheddar cheese into the dough for a cheesy delight.
- Garlic potato bread: Incorporate 3-4 cloves of roasted garlic into the mashed potatoes for a rich, savory flavor.
- Sweet potato option: Substitute the Russet potato with sweet potatoes for a slightly sweeter and vibrant loaf.
Storing and Make-Ahead Instructions
Your freshly baked potato bread deserves the best storage to maintain its deliciousness:
- Room Temperature: Store the bread in an airtight container at room temperature for up to 3 days.
- Refrigeration: If you want it to last longer, you can refrigerate it, but it may dry out faster.
- Freezing: To freeze, wrap the cooled loaf tightly in plastic wrap and then in aluminum foil. It can last up to 3 months in the freezer. Thaw at room temperature before slicing.
Frequently Asked Questions (FAQ)
Here are some common questions people have about making potato bread:
- Can I use leftover mashed potatoes? Yes! Substitute 1 cup of leftover mashed potatoes for the fresh boiled potatoes.
- What if I don’t have a stand mixer? You can knead the dough by hand; it just requires a bit more effort!
- Can I make this bread without eggs? Absolutely! Use a flaxseed egg or applesauce as a replacement.
- Why is my bread too dense? This can happen if you added too much flour or didn’t knead long enough.
- How can I make this recipe whole grain? Swap out half of the bread flour for whole wheat flour.
- Can I add nuts or seeds? Yes! Feel free to mix in sunflower seeds or chopped walnuts for added texture.
- How do I know when the bread is done? Use an instant-read thermometer; it’s done when it reaches 195-200°F.
- Can I double the recipe? Certainly! Just ensure you have enough space in your mixer and baking pans.
Nutritional Tips and Dietary Adaptations
This potato bread can be modified to fit various dietary needs:
- Gluten-Free: Substitute the bread flour with a gluten-free blend, ensuring it contains xanthan gum for structure.
- Dairy-Free: Use a plant-based butter and replace the milk in the recipe with a dairy-free alternative.
- Lower Sugar: Reduce the sugar to 1 tablespoon if you prefer less sweetness.
Equipment Recommendations
Having the right tools can make your bread-making journey smoother. Here are my top recommendations:
- Stand Mixer: A stand mixer with a dough hook attachment will save you time and effort.
- Baking Pans: Use 9×5-inch loaf pans for the best results.
- Instant-Read Thermometer: This is essential for knowing when your bread is perfectly baked.
Serving Suggestions
Now that your potato bread is baked to perfection, let’s talk about how to enjoy it:
- Classic Sandwiches: Use it for any sandwich; it’s great for grilled cheese or ham and cheese!
- Toast with Toppings: Toast slices and top with butter, jam, or avocado for a quick snack.
- French Toast: Make delicious French toast for a unique breakfast treat.
- Accompaniment for Soups: Serve alongside your favorite hearty soup or stew for a satisfying meal.
Conclusion
Congratulations, my friend! You’ve just mastered the art of making potato bread. With its fluffy texture and delightful flavor, this bread is sure to become a staple in your kitchen. I’m so glad you joined me on this baking adventure! Don’t forget to experiment and make this recipe your own. Remember, cooking is all about joy and creativity, so have fun with it! Happy baking!
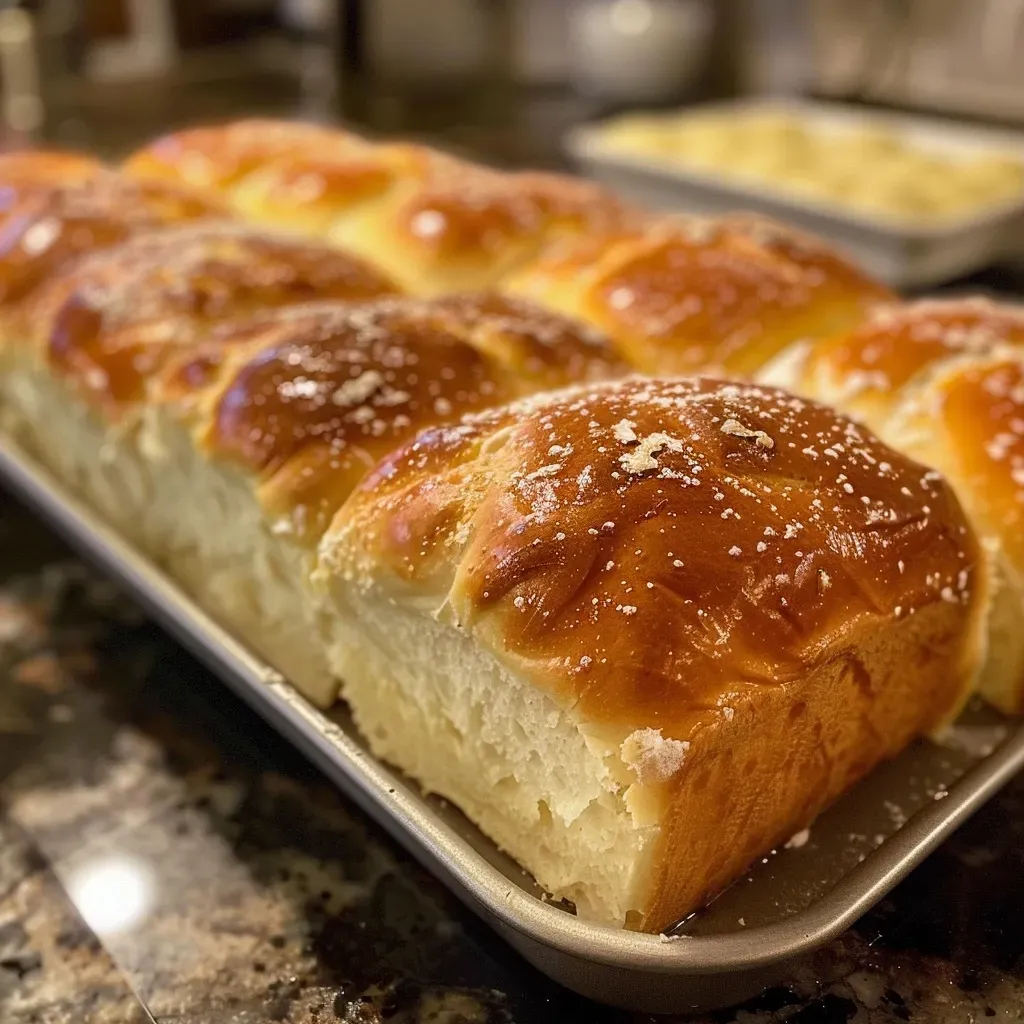
Potato Bread Recipe
Ingredients
Main Ingredients
- 1 large Idaho Russet potato (peeled, cubed, boiled)
- 2 1/2 teaspoons instant yeast
- 2 oz granulated sugar
- 11 oz water from cooked potato (cooled to warm)
- 4 oz unsalted butter (softened)
- 2 oz neutral vegetable oil
- 2 1/2 teaspoons salt
- 2 large eggs
- 30 oz bread flour
- 2 oz melted butter
Instructions
- Boil, mash, and measure the potato water and mashed potato.
- Add all ingredients to a stand mixer and mix on low, then knead on medium for 7-10 minutes until smooth and stretchy.
- Refrigerate the dough for 8-16 hours, then divide into two, shape into logs, and place in pans.
- Let the dough rise at room temperature until it exceeds the pan top by about an inch, then bake at 350°F for 30-40 minutes until golden and internal temperature reaches 195-200°F.
- Brush with melted butter, cool in pans for 15 minutes, then cool completely on racks.


