
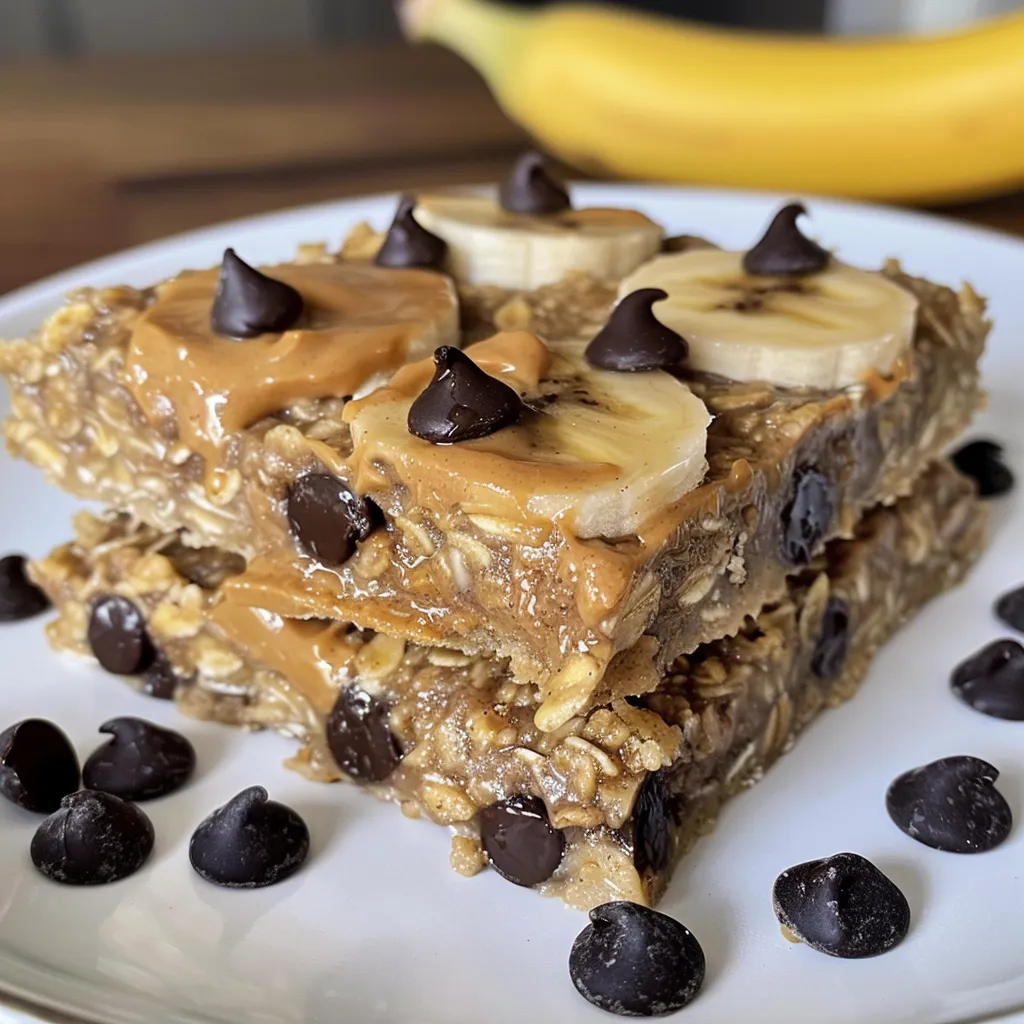
Welcome to the delightful world of Banana Peanut Butter Oatmeal Bars! If you’re looking for a quick, nourishing snack that can double as breakfast or even dessert, you’ve stumbled upon the right recipe. These bars are loaded with wholesome ingredients, are easy to make, and are perfect for those busy days when you need a delicious pick-me-up. Let’s dive into why you’ll absolutely love this recipe, and how to make it a staple in your kitchen!
Why You’ll Love This Recipe
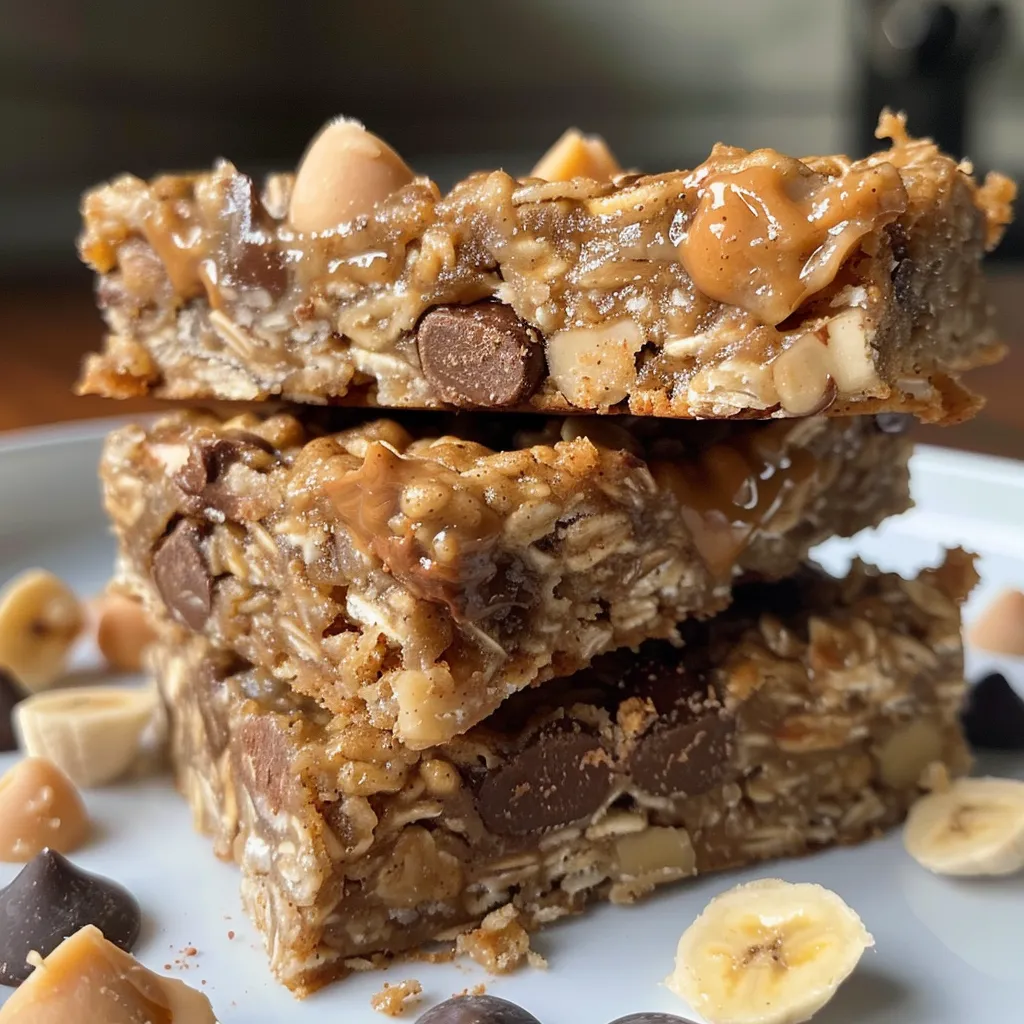
These Banana Peanut Butter Oatmeal Bars are not just any snack; they are a celebration of flavor and health! Here are five reasons why this recipe is a must-try:
- Nutritious Ingredients: Packed with rolled oats, ripe bananas, and creamy peanut butter, these bars are a great source of fiber and protein.
- Quick and Easy: With just a few simple steps, you can whip up a batch in under 30 minutes, making it perfect for busy mornings.
- Customizable: Feel free to add your favorite mix-ins, whether it’s nuts, seeds, or dried fruits, to make these bars your own.
- Versatile Snack: Whether you need a mid-afternoon energy boost or a post-workout snack, these bars can be enjoyed any time of the day.
- Freezable: Make a big batch and store them in the freezer for quick snacks anytime!
Ingredient Breakdown and Substitutions
Let’s take a closer look at the ingredients that make these bars so special. Each component plays a vital role in flavor and texture.
- Rolled Oats: The base of the recipe. You can use quick oats or old-fashioned rolled oats, depending on your texture preference.
- Cinnamon: Adds warmth and enhances the sweetness of the bananas.
- Salt: A pinch helps balance the flavors and brings out the sweetness.
- Baking Powder: Provides a little lift, making the bars perfectly chewy.
- Ripe Bananas: The star ingredient! Use bananas that are very ripe for the best natural sweetness and moisture.
- Peanut Butter: Creamy or chunky, it adds richness and healthy fats. If you’re allergic, almond butter is a great alternative!
- Maple Syrup: This natural sweetener adds a lovely flavor. Honey can be used as a substitute if preferred.
- Vanilla Extract: Enhances the overall flavor profile.
- Dark Chocolate Chips: Optional but recommended for a touch of indulgence!
Steps to Make These Delicious Bars
Ready to get started? Follow these simple steps to create your Banana Peanut Butter Oatmeal Bars:
- Preheat your oven to 350°F (175°C) and line an 8×8 inch baking pan with parchment paper.
- In a large mixing bowl, combine the rolled oats, cinnamon, salt, and baking powder.
- In another bowl, mash the ripe bananas. Then, add the peanut butter, maple syrup, and vanilla extract, mixing until well combined.
- Pour the wet mixture into the dry ingredients and stir until just combined. Fold in the dark chocolate chips.
- Spread the mixture evenly in the prepared baking pan, using a spatula. Optionally, sprinkle a few more chocolate chips on top.
- Bake in the preheated oven for about 20-25 minutes, or until the edges turn golden brown.
- Let the bars cool for 10 minutes before removing from the pan and slicing into squares.
Pro Tips for Perfect Oatmeal Bars
To ensure your bars turn out perfectly every time, keep these expert insights in mind:
- Banana Ripeness: The riper the bananas, the sweeter and more flavorful your bars will be!
- Mix Gently: When combining wet and dry ingredients, mix just until combined to avoid tough bars.
- Custom Mix-Ins: Feel free to add nuts, seeds, or dried fruits for added texture and flavor.
- Texture Preference: For chewier bars, bake closer to 25 minutes; for firmer bars, aim for 30 minutes.
- Cooling Time: Allowing the bars to cool completely will help them set and make slicing easier.
- Storage Tips: Store in an airtight container for up to a week, or freeze for up to 3 months.
Common Mistakes and Troubleshooting
Even the best of us can make mistakes in the kitchen! Here are a few common pitfalls and how to avoid them:
- Overmixing: This can lead to dense bars. Mix just until combined!
- Not Enough Ripeness: Using bananas that aren’t ripe enough can result in bland bars. Aim for very ripe bananas.
- Baking Time: Keep an eye on the baking time, as ovens can vary. Check for golden edges!
Fun Variations to Try
Want to switch things up? Here are some fun variations to consider:
- Nutty Banana Bars: Add chopped walnuts or almonds for an added crunch.
- Spiced Pumpkin Bars: Substitute pumpkin puree for bananas and add pumpkin spice for a seasonal twist.
- Chocolate Almond Joy Bars: Add shredded coconut and replace peanut butter with almond butter for a tropical flair.
- Fruit and Nut Medley: Mix in dried cranberries or chopped dates for a sweet and chewy texture.
Storage and Make-Ahead Instructions
These bars are perfect for meal prep! Here’s how to store them:
- Room Temperature: Store in an airtight container for up to 5 days.
- Refrigerator: For a longer shelf life, keep them in the fridge for up to a week.
- Freezer: For up to 3 months, wrap each bar in plastic wrap and place in a freezer bag.
Frequently Asked Questions
Got questions? We’ve got answers! Here are some commonly asked questions about these bars:
- Can I use quick oats instead of rolled oats? Yes, quick oats can be used, but the texture will be slightly different.
- How can I make these bars gluten-free? Simply use certified gluten-free oats!
- What can I use instead of peanut butter? Almond butter or sunflower seed butter are great alternatives.
- Can I add protein powder? Yes! You can add protein powder for an extra boost, just adjust the moisture accordingly.
- How do I know when they are done baking? The edges should turn golden brown, and a toothpick inserted in the center should come out clean.
- Can I make these bars without added sugar? Absolutely! Using very ripe bananas can naturally sweeten the bars.
- Do these bars freeze well? Yes, they freeze beautifully and are perfect for a quick snack!
- How can I enhance the flavor? Consider adding spices like nutmeg or cardamom for extra warmth.
Nutritional Tips and Dietary Adaptations
These bars are not only delicious but also packed with nutrients! Here’s how to adapt them for various dietary needs:
- Vegan Option: Use maple syrup and a plant-based nut butter.
- Dairy-Free: Ensure your chocolate chips are dairy-free or omit them.
- Low Sugar: Reduce the maple syrup and rely more on the natural sweetness of the bananas.
Equipment Recommendations
To make your cooking experience smoother, here are a few tools I recommend having on hand:
- Mixing Bowls: A set of different sizes for mixing ingredients.
- Rubber Spatula: Perfect for folding in the chocolate chips and transferring the mixture.
- Measuring Cups and Spoons: Accurate measurements ensure consistent results.
- Baking Pan: An 8×8 inch pan is ideal for this recipe.
Serving Suggestions
These bars are incredibly versatile! Here are a few serving ideas to consider:
- With Yogurt: Crumble a bar over your morning yogurt for added texture and sweetness.
- With Fresh Fruit: Pair with sliced bananas or berries for a colorful breakfast.
- As a Dessert: Drizzle with melted chocolate or serve with a scoop of ice cream for a decadent treat.
In conclusion, these Banana Peanut Butter Oatmeal Bars are not only easy to make but also packed with flavor and nutrition! I hope you enjoy making them as much as I do. Remember, cooking is all about experimentation and fun, so don’t be afraid to make this recipe your own! Happy cooking, my friends!
Banana Peanut Butter Oatmeal Bars
Ingredients
Dry ingredients
- 2 cups rolled oats
- 2 tsp cinnamon
- 1/4 tsp salt
- 1/2 tsp baking powder
Wet ingredients
- 2 ripe bananas bananas (approximate 1 cup mashed)
- 1/2 cup peanut butter (creamy or runny is best)
- 1/3 cup maple syrup (can sub honey)
- 1 tsp vanilla extract
Chocolate chips
- 1/3 cup dark chocolate chips
Instructions
- Preheat oven to 350°F (175°C). Line an 8x8 inch pan with parchment paper.
- Mix dry ingredients: oats, cinnamon, salt, and baking powder.
- Mash bananas and combine with peanut butter, maple syrup, and vanilla.
- Combine wet and dry mixtures, then fold in chocolate chips. Spread into pan.
- Bake for 20-25 minutes until edges are golden. Cool for 10 minutes before slicing.
![['Side view of a golden-brown Buttermilk Quick Bread with melted cheese.', 'Close-up of a slice of Buttermilk Quick Bread, showcasing mozzarella and parmesan.', 'Textured surface of Buttermilk Quick Bread with cheese strands visible.', 'Juicy, soft Buttermilk Quick Bread with a crusty exterior and cheese melting out.']](https://snacknova.com/wp-content/uploads/2026/06/buttermilk-quick-bread_1_U1-1-150x150.webp)