
Discover the Joy of Making Chocolate Peanut Butter Crunch Bars!
Welcome to the delightful world of Chocolate Peanut Butter Crunch Bars! If you’re looking for a quick, no-bake treat that combines the rich flavors of chocolate and peanut butter with the satisfying crunch of rice cereal, you’ve come to the right place. This recipe is not just easy to follow; it’s also a fantastic way to bring a smile to your face and those of your loved ones. Get ready to roll up your sleeves and create something truly scrumptious that will make snack time or dessert feel extra special!
Why You’ll Love This Recipe
These Chocolate Peanut Butter Crunch Bars are more than just a sweet treat; they’re a culinary experience! Here are some reasons why you’ll adore whipping them up:
- Quick and Easy: With simple ingredients and no baking required, you can whip these up in no time!
- Versatile Treat: Perfect for snack time, dessert, or even as a post-workout boost—these bars fit any occasion.
- Nutritious Ingredients: Packed with peanut butter and whole grains from rice cereal, they offer a satisfying crunch without the guilt.
- Customizable: Feel free to add your favorite mix-ins, like nuts or dried fruit, to make them your own!
- Kid-Friendly: These bars are fun to make with kids, turning kitchen time into a bonding experience.
Ingredients Breakdown
Let’s dive into the ingredients that make these bars so delicious. Each component plays a vital role, so understanding them will help you master this recipe!

★ Recommended Kitchen Tool
Silicone Baking Cups Set
Make this recipe even easier with a quality Silicone Baking Cups Set — a must-have kitchen staple!
- Rice Crisp Cereal (3 cups): Provides the delightful crunch. You can substitute with gluten-free rice cereal if needed.
- Brown Rice Syrup (1/2 cup): Acts as a sweetener and binding agent. Honey or maple syrup can be used as alternatives.
- Light Brown Sugar (1/4 cup): Adds sweetness and a rich flavor. Feel free to adjust the amount based on your sweetness preference.
- Creamy Peanut Butter (3/4 cup): The star of the show! Use natural peanut butter for a healthier option—just ensure it’s well-stirred.
- Cocoa Powder (1/4 cup): Provides that luscious chocolate flavor. You can use unsweetened or sweetened cocoa based on your taste.
- Pure Vanilla Extract (2 teaspoons): Enhances the overall flavor. Always opt for pure extract over synthetic for the best taste.
- Mini Chocolate Chips (3/4 cup): Adds extra chocolatey goodness. Use dairy-free chips if you want a vegan option.
- Additional Peanut Butter (1/2 cup): For the chocolate topping—this gives a creamy finish!
- Chopped Peanuts (optional): For an added crunch and garnish. You can also use other nuts like almonds or cashews.
Step-by-Step Instructions
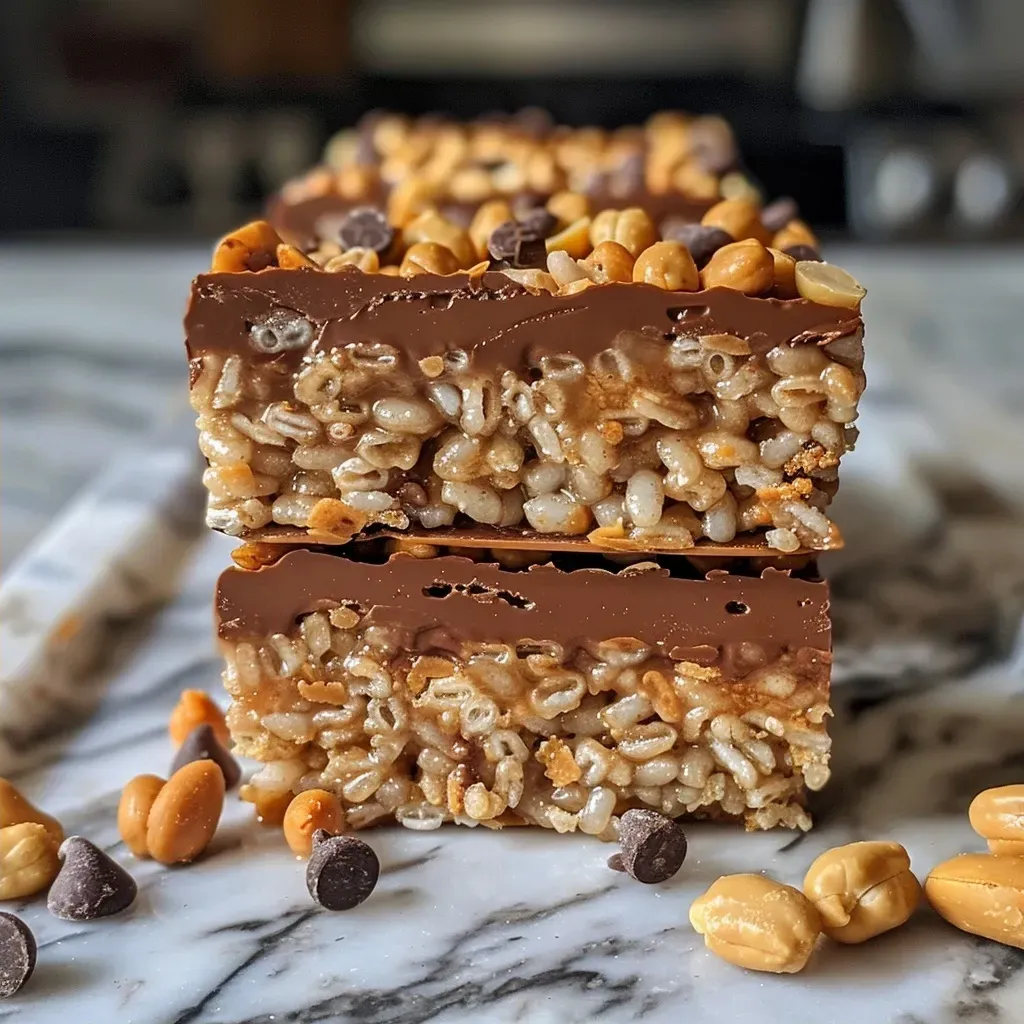
Ready to make these delicious bars? Follow these easy steps for a guaranteed success:
- Line an 8 x 8-inch baking dish with parchment paper and set aside.
- Pour the rice cereal into a large bowl and set aside.
- In a saucepan over medium heat, combine the brown rice syrup and brown sugar. Stir well until it becomes bubbly (about 2-3 minutes). Remove from heat.
- Quickly add the peanut butter, cocoa powder, and vanilla to the warm syrup mixture. Stir until well combined.
- Pour this mixture over the rice cereal and gently fold together using a spatula until well-coated. It will seem thick, but keep mixing!
- Transfer the mixture to the prepared pan, pressing it down firmly into an even layer.
- In a microwave-safe bowl, combine the chocolate chips and remaining peanut butter. Microwave at 50% power in 30-second increments, stirring in between, until melted and smooth.
- Spread the melted chocolate mixture over the cereal layer, tapping the pan to even it out. Sprinkle with chopped peanuts and additional chocolate chips if desired.
- Refrigerate the pan for 30-60 minutes until the chocolate is set.
- Once set, lift the bars out using the parchment paper and slice into squares. Store in an airtight container at room temperature for 5-7 days, or freeze for up to 3 months!
Pro Tips for Perfect Bars
Here are some expert insights to help you avoid common pitfalls and elevate your bars to perfection:
- Use Fresh Ingredients: Ensure your peanut butter and rice cereal are fresh for the best flavor and texture.
- Press Firmly: When pressing down the mixture in the pan, use firm pressure to help the bars hold together.
- Don’t Skip the Refrigeration: Allowing the bars to chill is crucial for the chocolate to set properly.
- Experiment with Flavors: Try adding a pinch of sea salt or a splash of espresso powder for a flavor boost.
- Keep it Clean: Use a spatula or a spoon coated in a little oil when mixing to prevent sticking.
- Watch the Microwave: Melting chocolate can burn quickly—stir often and go slow!
- Store Properly: Use an airtight container to keep your bars fresh and prevent them from drying out.
- Cut with Care: Use a sharp knife to cut the bars for cleaner edges—warm the knife with hot water for even easier slicing!
Common Mistakes and Troubleshooting
Even the best bakers encounter challenges. Here’s how to troubleshoot common issues you might face:
- Bars are too crumbly: If your bars fall apart, try adding a bit more syrup or peanut butter to bind them better.
- Too sweet: Reduce the amount of sugar or omit the chocolate topping for a less sweet treat.
- Chocolate doesn’t set: Ensure your refrigerator is cold enough, or let the bars chill for a longer time.
- Sticking to the pan: Always use parchment paper to line the pan, making it easy to lift out the bars.
Fun Variations to Try
Feeling adventurous? Here are some fun variations to give your bars a twist:
- Nutty Delight: Add chopped almonds or walnuts for an extra crunch and flavor.
- Fruit Fusion: Mix in dried cranberries, raisins, or chopped dates for a fruity touch.
- Minty Fresh: Add a few drops of peppermint extract for a refreshing mint-chocolate version.
- Spicy Kick: Incorporate a dash of cayenne pepper or chili powder for a surprising heat!
Storage and Make-Ahead Instructions
These bars are perfect for meal prep! Here’s how to store them:
- Room Temperature: Keep in an airtight container at room temperature for 5-7 days.
- Refrigerated: Extend freshness by storing in the fridge for up to 2 weeks.
- Freezing: Wrap individual bars in plastic wrap and place them in a freezer-safe bag for up to 3 months. Thaw at room temperature before enjoying!
Frequently Asked Questions (FAQs)
Here are some common questions about Chocolate Peanut Butter Crunch Bars:
- Can I make these bars vegan? Yes! Use vegan chocolate chips and ensure your peanut butter is dairy-free.
- What can I substitute for brown rice syrup? Honey or maple syrup can work in a pinch, but they may alter the texture slightly.
- Do these bars need to be refrigerated? They can be stored at room temperature, but refrigeration helps them last longer.
- Can I use crunchy peanut butter? Absolutely! It will add a delightful texture to your bars.
- How do I know when they are set? The chocolate topping should be firm to the touch, and the bars should hold their shape when cut.
- Can I add protein powder to the recipe? Yes! Just replace a small amount of the rice cereal with protein powder for a nutritional boost.
- What’s the best way to cut these bars? Use a sharp knife and warm it with hot water for clean cuts.
- Can I use other cereals? Definitely! Feel free to experiment with cornflakes or other puffed cereals for different textures.
Nutritional Tips and Dietary Adaptations
These bars can fit into various dietary needs with a few tweaks:
- Gluten-Free: Ensure all ingredients, particularly the rice cereal, are certified gluten-free.
- Low Sugar: Reduce the amount of brown sugar and skip the chocolate topping for a lower-sugar treat.
- High Protein: Add protein powder or use a nut butter high in protein for an extra nutritional punch.
- Dairy-Free: Use dairy-free chocolate chips and nut butters to keep it fully dairy-free.
Equipment Recommendations
Having the right tools can make your cooking experience smoother:
- 8 x 8-inch Baking Dish: Perfect size for this recipe—make sure it’s deep enough to handle the mixture.
- Spatula: A silicone spatula works great for mixing and pressing the ingredients.
- Microwave-Safe Bowl: Essential for melting chocolate and peanut butter together.
- Parchment Paper: Lining the baking dish will make clean-up a breeze!
Serving Suggestions
These bars are delicious on their own, but here are some fun serving ideas:
- Pair with Milk: Enjoy with a glass of cold milk, almond milk, or your favorite dairy-free alternative.
- Top with Fresh Fruit: Serve alongside banana slices or strawberries for a refreshing contrast.
- Present as Gifts: Wrap them in decorative paper and give them as homemade gifts—they’re sure to impress!
In Conclusion
And there you have it—your complete guide to making Chocolate Peanut Butter Crunch Bars! With this easy recipe, you can turn simple ingredients into a delicious treat that’s perfect for any occasion. So gather your ingredients, channel your inner kitchen wizard, and let the crunching begin! Remember, cooking should be joyful, so don’t stress—just have fun and enjoy the delicious results. Happy baking!
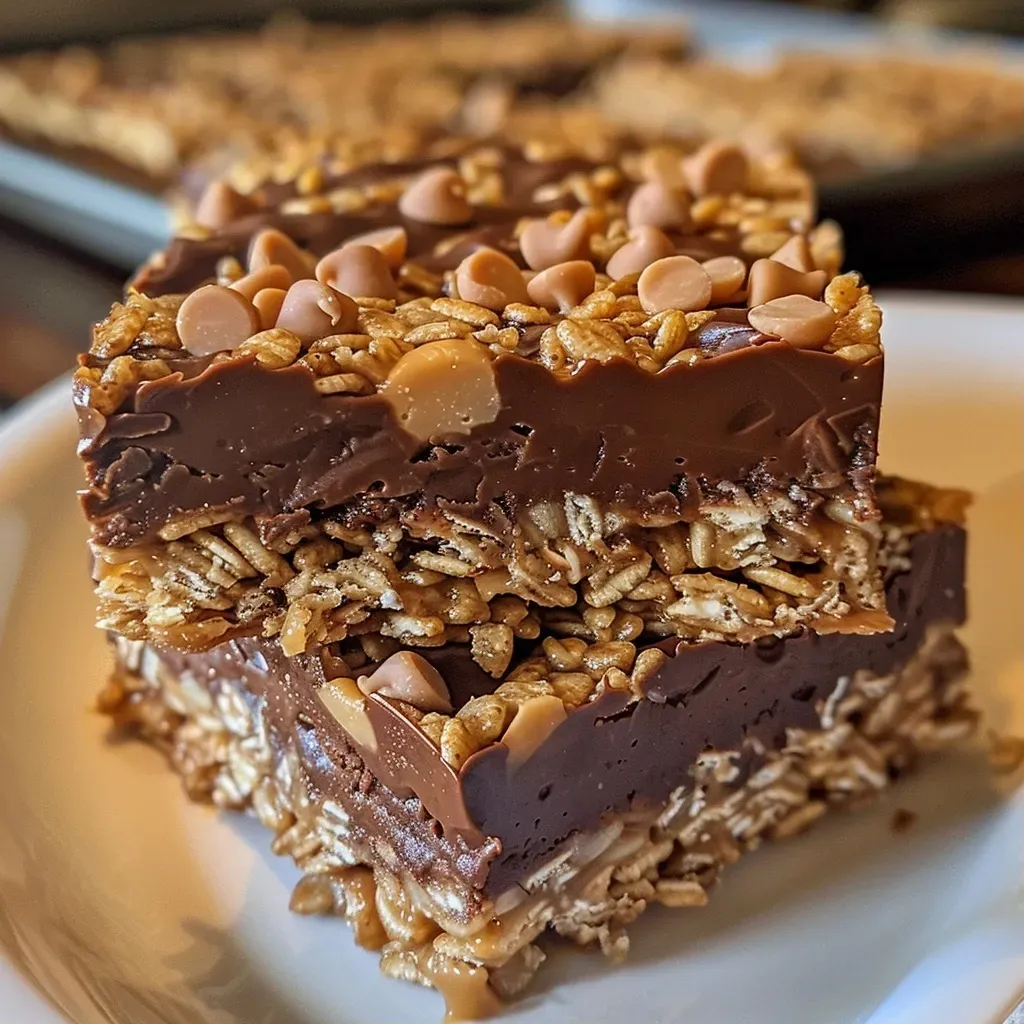
Chocolate Peanut Butter Crunch Bars
Ingredients
Base
- 3 cups rice crisp cereal
- 1/2 cup brown rice syrup
- 1/4 cup light brown sugar
- 3/4 cup creamy peanut butter (low sodium if preferred)
- 1/4 cup cocoa powder
- 2 teaspoons pure vanilla extract
- 3/4 cup mini chocolate chips (plus more for optional topping)
- 1/2 cup creamy peanut butter (low sodium if preferred)
Optional Topping
- to taste Chopped Peanuts (optional)
Instructions
-
Line an 8×8-inch pan with parchment paper.
-
Mix rice cereal in a bowl. In a saucepan, heat brown rice syrup and brown sugar until bubbly, then remove from heat.
-
Stir in peanut butter, cocoa powder, and vanilla. Combine with cereal until well coated.
-
Press mixture into prepared pan. Melt chocolate chips and peanut butter, then spread over the mixture. Add toppings if desired.
-
Refrigerate for 30-60 minutes until set. Cut into squares and store.

![['Close-up of chocolate peanut butter pretzel energy balls, showcasing their texture and components.', 'Side view of delicious energy balls made with oats, peanut butter, pretzels, and chocolate chips.', 'Juicy chocolate peanut butter pretzel energy balls arranged on a surface, highlighting their crunchy and chewy aspects.', 'A detailed look at energy balls featuring a mix of oats, pretzel pieces, and chocolate, perfect for a snack.']](https://snacknova.com/wp-content/uploads/2026/06/chocolate-peanut-butter-pretzel-energy-balls_1_U1-1-150x150.webp)
![['A close-up side view of a delicious maple walnut tart, showcasing its golden crust and walnut topping.', 'A detailed side view of a maple walnut tart with a flaky crust and a rich filling, garnished with walnuts.', 'Close-up shot of a maple walnut tart, emphasizing its texture and the glossy glaze over the walnuts.', 'Side view image of a maple walnut tart, highlighting the crust and toasted walnuts on top.']](https://snacknova.com/wp-content/uploads/2026/07/maple-walnut-tart_1_U1-150x150.webp)