Welcome to Your Delicious Olive Garden Breadstick Adventure!
Are you ready to embark on a scrumptious journey to recreate the famous Olive Garden breadsticks right in your own kitchen? This irresistible copycat recipe will have your family and friends raving, and it’s easier than you might think! With warm, buttery flavors and a delightful chewiness, these breadsticks are perfect for any meal or gathering. Let’s dive into the fun of making your own Olive Garden breadsticks!
Why You’ll Love This Recipe
Making your own Olive Garden breadsticks at home brings joy and satisfaction. Here are a few reasons why this recipe will quickly become a favorite:
- Quick and Easy: This recipe is straightforward, making it perfect for anyone, even if you’re new to baking!
- Customize Your Flavors: You can easily tweak the ingredients to suit your taste, whether you want to add more garlic or try different herbs.
- Perfect for Sharing: These fluffy breadsticks are great for family meals or dinner parties, bringing everyone together around the table.
- Budget-Friendly: Skip the restaurant bill and enjoy a delicious treat made from inexpensive ingredients.
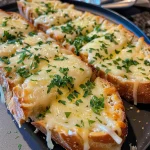
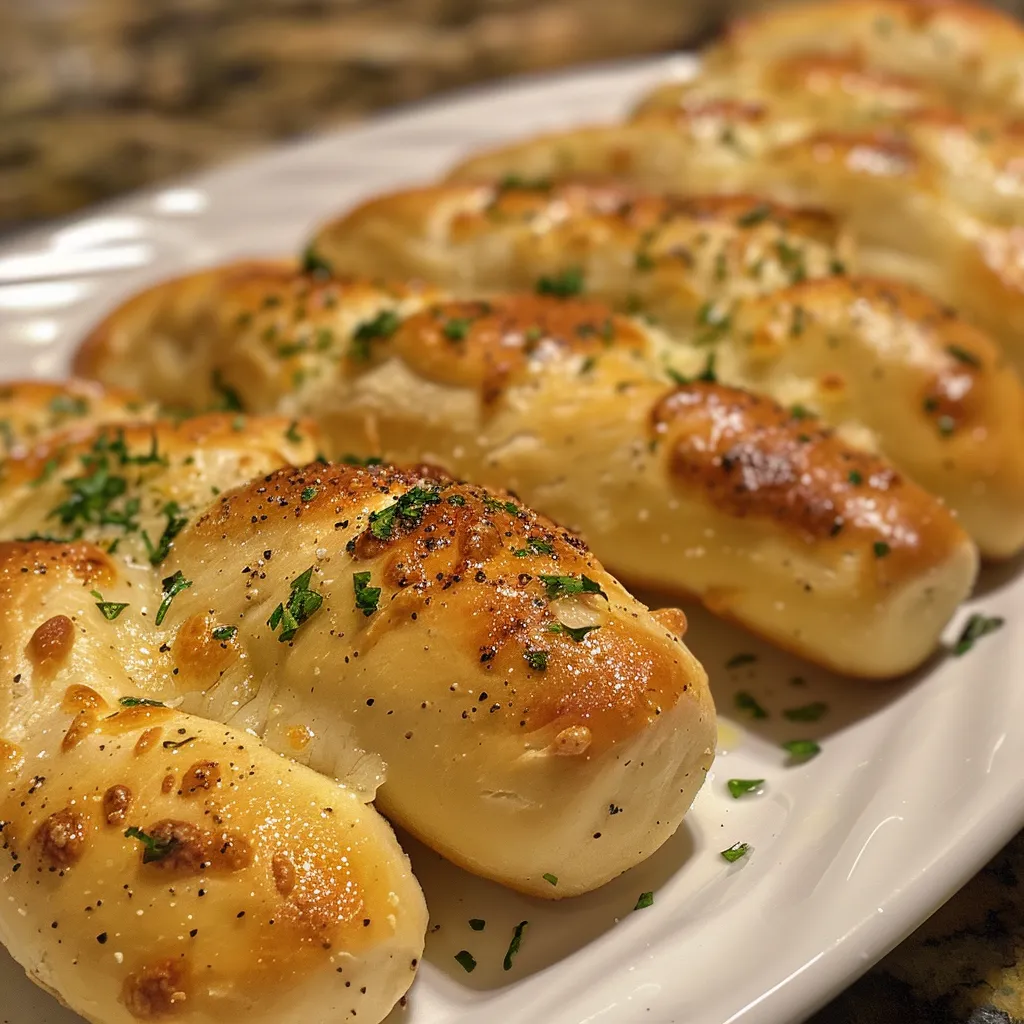
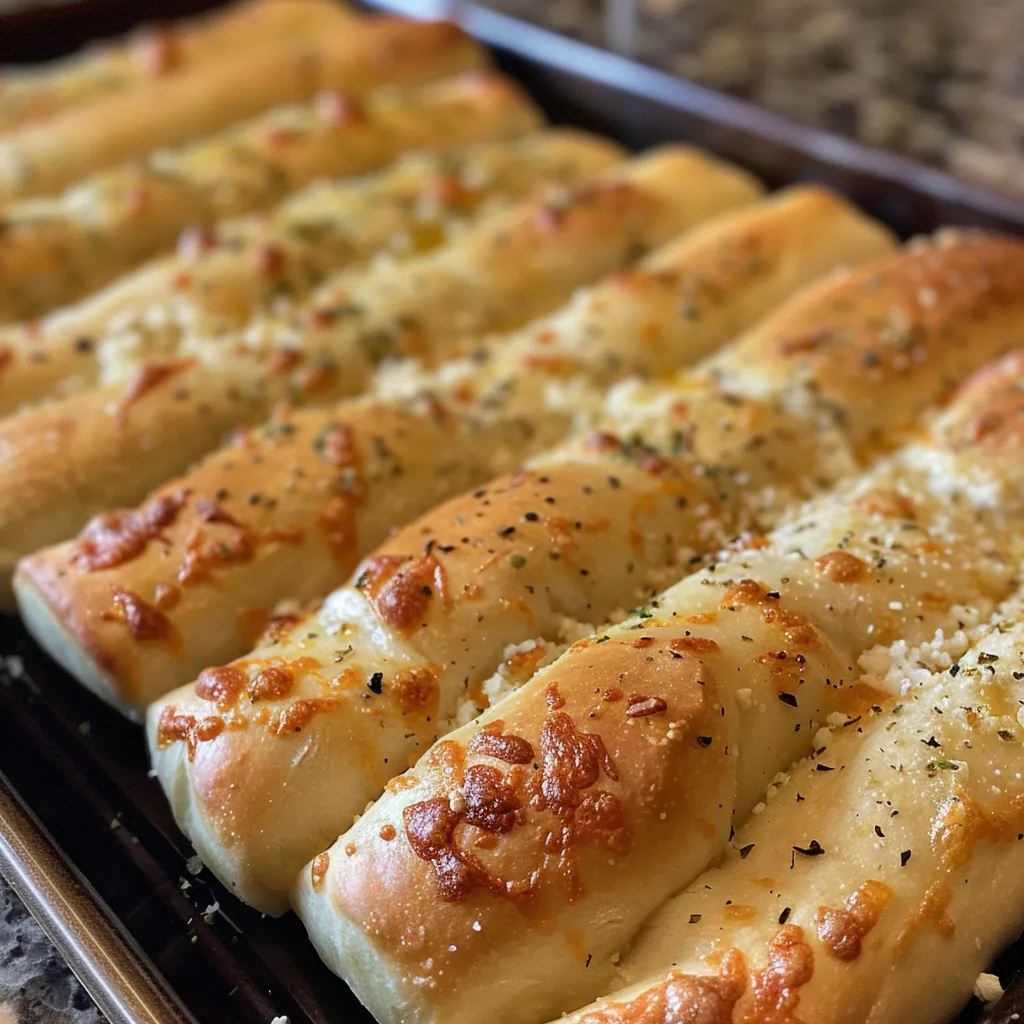
- Impressive Presentation: Serve warm, golden brown breadsticks brushed with garlic butter for a delightful touch that will wow your guests!
Ingredients You’ll Need
Let’s gather our ingredients! Here’s what you’ll need to whip up these amazing breadsticks:
- 4 cups all-purpose flour: This is the foundation of your dough, creating a lovely structure and texture.
- 1 tablespoon sugar: Helps activate the yeast and adds a touch of sweetness.
- 1 tablespoon salt: Balances flavors and enhances the overall taste.
- 2 teaspoons instant yeast: This is the magic ingredient that makes your breadsticks rise beautifully!
- 1 ½ cups warm water: Ideal for activating the yeast; ensure it’s around 100-110°F.
- ¼ cup unsalted butter (melted): Adds richness and flavor to the dough.
- 2 tablespoons garlic powder: A must for that signature garlic bread flavor.
- 2 tablespoons Italian seasoning: Gives your breadsticks an aromatic touch.
- ½ cup grated Parmesan cheese: Adds a savory finish to your baked breadsticks.
- Extra melted butter for brushing: To give your breadsticks that irresistible shine and flavor!
Step-by-Step Instructions
Let’s get cooking! Follow these simple steps to create your fabulous breadsticks:
- In a large mixing bowl, combine warm water, sugar, and instant yeast. Let it sit for about 5-10 minutes until frothy.
- In another bowl, whisk together the flour and salt.
- Once the yeast mixture is frothy, add the melted butter. Gradually add the flour mixture, stirring until a dough forms.
- Transfer the dough to a floured surface and knead for about 5-7 minutes until smooth and elastic.
- Place the dough in a greased bowl, cover with a damp cloth, and let it rise in a warm place for about 1 hour until doubled in size.
- Punch the dough down, divide it into 12 equal pieces, and roll each into a long stick, about 6-8 inches long.
- Cover the shaped breadsticks with a cloth and let them rise for another 30 minutes.
- Preheat your oven to 400°F (200°C).
- Bake the breadsticks for 12-15 minutes or until golden brown.
- Melt about ¼ cup of butter in a small saucepan, stir in garlic powder, Italian seasoning, and a pinch of salt.
- Brush the baked breadsticks with the garlic butter mixture and sprinkle with grated Parmesan cheese.
- Serve warm with marinara sauce or your favorite dipping sauce!
Pro Tips for Perfect Breadsticks
To ensure your breadsticks turn out perfectly every time, check out these expert tips:
- Use the right flour: All-purpose flour works well, but for chewier breadsticks, consider using bread flour for extra gluten strength.
- Monitor your yeast: Always check the expiration date on your yeast to ensure it’s fresh for optimal rising.
- Water temperature matters: Make sure your water isn’t too hot, as it can kill the yeast. Aim for a temperature around 100-110°F.
- Don’t rush the rising: Allow the dough to rise fully; this is crucial for achieving fluffy breadsticks.
- Experiment with toppings: Feel free to add different herbs or cheese on top before baking for added flavor!
- Brush immediately: Brush the garlic butter mixture on the breadsticks right after they come out of the oven for maximum flavor absorption.
- Storage solutions: Store any leftovers in an airtight container at room temperature; they’ll stay fresh for a couple of days.
- Reheat properly: To enjoy warm breadsticks later, reheat them in the oven rather than the microwave to keep them from getting soggy.
Common Mistakes & Troubleshooting
If you encounter issues, don’t worry! Here are some common mistakes and how to fix them:
- Dough not rising: Ensure your yeast is fresh, and the warm water is at the right temperature.
- Dense breadsticks: This can happen if the dough is over-kneaded or not allowed to rise long enough.
- Too salty: Double-check your salt measurements, as too much can overpower the flavor.
- Burnt tops: If your breadsticks are browning too quickly, cover them with foil during baking.
Recipe Variations
Ready to switch things up? Here are a few delicious variations you can try:
- Cheesy Breadsticks: Add shredded mozzarella cheese into the dough and sprinkle more on top before baking.
- Herb-Infused: Mix fresh herbs like rosemary or thyme into the dough for a fragrant twist.
- Spicy Breadsticks: Incorporate a pinch of red pepper flakes into the dough for a kick!
- Garlic Parmesan Knots: Shape the dough into knots instead of sticks for a fun presentation.
Storage & Make-Ahead Instructions
Want to make these breadsticks in advance? Here’s how:
- Make-Ahead: You can prepare the dough ahead of time and refrigerate it for up to 2 days. Just let it come to room temperature before shaping.
- Freezing: Shape the unbaked breadsticks, place them on a baking sheet, freeze until solid, then transfer to a freezer bag. Bake from frozen, adding a few extra minutes to the baking time.
- Storing: Keep leftover breadsticks in an airtight container at room temperature for up to 2 days or refrigerate for up to a week.
Comprehensive FAQ
Got questions? We’ve got answers! Here are some frequently asked questions:
- Can I use all-purpose flour instead of bread flour? Yes, all-purpose flour works perfectly fine for this recipe!
- What if I don’t have instant yeast? You can substitute with active dry yeast, but you’ll need to proof it first.
- How can I tell if my dough has risen enough? The dough should double in size and feel light and airy to the touch.
- Can I add other flavors to the dough? Absolutely! Feel free to experiment with spices and herbs to suit your taste.
- How do I know when my breadsticks are done baking? They should be golden brown and sound hollow when tapped on the bottom.
- Can I make these ahead of time? Yes, you can prepare the dough and refrigerate it or freeze unbaked breadsticks.
- What dipping sauces pair well with these breadsticks? Marinara sauce, garlic butter, or even ranch dressing are great choices!
- Can I make these breadsticks vegan? Substitute the butter with a plant-based version and skip the cheese for a vegan-friendly option!
Nutritional Tips & Dietary Adaptations
If you’re looking for ways to adapt this recipe for dietary needs, here are some tips:
- Gluten-Free: Use a 1:1 gluten-free flour blend to make these breadsticks gluten-free.
- Lower Carb Option: Try using almond flour or coconut flour, but be aware that it may affect the texture.
- Reduced Fat: You can cut back on the butter, but keep in mind it will alter the flavor and richness.
Essential Equipment for Success
Before you start, make sure you have the right tools:
- Mixing Bowls: A large bowl for mixing and a smaller one for proofing the yeast.
- Measuring Cups and Spoons: Accurate measurements are key to baking!
- Rolling Pin: For shaping your dough into sticks easily.
- Baking Sheet: A sturdy baking sheet ensures even baking.
- Kitchen Towel: To cover your dough while it rises.
Serving Suggestions
How to enjoy your delicious Olive Garden breadsticks? Here are a few serving ideas:
- With Dipping Sauces: Serve alongside marinara sauce, garlic butter, or your favorite dressing for a delicious treat.
- As a Side Dish: Pair with pasta dishes, soups, or salads for a complete meal.
- For Snacking: Enjoy them warm right out of the oven as a tasty snack!
Final Thoughts
Now that you have all the tools to create your very own Olive Garden breadsticks, it’s time to get started! Remember, cooking is all about having fun and experimenting. Don’t stress if things don’t go perfectly—embrace the process and enjoy the delicious results. Happy baking, and may your kitchen be filled with the mouthwatering aroma of freshly baked breadsticks!
The Perfect Copycat Olive Garden Breadsticks
Ingredients
Dough
- 4 cups all-purpose flour
- 1 tablespoon sugar
- 1 tablespoon salt
- 2 teaspoons instant yeast
- 1 ½ cups warm water
- ¼ cup unsalted butter (melted)
- 2 tablespoons garlic powder
- 2 tablespoons Italian seasoning
- ½ cup grated Parmesan cheese
Garlic butter
- ¼ cup melted butter (for brushing)
- 2 teaspoons garlic powder
- 2 teaspoons Italian seasoning
- Pinch salt
Instructions
- Mix warm water, sugar, and yeast; let sit until frothy.
- Combine flour and salt; add to yeast mixture with melted butter, knead into a smooth dough.
- Divide dough into 12 pieces, roll into sticks, let rise 30 minutes.
- Preheat oven to 400°F (200°C), bake breadsticks for 12-15 minutes until golden.
- Melt butter, stir in garlic powder, Italian seasoning, brush on breadsticks, sprinkle Parmesan.