
![['Close-up side view of a juicy protein bar with a shiny chocolate coating.', 'Detailed view of a protein bar showcasing a rich peanut butter and chocolate blend.', 'Side perspective of a delicious protein bar highlighting its texture and ingredients.', 'Artistic close-up of a protein bar emphasizing its gooey center and coating.']](https://snacknova.com/wp-content/uploads/2026/06/protein-bars_1_U1-2.webp "Fuel Your Day: Deliciously Customizable Protein Bars Made Easy!")
Welcome, food lovers and health enthusiasts! If you’re looking to boost your snacking game, you’ve landed in the right place. Today, we’re diving into the world of protein bars—those handy little snacks that can fit right into your busy life while keeping your energy levels high. Imagine whipping up a batch of homemade protein bars that not only taste amazing but also pack a nutritional punch. Let’s embark on this flavorful journey together!
Why You’ll Love This Recipe
Creating your own protein bars at home is not just about saving money; it’s about crafting something that suits your taste and dietary needs. Here are a few reasons why you’ll fall in love with this recipe:
- Customizable flavors: Tailor the recipe to suit your favorite tastes, from chocolatey goodness to fruity delights.
- Healthy ingredients: You control what goes in, ensuring no artificial additives or preservatives.
- Quick and easy: Whip these up in no time with minimal effort—perfect for busy schedules!
- Nutritious boost: Packed with protein, these bars can keep you full and energized for hours.
- Fun for everyone: Whether you’re a seasoned chef or a kitchen newbie, this recipe is straightforward and enjoyable to make!
Ingredients Breakdown
Let’s take a closer look at what you’ll need to create these delicious protein bars, along with some easy substitutions for those with dietary restrictions:

★ Recommended Kitchen Tool
Digital Kitchen Scale
Make this recipe even easier with a quality Digital Kitchen Scale — a must-have kitchen staple!
- 1 1/2 cup peanut butter (or allergy-friendly sub like almond butter or sunflower seed butter): This is your main binding agent and source of healthy fats.
- 3/4 cup protein powder (90g): Choose your favorite flavor—vanilla, chocolate, or even a plant-based option!
- 1/4 cup pure maple syrup (or honey, or try these Keto Protein Bars): This adds natural sweetness and helps bind the ingredients together.
- 1/2 tsp salt: Just a pinch to enhance the flavors.
- 4 oz melted chocolate chips (optional): For those who want to indulge a little more, this is a great topping!
- Flavor variations: Consider adding spices like cinnamon or vanilla extract to elevate the taste.
How to Make Your Protein Bars
Now that we have our ingredients ready, let’s get to the fun part—making the bars! Follow these simple steps:
- Prepare your workspace: Gather all ingredients and tools, like a mixing bowl and a lined baking pan (8×8 inches works great).
- Mix it up: In the mixing bowl, combine all ingredients except the chocolate chips. Stir until a dough forms.
- Shape your bars: You can either shape the mixture into bars by hand or press it into the lined baking pan.
- Chill: Place the pan in the refrigerator for about 30 minutes to firm up the bars.
- Add chocolate (if using): Melt chocolate chips and drizzle over the chilled bars, or dip each bar in the chocolate for a delectable coating.
- Slice and enjoy: Once set, cut into bars and store them in an airtight container in the fridge.
Pro Tips for Perfect Protein Bars
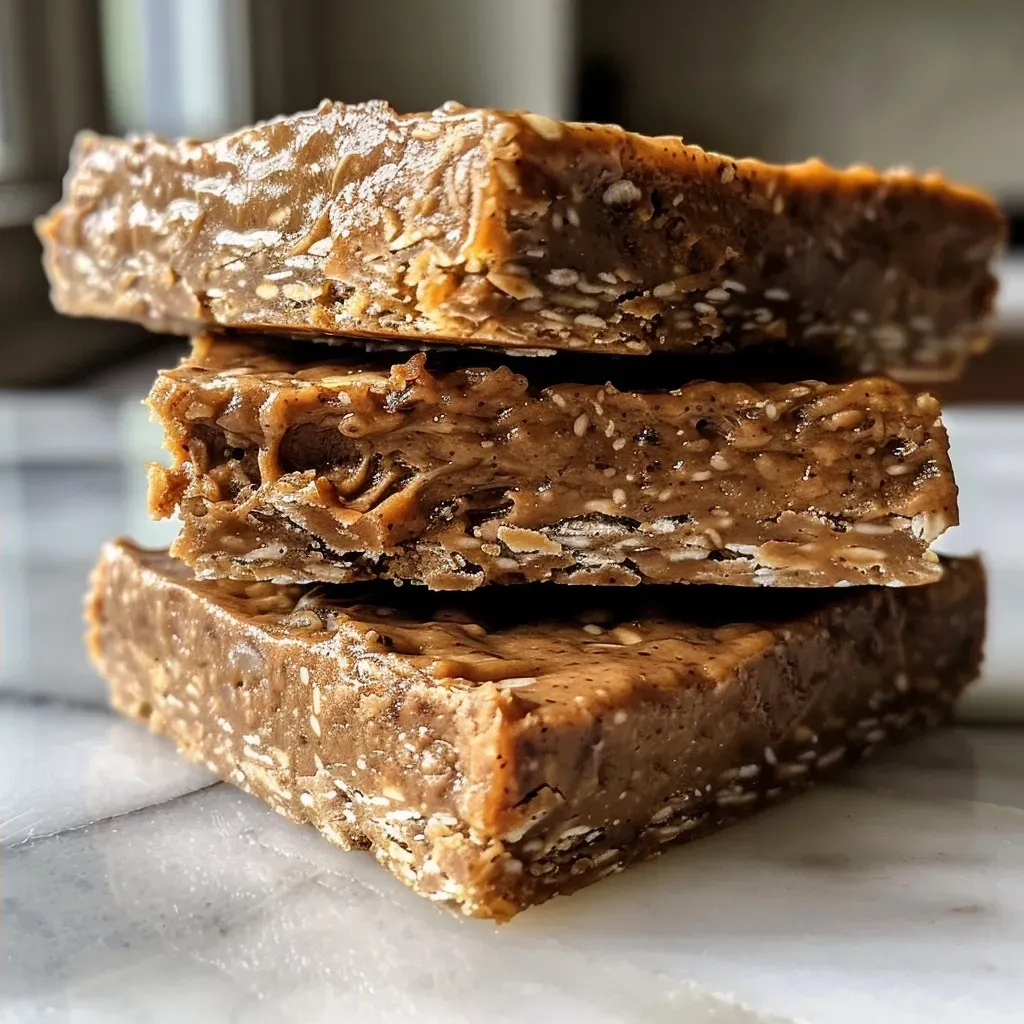
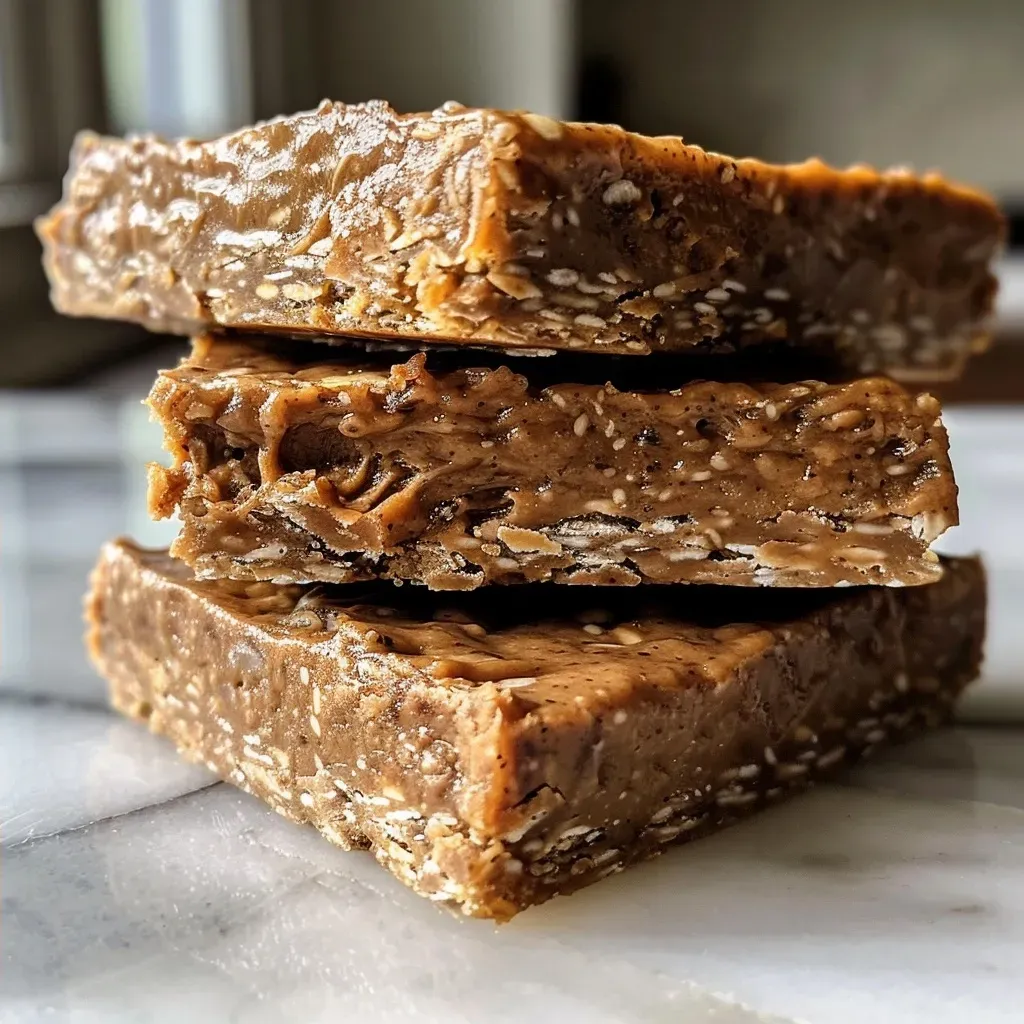
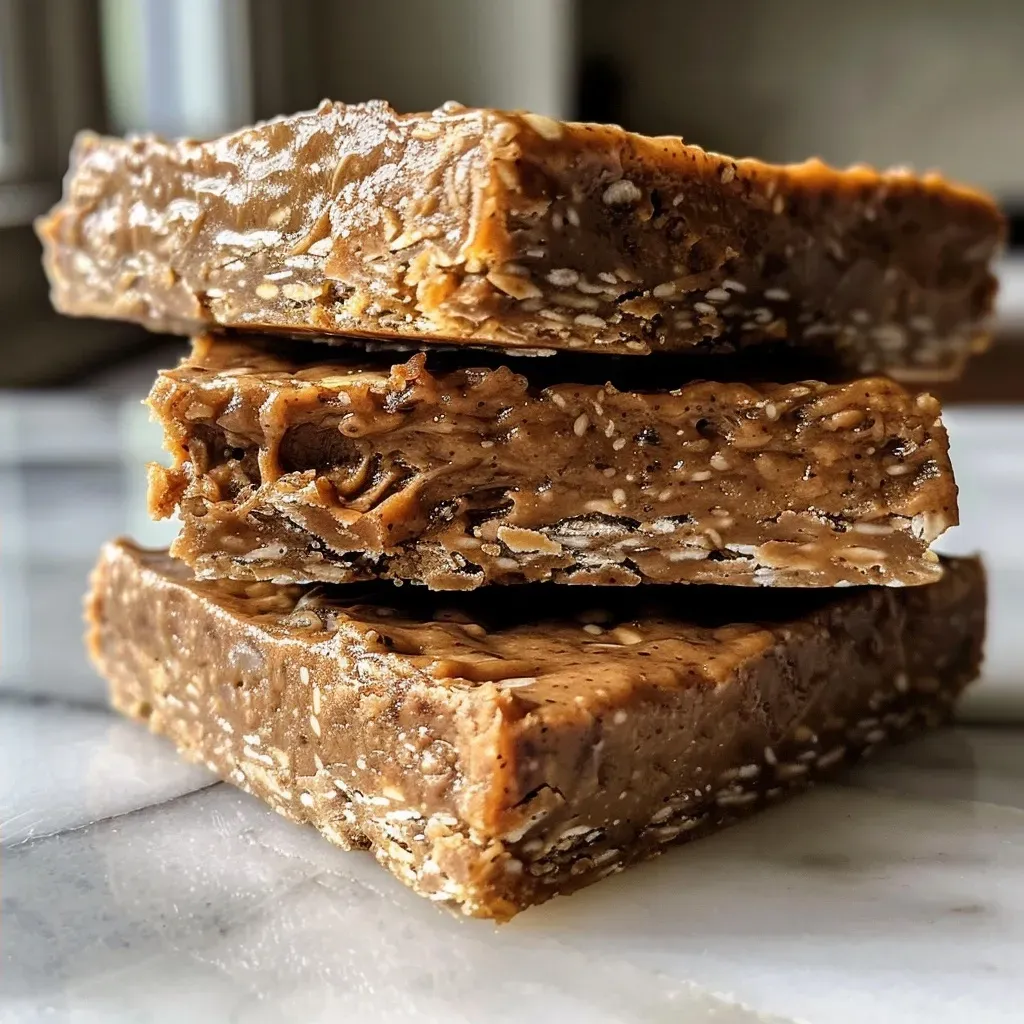
To ensure your protein bars turn out perfectly, here are some expert insights:
- Choose the right protein powder: Ensure it’s a flavor you enjoy. If you don’t like the taste of your protein powder, it will affect the overall flavor of your bars.
- Experiment with textures: For a chewier bar, try adding oats or ground flaxseeds.
- Adjust sweetness: If you prefer sweeter bars, don’t hesitate to add more maple syrup or a dash of stevia.
- Keep it fresh: Store your bars in an airtight container in the fridge to maintain freshness.
- Make ahead: These bars can be made in advance and stored for a quick grab-and-go snack during busy days.
- Try different toppings: Get creative with toppings like shredded coconut, nuts, or seeds for added crunch!
- Use silicone molds: For fun shapes, consider using silicone molds instead of a pan.
- Don’t skip the chilling: Chilling helps the bars set properly, so they hold together well.
Common Mistakes and Troubleshooting
Even the best cooks can make a few missteps in the kitchen. Here are common mistakes to avoid and how to troubleshoot them:
- Too crumbly? If your bars fall apart, try adding a little more peanut butter or syrup to help bind them.
- Too sweet? Balance the sweetness by adding a pinch of salt or a bit of cocoa powder.
- Not enough flavor? Amp up the flavor with spices like cinnamon or nutmeg, or try adding a splash of vanilla extract.
- Too dry? Incorporate a splash of milk or yogurt to achieve the desired moisture level.
- Bars won’t set? Ensure they were chilled adequately. If they are still soft, give them more time in the fridge.
Flavor Variations
Why stick to just one flavor when you can have fun experimenting? Here are some delicious variations to try:
- Chocolate Chip Cookie Dough: Add mini chocolate chips and a dash of vanilla extract for a cookie dough flavor.
- Berry Bliss: Mix in dried fruits like cranberries or blueberries for a fruity twist.
- Chocolate Mint: Incorporate peppermint extract and dark chocolate chips for a refreshing chocolate mint experience.
- Nutty Banana: Mash a ripe banana into the mixture for natural sweetness and a moist texture.
Storage and Make-Ahead Instructions
These protein bars are perfect for meal prep! Here’s how to store them for maximum freshness:
- Refrigeration: Keep the bars in an airtight container in the fridge for up to two weeks.
- Freezing: For longer storage, wrap individual bars in plastic wrap and freeze for up to three months. Thaw them in the fridge overnight before enjoying.
Frequently Asked Questions
Let’s address some common questions about protein bars:
- Can I use a different nut butter? Absolutely! Almond butter, cashew butter, or sunflower seed butter work great as substitutes.
- What type of protein powder is best? It depends on your dietary needs. Whey protein is popular, but plant-based options like pea or hemp protein are excellent alternatives.
- Can I make these bars vegan? Yes! Just ensure you use a plant-based protein powder and substitute honey with maple syrup.
- How can I make these bars gluten-free? Use certified gluten-free oats or simply skip the oats altogether.
- What’s the best way to cut the bars? Use a sharp knife and cut them while they’re still slightly chilled for clean edges.
- Can I add superfoods? Definitely! Add chia seeds, flaxseeds, or hemp hearts for an extra nutritional boost.
- How do I know when they’re done? They should hold their shape and be firm but not rock hard after chilling.
- What’s the nutritional value of these bars? Nutritional value varies based on ingredients used, but they typically offer a great balance of protein, fats, and carbs!
Nutrition Tips and Dietary Adaptations
For those looking to tweak the nutritional profile of your bars:
- Increase protein: Add more protein powder or mix in Greek yogurt for an even bigger protein boost.
- Lower sugar: Use less maple syrup or substitute with a low-calorie sweetener like stevia.
- Boost fiber: Incorporate oats or ground flaxseeds for added fiber, which can keep you feeling full longer.
- Healthy fats: Consider adding chia seeds or nuts to provide essential fatty acids.
Equipment Recommendations
Having the right tools can make your cooking experience smoother. Here are some essentials:
- Mixing bowl: A large mixing bowl is perfect for combining all your ingredients.
- Baking pan: An 8×8 inch pan works wonders for shaping your bars.
- Spatula: A silicone spatula can help you mix and scrape down the sides of the bowl easily.
- Measuring cups and spoons: Accurate measurements are key to a successful recipe!
Serving Suggestions
These protein bars are not just snacks; they can be enjoyed in various ways:
- On-the-go: Perfect for a quick breakfast or an afternoon pick-me-up.
- Pre-workout fuel: Enjoy one before heading to the gym for an energy boost.
- With coffee: Pair a bar with your favorite cup of coffee for a delightful treat.
- As a dessert: Crumble over yogurt or ice cream for a crunchy topping.
Now that you have the ultimate guide to making your own protein bars, it’s time to roll up your sleeves and get cooking! Remember, the kitchen is a place for creativity and joy. Don’t hesitate to experiment and make this recipe your own. Happy cooking, friends!
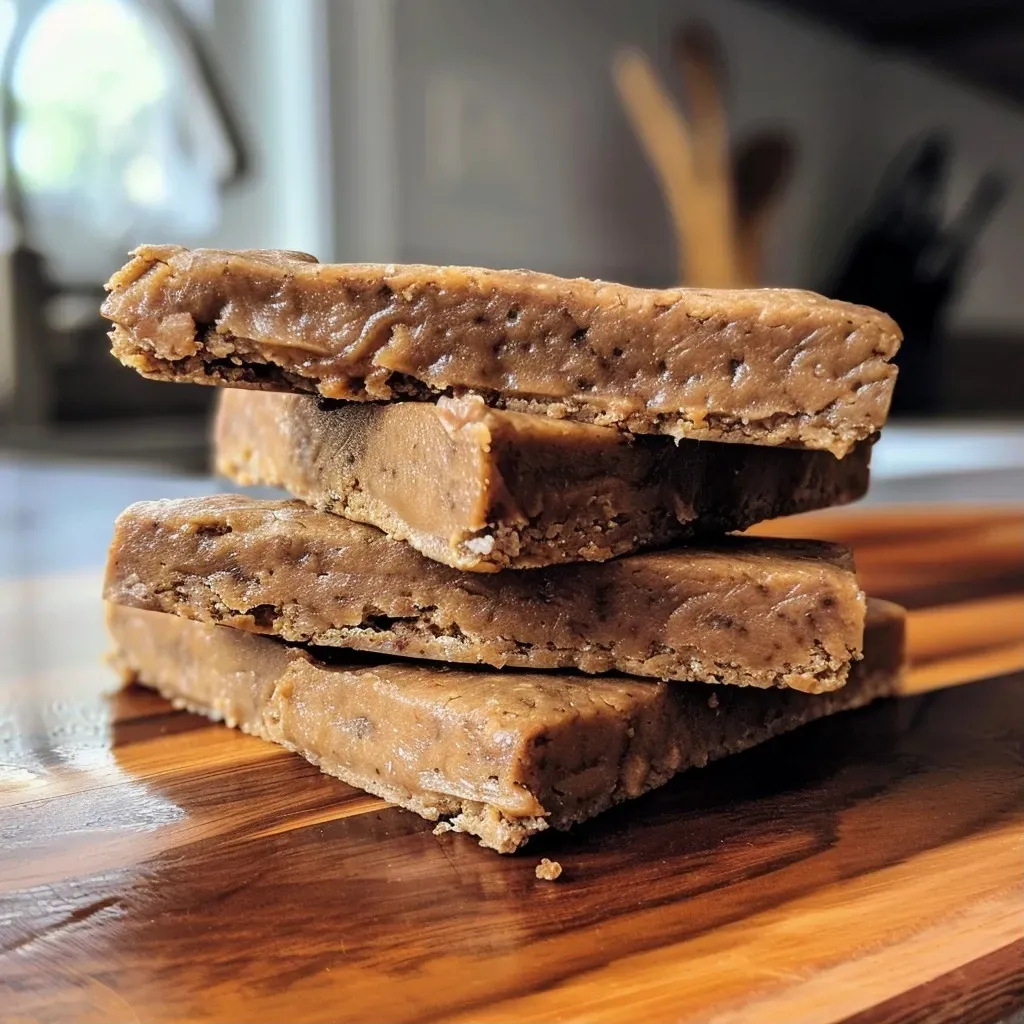
Protein Bars
Ingredients
Base ingredients
- 1.5 cups peanut butter (or allergy-friendly sub)
- 0.75 cup protein powder ((90g))
- 0.25 cup pure maple syrup (or honey)
- 0.5 tsp salt
- 4 oz melted chocolate chips (optional)
Flavor ideas
Instructions
-
Mix all ingredients except optional chocolate until a dough forms.
-
Shape into bars or press into an 8×8 lined pan.
-
Refrigerate until chilled, then cut into bars.
-
For optional coating, spread melted chocolate over bars or dip bars into chocolate, then chill to set.

![['Close-up view of a One-Skillet Chicken and Rice Dinner with chicken pieces and rice visible.', 'Juicy chicken slices and rice with peas in a skillet, garnished with fresh parsley.', 'Side view of a One-Skillet Chicken and Rice dish showing vibrant colors and textures.', 'Delicious One-Skillet Chicken and Rice Dinner with golden chicken and green peas.']](https://snacknova.com/wp-content/uploads/2026/06/one-skillet-chicken-and-rice-dinner_1_U1-1-150x150.webp)