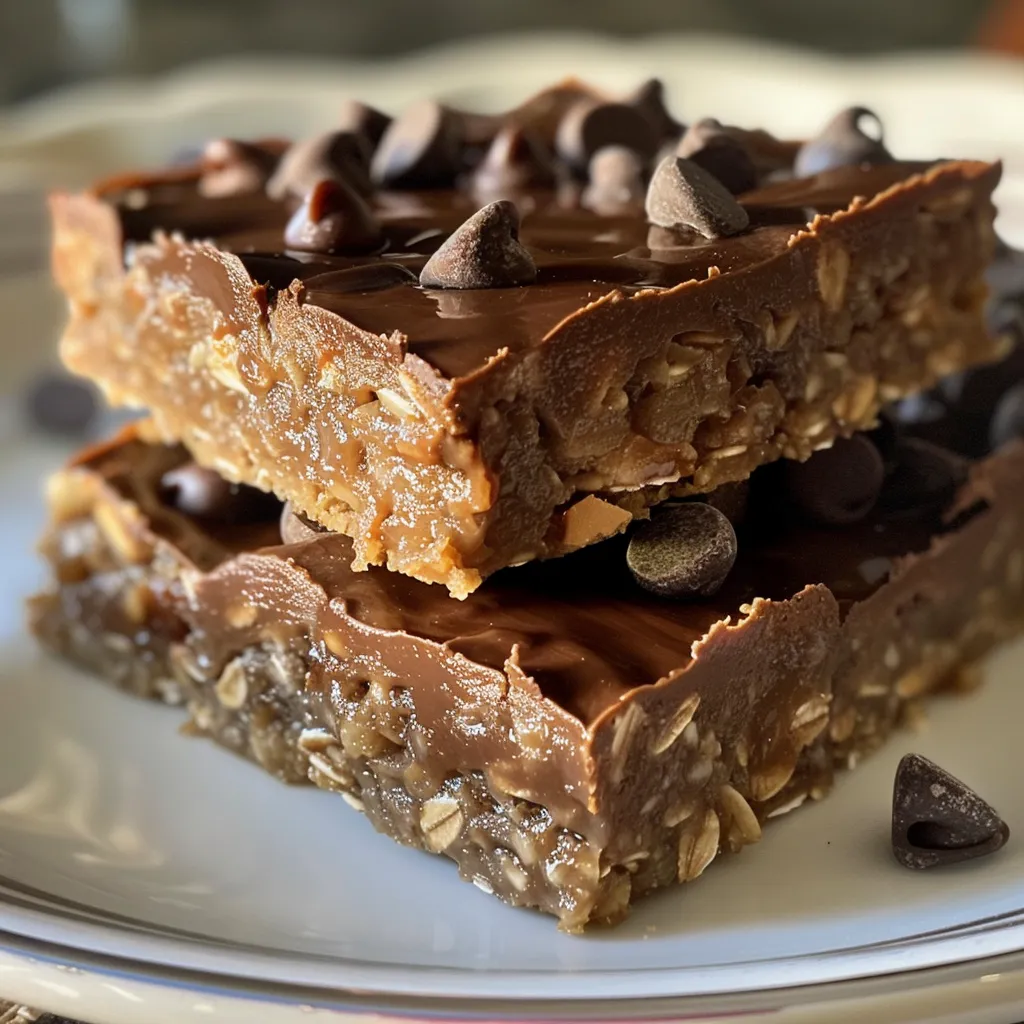
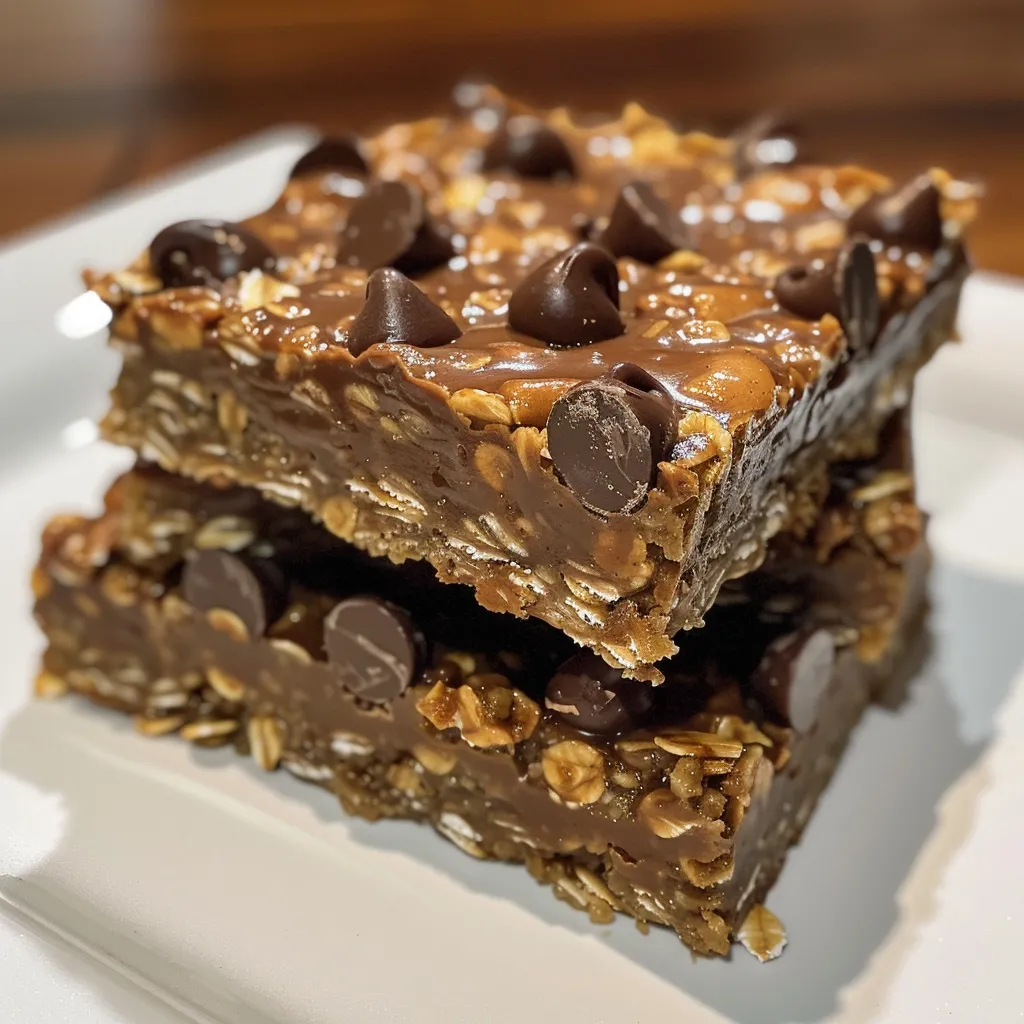
Why You Need to Try These No-Bake Chocolate Oat Bars
If you’re searching for a quick, delicious, and satisfying treat, look no further than these No Bake Chocolate Oat Bars. They combine the rich flavors of chocolate and peanut butter with the wholesome goodness of oats, making them a perfect snack for any time of day. Whether you’re packing lunch for work or looking for a sweet after-dinner treat, these bars are sure to please your taste buds and keep you fueled throughout the day.
In this article, I’ll guide you through everything you need to know about making these delightful bars, along with tips, variations, and storage suggestions. Let’s dive right in!
Why You’ll Love This Recipe
- Quick and Easy: With just a few simple steps, you can whip up these bars in no time!
- No Baking Required: Perfect for hot days when you want a sweet treat without turning on the oven.
- Customizable: You can easily modify the recipe to suit your taste preferences or dietary needs.
- Healthy Ingredients: Packed with oats and peanut butter, these bars provide a good source of fiber and protein.
- Great for Meal Prep: They store well, making them a convenient option for busy weeks.
Ingredients Breakdown
Let’s take a closer look at the ingredients you’ll need to create these scrumptious bars:
- 1 cup butter: This adds richness and helps to bind the other ingredients.
- 1/2 cup brown sugar: Provides sweetness and a hint of caramel flavor.
- 1 teaspoon vanilla extract: Enhances the overall taste with a warm, inviting aroma.
- 3 cups rolled oats: The base of the bars, offering texture and nutrition. Old-fashioned oats work best!
- 1 cup semisweet or dark chocolate chips: Choose your favorite type of chocolate for a sweet layer of goodness.
- 1/2 cup peanut butter: Creamy or crunchy, it adds flavor and helps to hold everything together.
Ingredient Substitutions: Don’t have everything on hand? No worries! Here are some alternatives you can use:
- Coconut oil: Can replace butter for a dairy-free option.
- Maple syrup or agave: Use these instead of brown sugar for a natural sweetener.
- Nut butters: Almond butter or sunflower seed butter can be used in place of peanut butter.
- Gluten-free oats: Make this recipe gluten-free by choosing certified gluten-free oats.
Step-by-Step Instructions
Let’s get to the fun part—making these delicious bars! Follow these easy steps:
- Step 1: Line an 8-inch or 9-inch square baking dish with parchment paper and set aside.
- Step 2: Melt butter and brown sugar in a large saucepan over medium heat until the butter has melted and the sugar has dissolved. Stir in vanilla.
- Step 3: Mix in the oats, cooking over low heat for 3 to 4 minutes, or until everything is well blended.
- Step 4: Pour half of the oat mixture into the prepared baking dish, spreading it out evenly and pressing down. Reserve the other half for the second layer.
- Step 5: In a small microwave-safe bowl, melt the peanut butter and chocolate chips together, stirring until smooth.
- Step 6: Pour the chocolate mixture over the crust in the pan, reserving about 1/4 cup for drizzling. Spread evenly.
- Step 7: Pour the remaining oat mixture over the chocolate layer, pressing it in gently. Drizzle with the reserved chocolate mixture.
- Step 8: Refrigerate for 2 to 3 hours or overnight. Bring to room temperature before cutting into bars.
Pro Tips for Perfect Bars
- Don’t rush the melting: Be patient while melting the butter and sugar for a smooth mixture.
- Chill time matters: Allowing the bars to chill fully will help them set properly, making them easier to cut.
- Use a sharp knife: This will help you cut clean bars without crumbling.
- Experiment with flavors: Add a pinch of sea salt or a dash of cinnamon for an extra flavor boost.
- Storage tips: Store them in an airtight container to keep them fresh for longer.
Common Mistakes and Troubleshooting
Even the best chefs face challenges! Here are some common mistakes to avoid:
- Too crumbly: If your bars fall apart, try adding a little more peanut butter to help bind them together.
- Bars are too soft: Ensure they are chilled long enough; overnight is ideal!
- Chocolate layer not smooth: Make sure to stir well after melting to achieve a creamy consistency.
Delicious Variations
Want to mix things up? Here are some fun variations you can try:
- Nutty Delight: Add a cup of chopped nuts for extra crunch and flavor.
- Fruity Twist: Stir in dried fruits like cranberries or raisins for a sweet surprise.
- Chocolate Chip Cookie Bars: Mix in mini chocolate chips for an extra chocolatey treat!
- Protein Boost: Add a scoop of your favorite protein powder for a post-workout snack.
Storage and Make-Ahead Instructions
These bars are perfect for meal prep! Here’s how to store them:
- Storage: Keep the bars in an airtight container at room temperature for up to one week.
- Refrigeration: For longer storage, you can refrigerate them for up to two weeks.
- Freezing: Freeze the bars for up to three months. Just wrap them individually in plastic wrap before placing them in a freezer-safe container.
Frequently Asked Questions
- Can I use quick oats instead of rolled oats? Quick oats may work, but rolled oats provide better texture.
- How do I make these bars vegan? Substitute butter with coconut oil and use maple syrup instead of brown sugar.
- What can I use instead of chocolate chips? Feel free to use carob chips or chopped dark chocolate!
- Can I leave out the peanut butter? Yes, you can use any nut or seed butter, or omit it altogether!
- How do I make these bars gluten-free? Ensure you are using certified gluten-free oats.
- Can I add protein powder? Yes, adding protein powder is a great way to boost nutrition!
- How long do these bars last? They can last up to one week at room temperature or two weeks in the fridge.
- What’s the best way to cut these bars? Use a sharp knife and cut them while they’re at room temperature for clean slices.
Nutritional Tips and Dietary Adaptations
These No Bake Chocolate Oat Bars can fit into various dietary plans. Here’s how:
- Low-Sugar Option: Reduce the amount of brown sugar or use a sugar substitute.
- High-Protein Version: Add protein powder or seeds to increase the protein content.
- Nut-Free: Substitute peanut butter with sunflower seed butter for a nut-free version.
Essential Equipment Recommendations
To make your baking experience smoother, here are some must-have kitchen tools:
- Microwave-Safe Bowl: For melting chocolate and peanut butter easily.
- Large Saucepan: Ensures you have enough space to mix all ingredients.
- Baking Dish: A square baking dish is ideal for these bars.
- Parchment Paper: Helps prevent sticking and makes for easy cleanup.
Serving Suggestions
These bars can be enjoyed in various ways:
- On Their Own: Perfect as a quick snack or dessert.
- With Coffee: Enjoy with your morning coffee for a delightful pick-me-up.
- As a Topping: Crumble over yogurt or ice cream for a delicious twist.
In conclusion, these No Bake Chocolate Oat Bars are not only easy to make but also incredibly versatile and satisfying. Whether you’re treating yourself or sharing with friends, they’re sure to be a hit! So grab your ingredients, and let’s make some kitchen magic happen together. Happy cooking!
Best No Bake Chocolate Oatmeal Bars
Ingredients
Dough
- 1 cup butter
- 1/2 cup brown sugar packed
- 1 teaspoon vanilla extract
- 3 cups rolled oats
- 1 cup semisweet or dark chocolate chips
- 1/2 cup peanut butter
Instructions
- Line a baking dish with parchment paper.
- Melt butter and brown sugar, stir in vanilla and oats.
- Press half of the oat mixture into the dish; melt peanut butter and chocolate chips, then spread over crust.
- Add remaining oat mixture on top, drizzle with reserved chocolate, then refrigerate for 2-3 hours.