

Welcome to the Joy of Baking Homemade Buns!
Hi, friends! Today, we’re diving into the delightful world of baking with a recipe that warms the heart and fills the belly: my mom’s secret for perfect homemade buns. This recipe turns ordinary ingredients into soft, fluffy, and delicious buns that are perfect for any meal. Whether you’re a beginner or an experienced baker, I promise you’ll find joy in every step of the process! Let’s embark on this baking adventure together!
Why You’ll Love This Recipe
There are countless reasons to fall in love with this homemade bun recipe! Here are just a few:
- Versatile Use: These buns can be used for sandwiches, burgers, or served warm alongside your favorite soup or stew.
- Simple Ingredients: With just a handful of pantry staples, you can create something truly special without breaking the bank.
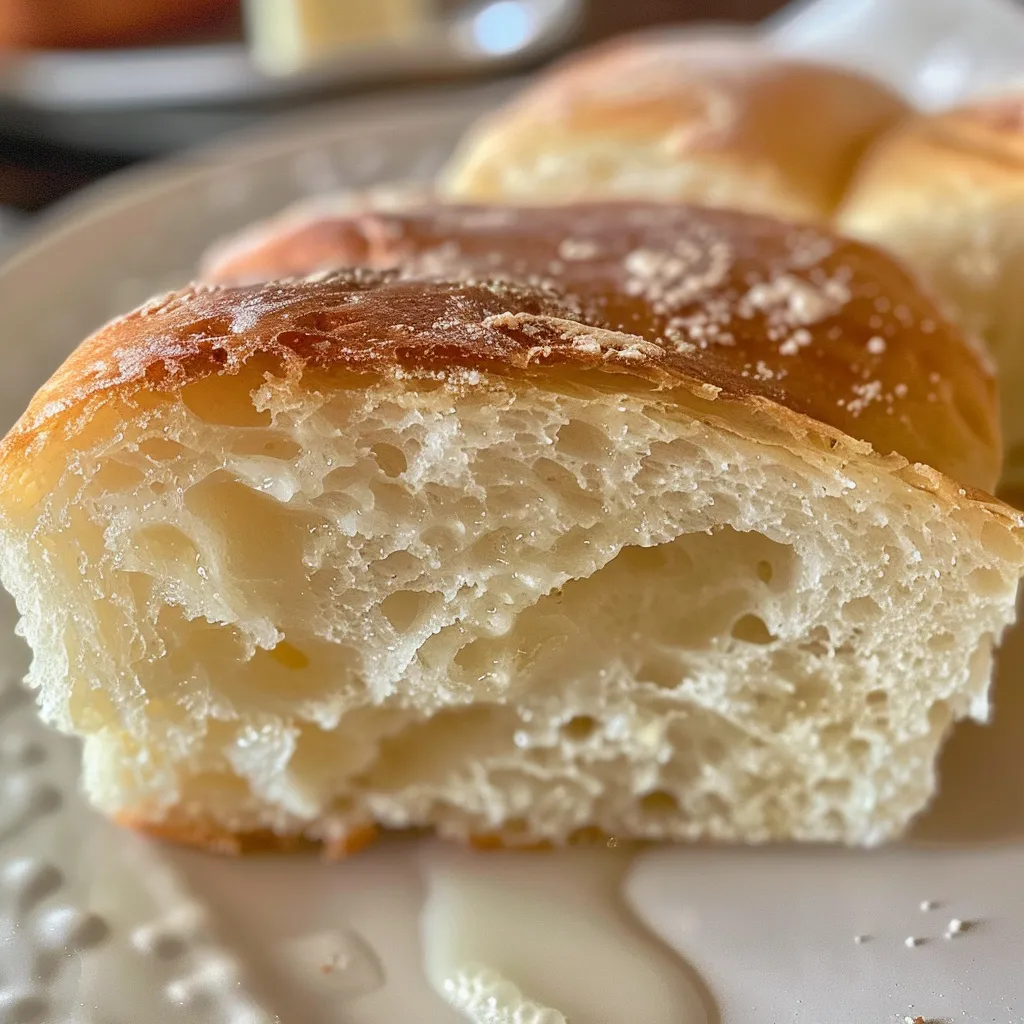
- Perfectly Fluffy: The texture is heavenly—light and airy on the inside with a golden crust outside.
- Customizable: Feel free to experiment with different flours like whole wheat or add herbs for a unique twist!
- Family Tradition: This recipe has been passed down through generations, making it a perfect way to create new memories with loved ones.
Ingredient Breakdown and Substitutions
Before we get our hands doughy, let’s look at what you’ll need:
- ½ cup warm water (105-110°F): This is ideal for activating the yeast.
- 1 tablespoon instant or active dry yeast: Either works, but instant yeast is a time-saver!
- 1 teaspoon granulated sugar: This helps to feed the yeast and boost the rise.
- 2 cups warm milk: Adds richness and moisture to the buns.
- ½ cup unsalted butter, melted: For that decadent flavor and soft texture.
- ⅓ cup granulated sugar: Sweetens the dough just right.
- 1 tablespoon salt: Balances flavors and strengthens the dough.
- 6-7 cups all-purpose flour: The backbone of your buns; adjust as needed based on humidity.
- Salted butter (optional): For brushing on top for extra flavor.
**Substitutions:** You can use **whole wheat flour** in place of all-purpose flour for a heartier bun, or even try a mix for added nutrition. If you need a dairy-free option, substitute the milk with almond or soy milk and the butter with coconut oil.
Pro Tips for Perfect Homemade Buns
Let’s make sure your buns turn out perfectly every time with these expert insights:
- Temperature Matters: Ensure your water is warm but not hot; too hot can kill the yeast!
- Proof the Yeast: Always allow your yeast to bubble before adding it to the mix. This confirms it’s active!
- Knead Well: Don’t rush the kneading process! Aim for at least 8-10 minutes to develop gluten.
- Resting Time: Let the dough rise in a warm, draft-free environment for the best results.
- Shape Them Right: When shaping your buns, keep them tight and smooth for a beautiful rise.
- Don’t Skip the Butter: Brushing melted salted butter on the buns after baking gives them a lovely shine and flavor.
- Check for Doneness: A golden brown top and a hollow sound when tapped on the bottom mean they’re ready!
- Experiment with Flavors: Add garlic powder, herbs, or cheese to the dough for added flavor!
- Be Patient: Good things take time; let the dough rise fully for the best results.
Common Mistakes and Troubleshooting
Even seasoned bakers can run into hiccups. Here are some common mistakes and how to fix them:
- Dense Buns: This could be due to not enough rising time or too much flour. Always measure flour by scooping and leveling.
- Sticky Dough: If your dough is too sticky to handle, sprinkle in a bit more flour as you knead.
- Overbaking: Keep a close eye on your buns as they bake—overbaking can lead to dryness.
- Yeast Not Rising: Ensure your yeast is fresh and your water is at the right temperature for activation.
Variations to Try
Feeling adventurous? Here are some fun variations to spice up your bun-making:
- Whole Wheat Buns: Swap half or all of the all-purpose flour with whole wheat flour for a healthier option.
- Herb-Infused Buns: Add dried herbs like rosemary or thyme to the dough for a flavorful twist.
- Cheesy Buns: Mix in shredded cheese into the dough for a savory delight.
- Sweet Cinnamon Buns: Add cinnamon and sugar to the dough, and drizzle with icing for a sweet treat!
Storage and Make-Ahead Instructions
If you want to enjoy your homemade buns later, here’s how to store them:
- Room Temperature: Keep them in an airtight container for up to 2 days.
- Freezing: These buns freeze beautifully! Just wrap them tightly in plastic wrap and then foil. They can last up to 3 months!
- Reheating: To reheat, simply thaw at room temperature and warm in the oven for a few minutes.
Frequently Asked Questions
Got questions? I’ve got answers! Here are some common queries about homemade buns:
- Can I use whole wheat flour for these dinner rolls? Yes! Whole wheat flour can be a great substitute; just expect a denser texture.
- How do I know when the dough is ready to bake? The dough should have doubled in size and feel airy and light.
- Can I use instant yeast instead of active dry yeast? Absolutely! Instant yeast can be added directly to the dry ingredients.
- What should I serve with homemade dinner rolls? These buns pair perfectly with soups, stews, or as burger buns!
- How do I store leftover buns? Keep them in an airtight container at room temperature for up to 2 days or freeze for longer storage.
- Can I make the dough ahead of time? Yes! You can prepare the dough and refrigerate it overnight; just allow it to come to room temperature before shaping.
- What if my buns don’t rise? Check your yeast’s expiration date and ensure your water was at the right temperature!
- How can I add flavor to my buns? Consider incorporating spices, herbs, or even cheese to the dough for an exciting twist.
Nutrition Tips and Dietary Adaptations
For those watching their diet, here are some tips:
- Whole Wheat Option: Using whole wheat flour boosts fiber content and makes your buns more filling.
- Reduce Sugar: You can cut back on sugar if you prefer less sweetness.
- Gluten-Free Adaptation: Substitute with a gluten-free all-purpose blend and add a binding agent like xanthan gum.
Essential Equipment for Baking Buns
Before you start baking, make sure you have the right tools:
- Mixing Bowl: A large bowl for mixing dough.
- Measuring Cups and Spoons: Accurate measurements are key to successful baking.
- Whisk: For mixing dry ingredients or proofing yeast.
- Dough Scraper: Helpful for handling sticky dough.
- Baking Sheet or Pan: Use a parchment-lined baking sheet or a bun pan for even baking.
Serving Suggestions
Now that you have your delicious homemade buns, here are some ideas on how to serve them:
- With Soup: Serve warm alongside your favorite soup for a cozy meal.
- As Sandwiches: Use them for hearty sandwiches, burgers, or sliders.
- With Butter: Slather with salted butter for a simple yet delightful treat.
- With Jam or Honey: For a sweet breakfast option, spread with jam or honey!
Now, it’s time to grab your apron and get baking! Remember, every rise and every fall of the dough is a part of the journey. Enjoy the process, and don’t be afraid to make it your own! Happy baking, friends!

Mom s Homemade Buns
Ingredients
Dough
- 0.5 cup warm water (105-110 F warm but not hot)
- 1 tablespoon instant or active dry yeast
- 1 teaspoon granulated sugar
- 2 cups warm water
- 0.5 cup unsalted butter melted
- 0.33 cup granulated sugar
- 1 tablespoon salt
- 6-7 cups all-purpose flour
Optional
- Salted butter (optional, for brushing)
Instructions
- Activate yeast in warm water with a teaspoon of sugar for 5 minutes.
- Mix yeast mixture with remaining warm water, melted butter, sugar, and salt.
- Gradually add flour until a soft dough forms; knead until smooth.
- Let dough rise in a warm place for about 1 hour until doubled in size.
- Divide dough into buns, place on baking sheet, and let rise for 20 minutes.
- Bake at 375°F (190°C) for 15-20 minutes until golden. Optional: brush with salted butter.