Indulge in a Sweet Adventure with Chocolate Hot Cups
Welcome, fellow food lovers! If you’re dreaming of cozy nights in with something deliciously warm in your hands, you’re in for a treat! Today, we’re diving into the delightful world of Chocolate Hot Cups. These charming little cups made from melted chocolate are not just visually stunning; they’re also a fantastic twist on traditional hot cocoa. Perfect for holiday gatherings or a simple night in, they are sure to warm your heart and fill your home with joy. Let’s get started on this sweet adventure together!
Why You’ll Love This Recipe
Before we jump into the nitty-gritty, here are a few reasons why this Chocolate Hot Cups recipe will become a favorite in your home:
- Unique presentation: Serve your hot chocolate in edible cups for a fun and memorable experience.
- Customizable flavors: Add your favorite toppings and flavors to make these cups truly yours.
- Easy to make: With just a few simple steps, you’ll be on your way to creating these delightful treats.
- Perfect for gifting: These cups can be packaged beautifully, making them ideal for holiday gifts or party favors.
- Kid-friendly fun: Involve your kids in the process and watch their faces light up with excitement!
Ingredients Breakdown
Let’s gather our ingredients! Here’s what you’ll need to make your Chocolate Hot Cups:
- Disposable cups: Choose sturdy 4-6 oz disposable cups. You can even use silicone molds for a mini version!
- Melted milk chocolate: Use high-quality chocolate for the best flavor. Dark chocolate can be a delightful alternative if you prefer a richer taste.
- Candy canes: These will add a festive touch and a hint of minty flavor. Crush them for a sprinkle of holiday cheer.
- Cocoa powder: This enhances the chocolatey flavor inside the cups. You can use unsweetened cocoa powder for a deeper taste.
- Mini marshmallows: A classic topping that adds a fluffy texture and sweetness.
- Granulated sugar: Optional, for an extra touch of sweetness to decorate the cups.
Step-by-Step Instructions
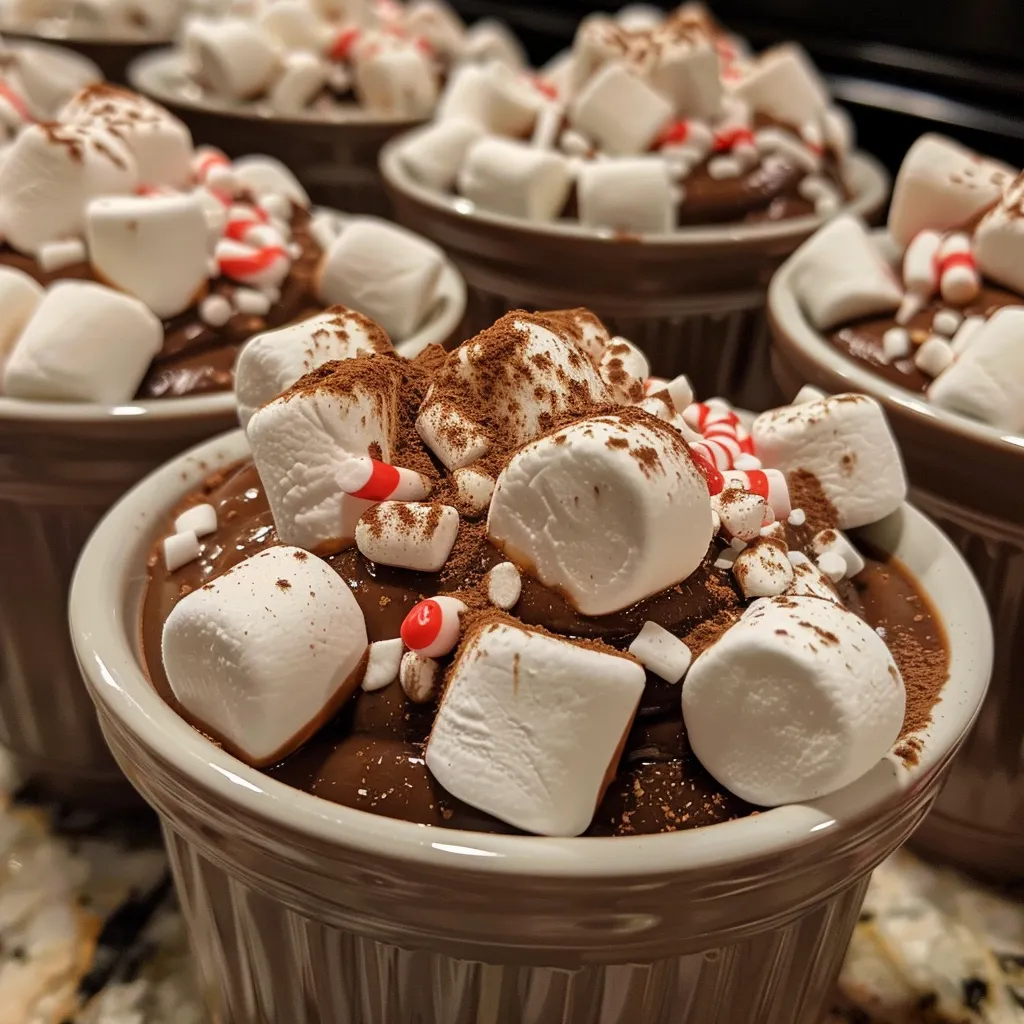
Ready to create your Chocolate Hot Cups? Follow these simple steps:
- Slowly melt the chocolate in a double boiler or in the microwave on low power. Pour the melted chocolate into your disposable cups, swirling them to ensure the chocolate coats the sides evenly. Let it set until firm.
- Once the chocolate has hardened, carefully remove the cups from their molds. If you used disposable cups, you can cut them away.
- Pour a bit more melted chocolate into the cups and place the crushed candy canes inside for a festive flair. Allow it to dry completely.
- Add 2 teaspoons of cocoa powder into each chocolate cup, then top with mini marshmallows. Drizzle a little melted chocolate over the marshmallows to help them stick.
- For the finishing touch, dip the top edges of the cups in melted chocolate and sprinkle with granulated sugar for a sparkling effect.
Pro Tips for Success
Let’s make sure your Chocolate Hot Cups turn out perfectly every time! Here are some expert insights:
- Use quality chocolate: The flavor of your chocolate will directly impact the taste of your cups. Choose a brand you love!
- Temperature control: When melting chocolate, be patient. Low and slow is the way to go to avoid burning.
- Get creative: Experiment with different toppings and flavors! Consider adding flavored syrups, sprinkles, or even a dash of cinnamon.
- Let it set: Make sure the chocolate is fully set before removing the cups to avoid any breakage.
- Make ahead: These cups can be made in advance and stored for a few days, making them perfect for holiday prep.
- Perfect pairings: Pair these cups with your favorite desserts for a complete treat experience. Think cookies, brownies, or even a slice of cake!
- Stay clean: Keep a damp cloth handy to wipe up any chocolate spills while you work—trust me, it’s a messy but fun process!
- Store properly: If you have leftovers, store them in an airtight container at room temperature to maintain their texture and flavor.
Common Mistakes and Troubleshooting
Even the best of us can make mistakes in the kitchen! Here are some common pitfalls and how to avoid them:
- Chocolate seizing up: If your chocolate gets grainy or lumpy, it may have been overheated. Always use low heat and add a small amount of vegetable oil to rescue it.
- Weak cups: If your chocolate cups are breaking easily, you may need to apply more layers of chocolate. Make sure it’s thick enough to hold its shape.
- Messy toppings: If your toppings slide off, ensure the melted chocolate is still warm when adding them. It acts as glue!
- Too sweet: Adjust the sweetness by using less sugar in the chocolate coating or opting for semi-sweet chocolate instead.
- Not setting: If the chocolate isn’t hardening, make sure it’s in a cool, dry place. Avoid humidity!
Delicious Variations
Feeling adventurous? Here are some variations to try with your Chocolate Hot Cups:
- Nutty Delight: Add crushed nuts like almonds or hazelnuts into the chocolate for a crunchy surprise.
- Spicy Kick: Mix in a pinch of cayenne pepper to the melted chocolate for a spicy twist.
- Fruit Fusion: Substitute candy canes with dried fruit or chocolate-covered berries for a fruity flavor.
- Gourmet Twist: Use flavored chocolate, such as caramel or orange-infused chocolate, for an elevated taste experience.
Storage and Make-Ahead Instructions
These Chocolate Hot Cups are perfect for making ahead of time. Here’s how to store them:
- Store your completed chocolate cups in an airtight container at room temperature for up to one week.
- If you’re planning to make them a few days in advance, keep the decoration minimal until the day you’re serving them to maintain freshness.
Frequently Asked Questions
Got questions? Let’s clear up some common queries about making Chocolate Hot Cups:
- Can I use dark chocolate? Absolutely! Dark chocolate will give your cups a richer flavor, just adjust the sweetness as needed.
- How do I make them vegan? Use dairy-free chocolate and nut milk for the hot cocoa part!
- Can I freeze these cups? Freezing is not recommended as it may alter the texture of the chocolate.
- What can I serve with it? Pair with cookies, whipped cream, or flavored syrups for a delicious treat!
- How do I clean up chocolate spills? Warm water and a little dish soap work wonders on chocolate stains.
- Can I use silicone molds instead of disposable cups? Yes! Silicone molds are a great alternative and can create fun shapes.
- What’s the best way to melt chocolate? A double boiler is ideal, but a microwave on low power works well too—just stir frequently!
- Can I add alcohol? For an adult twist, consider adding a splash of your favorite liqueur to the hot milk before stirring in the chocolate cup.
Nutritional Tips and Dietary Adaptations
If you’re watching your diet, here are some tips to keep in mind:
- Use sugar substitutes: Replace granulated sugar with your favorite sugar alternative for a lower-calorie option.
- Opt for dark chocolate: Dark chocolate has less sugar than milk chocolate and is rich in antioxidants.
- Consider portion size: Enjoy one cup as a treat rather than indulging in multiple cups.
Equipment Recommendations
To make the process smoother, here’s a quick list of recommended tools:
- Double boiler: Essential for melting chocolate evenly.
- Whisk: Useful for mixing ingredients and ensuring smooth melted chocolate.
- Spatula: Great for scraping chocolate and smoothing it in the cups.
- Airtight container: For storing your finished Chocolate Hot Cups.
Serving Suggestions
Now that you’ve made your Chocolate Hot Cups, let’s talk about how to serve them:
- With hot milk: Simply place a chocolate cup in a mug of hot milk and stir to combine.
- Garnish creatively: Top with whipped cream, additional marshmallows, or a sprinkle of cocoa powder for a beautiful finish.
- Host a hot cocoa bar: Set up a station with various toppings and let your guests customize their drinks.
In conclusion, these Chocolate Hot Cups are not just a treat; they’re an experience! With each cup, you’re inviting warmth, joy, and a sprinkle of creativity into your kitchen. So gather your ingredients, invite a friend, and let’s make some sweet memories together. Happy cooking!
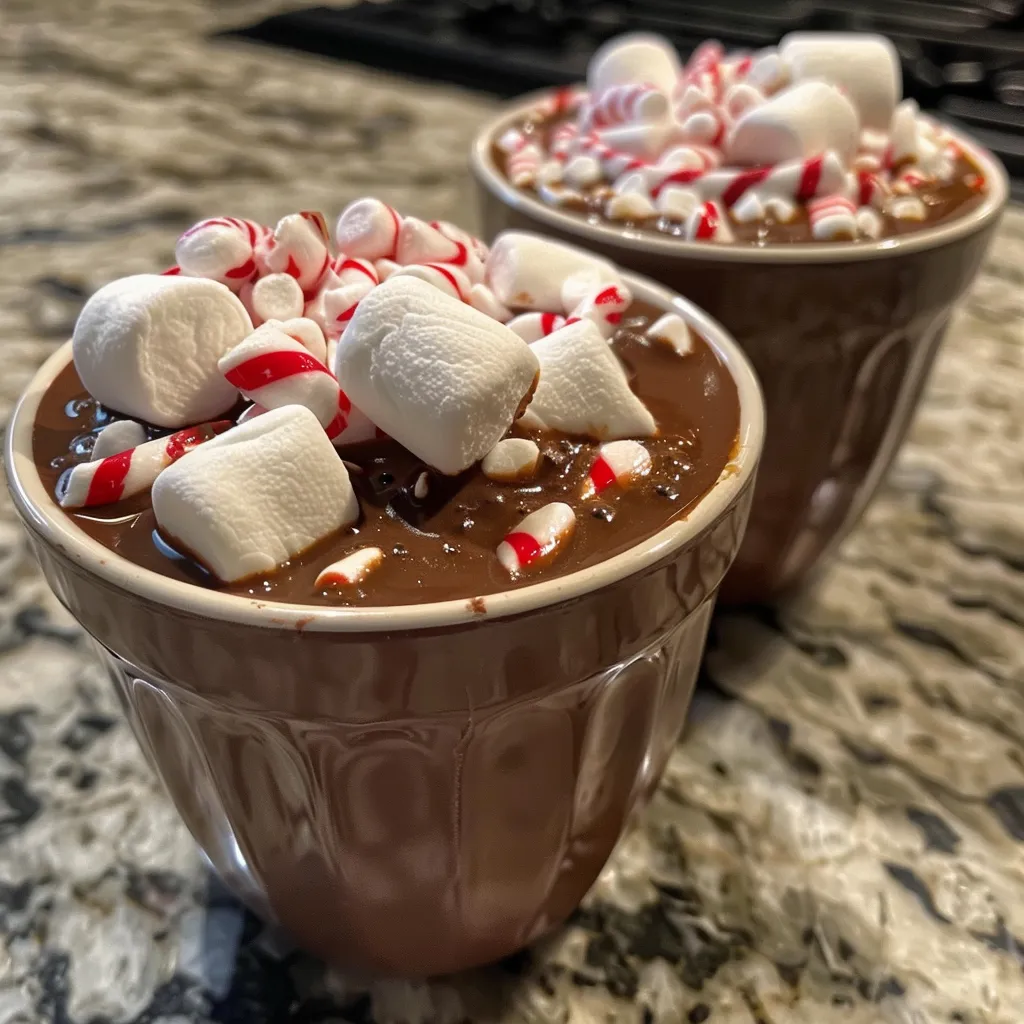
Chocolate Hot Cups
Ingredients
Dough and Base
- 1 pack Disposable cups
- 200 grams Melted milk chocolate
- 4 candy canes Candy canes
- 2 tablespoons Cocoa powder
- 1 cup Mini marshmallows
- 2 tablespoons Granulated sugar
Instructions
- Melt the chocolate and pour into disposable cups, swirling to coat the inside. Let set.
- Fill the cups with melted chocolate, insert candy canes, and let dry.
- Add cocoa powder and mini marshmallows to each cup, then drizzle with melted chocolate.
- Decorate with melted chocolate and sugar, then dip the cups back into chocolate for finishing.
- To serve, place a cup in hot milk, stir, and enjoy your hot chocolate.