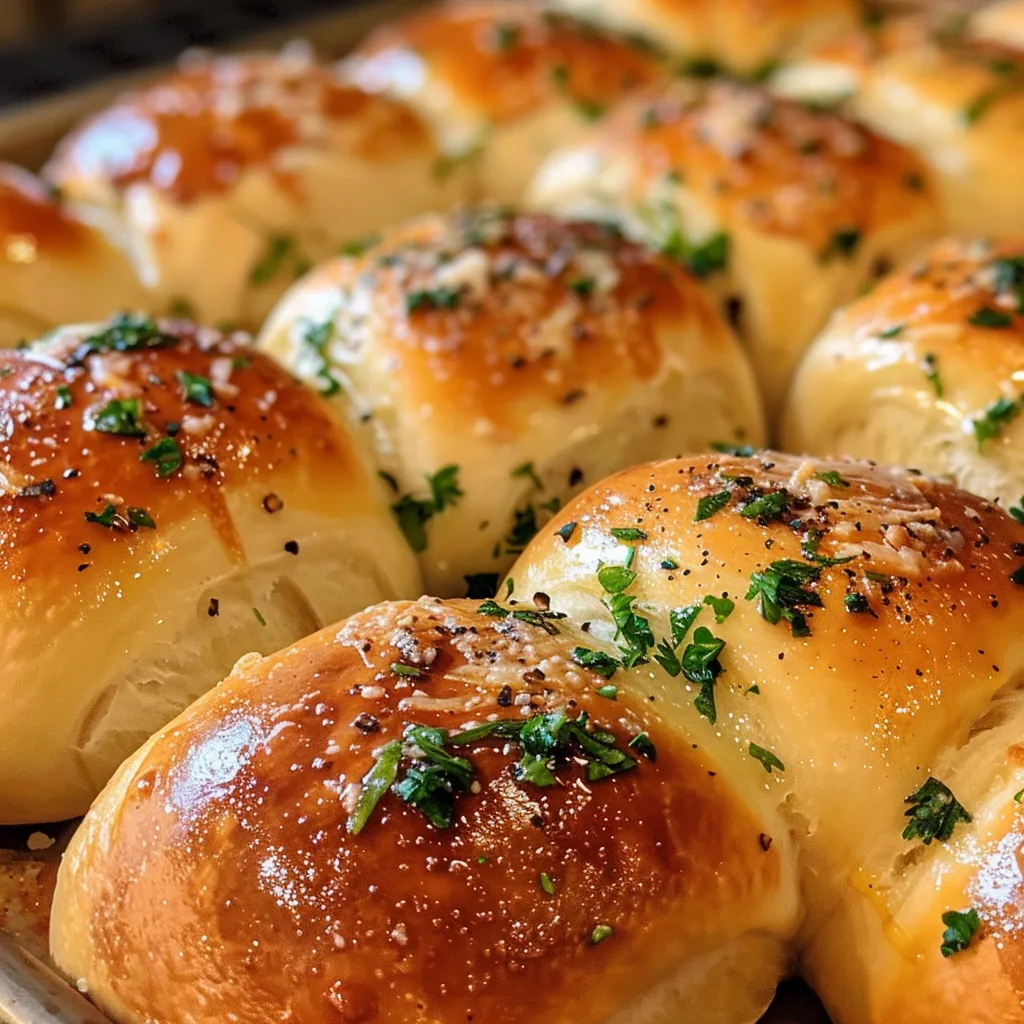
Welcome to the World of Garlic Bread Rolls!
Garlic bread rolls are a delightful twist on the classic garlic bread we all know and love. These fluffy, buttery rolls burst with the rich flavor of garlic and are perfect for any meal—from a cozy family dinner to a festive gathering. Join me, Ava, in this kitchen adventure as we dive into the art of making these irresistible rolls that will have everyone asking for seconds!
Why You’ll Love This Recipe
There are countless reasons to love homemade garlic bread rolls. Here are just a few:
- Irresistibly Fluffy: The rolls come out incredibly soft and tender, making each bite a heavenly experience.
- Double Garlic Flavor: Packed with fresh garlic both in the dough and the garlic butter, these rolls truly deliver on flavor.
- Versatile Pairing: They make a perfect side for pasta, soups, or even as a snack on their own!
- Easy to Customize: With simple substitutions and variations, you can tailor the recipe to your taste.
- Make-Ahead Convenience: Prepare the dough in advance for a stress-free baking experience!
Ingredients You’ll Need
Let’s gather our ingredients! Here’s what you’ll need for the perfect garlic bread rolls:
- 3 ½ cups all-purpose flour: For chewier rolls, opt for bread flour instead.
- 2 ¼ tsp active dry yeast: This will help the dough rise beautifully.
- 1 cup warm milk (about 110°F): Make sure it’s not too hot to avoid killing the yeast.
- 2 tbsp sugar: A touch of sweetness to balance the garlic.
- 1 tsp salt: Enhances overall flavor.
- ¼ cup unsalted butter (melted): Adds richness and moisture.
- 1 large egg: For binding and a soft texture.
- ½ cup unsalted butter (melted): For the garlic butter topping.
- 3 cloves garlic (minced): The star of the show!
- 2 tbsp fresh parsley (chopped): For a fresh, vibrant touch.
- ½ tsp salt: To season the garlic butter.
- 2 tbsp grated Parmesan cheese (optional): For an extra layer of flavor.
How to Make Garlic Bread Rolls
Now that we have our ingredients, let’s get started with making these delicious rolls! Follow this step-by-step guide:
- Step 1: Prepare the Garlic Butter
In a small saucepan, melt the ½ cup of unsalted butter over low heat. Add the minced garlic and sauté for a minute until fragrant. Remove from heat and stir in parsley and salt. Set aside. - Step 2: Make the Dough
In a bowl, combine warm milk, sugar, and yeast. Let it sit for about 5-10 minutes until frothy. In a large mixing bowl, combine flour and salt. Add the yeast mixture, melted butter, and egg. Mix until a dough forms. - Step 3: Knead the Dough
Transfer the dough to a floured surface and knead for about 5-7 minutes until smooth and elastic. Place it in a greased bowl, cover with a cloth, and let it rise in a warm place for about 1 hour, or until doubled in size. - Step 4: Shape the Rolls
Once the dough has risen, punch it down to release the air. Divide it into equal pieces (about 12-15) and shape them into rolls. Place them on a greased baking sheet, leaving space between each roll. - Step 5: Second Rise
Cover the rolls with a cloth and let them rise for another 30 minutes. - Step 6: Bake & Finish (The Double Garlic!)
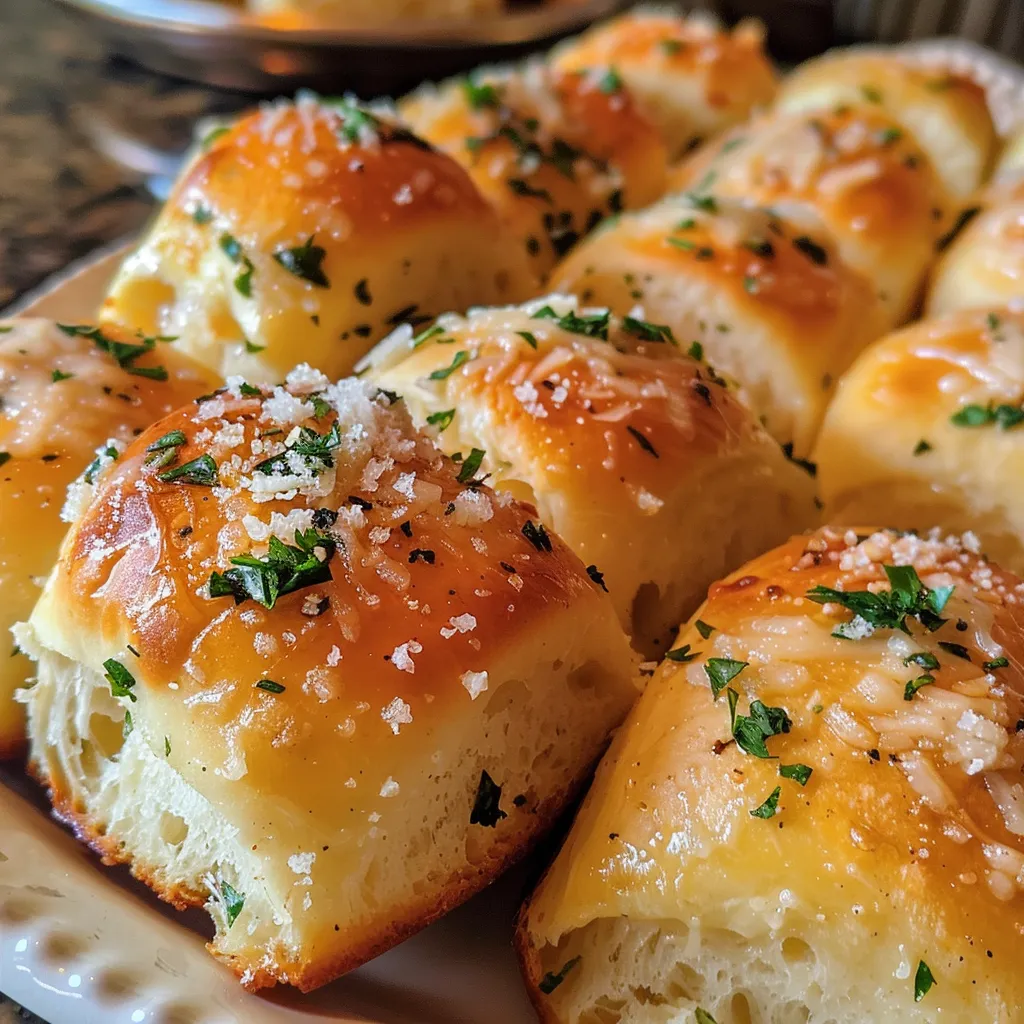
Preheat your oven to 375°F (190°C). Bake the rolls for 15-20 minutes or until golden brown. As soon as they come out of the oven, brush them generously with the prepared garlic butter and sprinkle with Parmesan cheese if desired. Serve warm!
Pro Tips for Making Garlic Bread Rolls
Here are some expert insights to ensure your garlic bread rolls come out perfectly:
- Use Fresh Ingredients: Fresh garlic and high-quality butter make a noticeable difference in flavor.
- Check Yeast Freshness: Make sure your yeast is active by checking the expiration date; it should bubble when mixed with warm milk.
- Knead Properly: Knead until the dough is smooth and elastic for the best texture.
- Don’t Skip the Rises: Allowing the dough to rise adequately is crucial for fluffy rolls.
- Adjust Baking Time: Keep an eye on the rolls as baking times may vary based on your oven.
- Add Herbs: Experiment with different herbs like rosemary or thyme in the garlic butter for a flavor twist.
- Cool Before Storing: Allow rolls to cool completely before storing to prevent sogginess.
- Use a Kitchen Thermometer: Ensure your milk is at the right temperature (110°F) to activate the yeast without killing it.
Common Mistakes and Troubleshooting
If you encounter issues when making these rolls, here’s how to avoid common pitfalls:
- Dough Not Rising: This could be due to inactive yeast. Always check the expiration date and proof the yeast before using.
- Rolls Too Dense: Make sure to knead the dough well and allow for proper rising time.
- Burnt Rolls: If your rolls are browning too quickly, cover them with foil during the last few minutes of baking.
- Too Garlicy or Not Garlicy Enough: Adjust the garlic quantity to suit your taste preference.
Variations You Can Try
Feel free to mix things up with these delicious variations:
- Cheesy Garlic Rolls: Add shredded mozzarella or cheddar cheese to the dough for a cheesy surprise!
- Herbed Garlic Rolls: Incorporate dried Italian herbs into the dough for a burst of flavor.
- Spicy Garlic Rolls: Add red pepper flakes to the garlic butter for a kick of heat!
- Sweet Garlic Rolls: Mix in a bit of honey or cinnamon for a sweet twist that pairs well with breakfast.
Storage and Make-Ahead Instructions
Want to prepare these rolls in advance? Here’s how:
- Make-Ahead: Prepare the dough up to the first rise, then punch it down, cover, and refrigerate for up to 24 hours. Bring to room temperature and let rise again before shaping.
- Storing Leftovers: Keep rolls in an airtight container at room temperature for up to 2 days or refrigerate for up to a week. They can also be frozen for up to 3 months!
- Reheating: Warm rolls in the oven at 350°F (175°C) for about 10 minutes, or microwave for 20-30 seconds.
Frequently Asked Questions (FAQs)
Let’s address some common questions about garlic bread rolls:
- Can I use whole wheat flour?
Yes, you can substitute half or all of the all-purpose flour with whole wheat flour for a healthier option. - What if I don’t have fresh garlic?
You can use garlic powder, but fresh garlic provides a much richer flavor. - How do I know when the rolls are done?
The rolls should be golden brown on top and sound hollow when tapped on the bottom. - Can I make these rolls vegan?
Yes! Substitute the butter with a plant-based alternative and the egg with a flax egg. - What can I serve with garlic bread rolls?
They pair perfectly with pasta dishes, soups, or as a side to salads. - How do I prevent sogginess?
Make sure rolls cool completely before storing, and seal them in an airtight container. - Can I freeze the dough?
Absolutely! After the first rise, shape the rolls and freeze them on a baking sheet, then transfer to a freezer bag. - How long do they take to bake from frozen?
Bake from frozen at 375°F (190°C) for about 20-25 minutes, but check for doneness.
Nutrition Tips and Dietary Adaptations
Here are some nutrition tips to keep in mind:
- Portion Control: These rolls are delicious, but remember to enjoy them in moderation, especially if you’re watching your carbs.
- Healthier Fats: Use olive oil in place of butter for a healthier fat option.
- Gluten-Free Option: Substitute gluten-free flour blend for a gluten-free version.
- Lower Sodium: Reduce the amount of salt in the dough and garlic butter for a lower-sodium option.
Kitchen Equipment Recommendations
To make your cooking experience smooth, here are some kitchen tools that will help:
- Mixing Bowls: A set of mixing bowls in various sizes is essential for preparing your dough and ingredients.
- Measuring Cups & Spoons: Accurate measurements are key to baking success!
- Stand Mixer: If you have one, a stand mixer can help you knead the dough effortlessly.
- Baking Sheet: A quality baking sheet ensures even baking and prevents sticking.
- Kitchen Towel: Use it to cover the dough while it rises, keeping it warm and cozy.
Serving Suggestions
These garlic bread rolls are versatile and can be served in various ways:
- As a Side Dish: Serve alongside your favorite pasta or salad for a complete meal.
- With Dips: Pair with marinara sauce or a creamy dip for a tasty appetizer.
- Breakfast Treat: Enjoy them warm with a bit of jam or honey for breakfast.
- Party Platter: Create a bread basket for gatherings, showcasing these rolls with other baked goods.
In conclusion, making garlic bread rolls at home is not only rewarding but also a fun way to impress your family and friends. With this comprehensive guide, you’re well-equipped to roll into flavor and create the perfect batch of garlic bread rolls. So gather your ingredients, put on your apron, and let’s make some delicious memories in the kitchen together!
Garlic Bread Rolls
Ingredients
Dough
- 3 ½ cups all-purpose flour (or bread flour for chewier rolls)
- 2 ¼ tsp active dry yeast
- 1 cup warm milk (about 110°F)
- 2 tbsp sugar
- 1 tsp salt
- ¼ cup unsalted butter (melted)
- 1 large egg
- ½ cup unsalted butter (melted) (for garlic butter)
- 3 cloves garlic (minced)
- 2 tbsp fresh parsley (chopped)
- ½ tsp salt
- 2 tbsp grated Parmesan cheese (optional)
Instructions
- Mix warm milk, sugar, and yeast; let sit until frothy, about 5 minutes.
- Add flour, salt, egg, and melted butter; knead until smooth and elastic, about 8 minutes.
- Let dough rise in a warm place until doubled in size, about 1 hour.
- Preheat oven to 375°F (190°C). Punch down dough and divide into 8 pieces; shape into rolls.
- Mix melted butter, garlic, parsley, salt, and Parmesan; brush over rolls.
- Bake for 15 minutes or until golden brown. Serve warm.