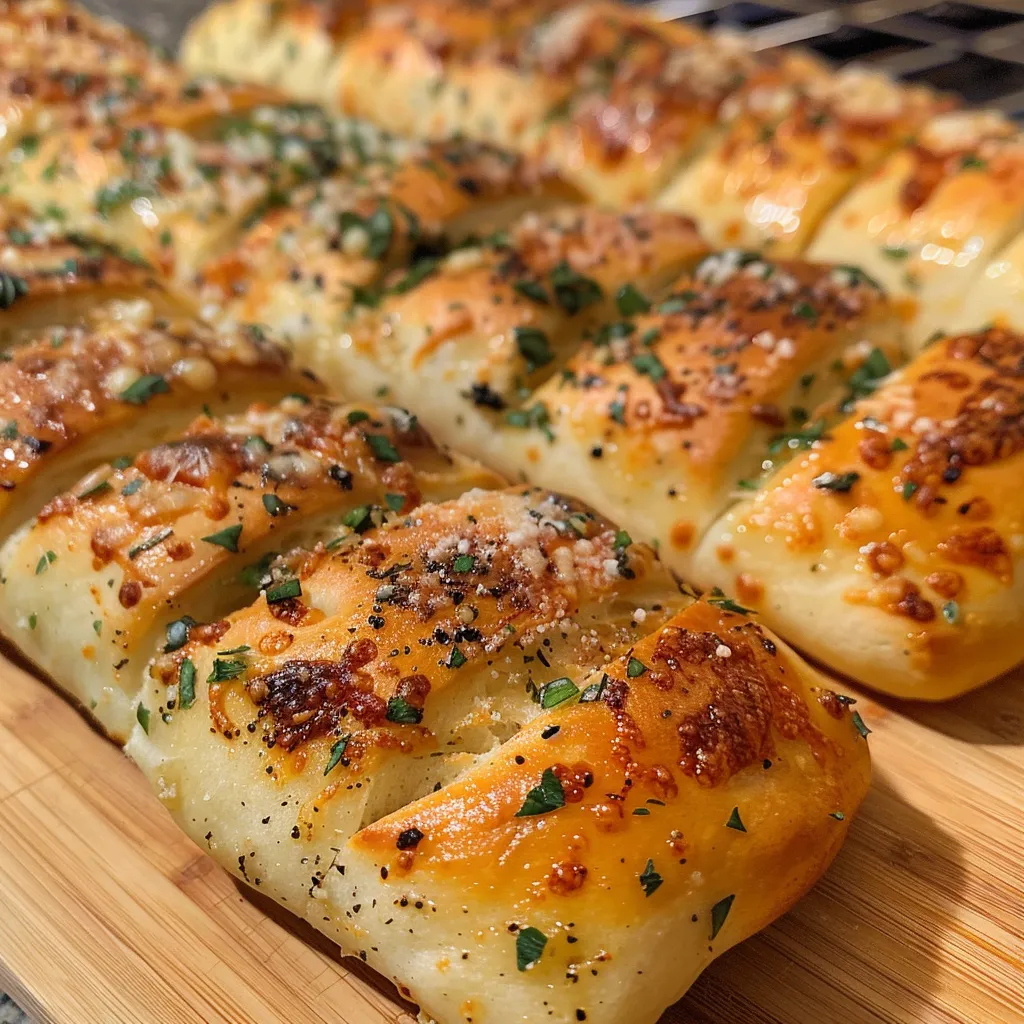
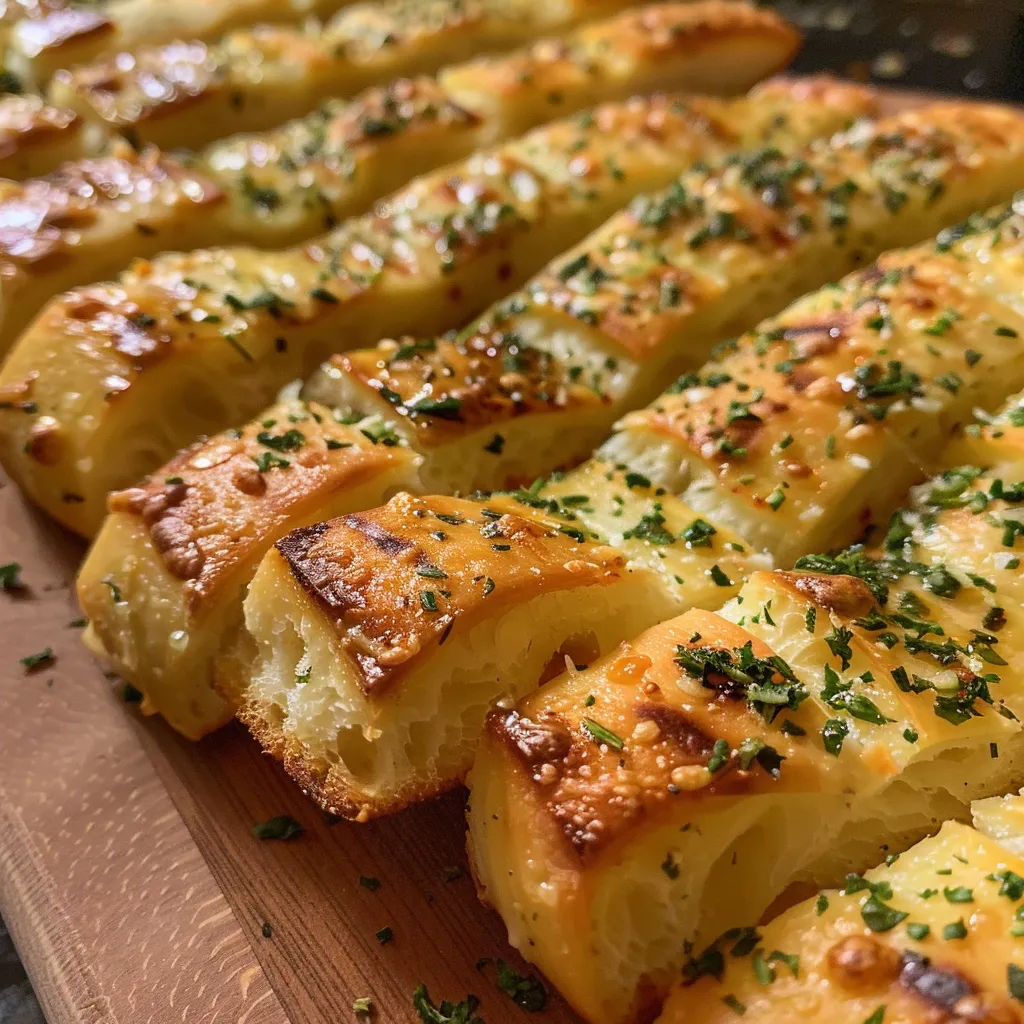
Welcome to a culinary adventure where cooking is not just a task but a joyful experience! Today, we’re diving into the delightful world of homemade garlic herb breadsticks that are not only easy to make but bursting with flavor. In just 30 minutes, you can whip up these soft, golden treats that’ll make your taste buds dance. No need to wait for dough to rise—these breadsticks are ready in a flash! Let’s get started!
Why You’ll Love This Recipe
These garlic herb breadsticks are a game-changer for any meal. Here are just a few reasons to fall in love with them:
- Quick and Easy: With no rising time required, these breadsticks are perfect for last-minute dinners or spontaneous snack cravings.
- Flavor Explosion: The combination of garlic, fresh herbs, and a sprinkle of Parmesan cheese creates a mouthwatering experience in every bite.
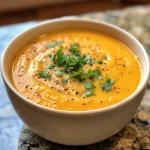
- Versatile Serving Options: Pair them with pasta, soup, or salad, or enjoy them solo as a tasty snack. They fit right in at any meal!
- Customizable: Feel free to switch up the herbs or add your favorite spices to make these breadsticks uniquely yours.
- Perfect for Sharing: Whether it’s a family dinner or a casual get-together, these breadsticks are a hit and encourage sharing around the table.
Ingredients for Delicious Garlic Herb Breadsticks
Here’s what you’ll need to create these mouthwatering breadsticks:
- 1 1/2 cups all-purpose flour: The foundation of your dough. You can substitute with whole wheat flour for a healthier option.
- 2 teaspoons baking powder: This ingredient gives your breadsticks their lovely rise without the wait.
- 1/2 teaspoon salt: Enhances the flavor of your breadsticks, making every bite delicious.
- 1/4 cup olive oil: Adds moisture and richness. You can replace it with melted butter if you prefer.
- 3/4 cup milk: Brings everything together and creates a soft texture. Any milk will work, including plant-based alternatives.
- 2 cloves garlic, minced: The star of the show! Fresh garlic brings a robust flavor that’s hard to beat.
- 2 tablespoons chopped fresh herbs: Use parsley, oregano, or basil—whatever you have on hand! Dried herbs can work in a pinch.
- 2 tablespoons grated Parmesan cheese (optional): A delicious finishing touch. Feel free to skip it for a dairy-free option.
How to Make Amazing Garlic Herb Breadsticks: Step-by-Step Instructions
Ready to bring these breadsticks to life? Follow these simple steps:
- Preheat your oven: Set your oven to 400°F (200°C) to ensure it’s nice and hot for baking.
- Mix dry ingredients: In a large bowl, whisk together the all-purpose flour, baking powder, and salt until well combined.
- Combine wet ingredients: In a separate bowl, mix the olive oil and milk until fully blended.
- Combine wet and dry: Pour the wet ingredients into the dry ingredients and stir gently until just combined. Don’t overmix!
- Add flavor: Fold in the minced garlic and chopped herbs for that burst of flavor.
- Shape the dough: Turn the dough out onto a lightly floured surface and gently pat or roll it out to about 1/2-inch thickness.
- Cut into breadsticks: Use a knife or pizza cutter to slice the dough into your desired breadstick shapes.
- Prepare for baking: Place the cut breadsticks onto a baking sheet. Brush them with a little olive oil and sprinkle with Parmesan cheese if using.
- Bake: Pop the baking sheet into the oven and bake for 12-15 minutes, or until they’re golden brown and irresistible!
Pro Tips for Perfect Garlic Herb Breadsticks
Want to take your breadsticks to the next level? Here are some expert insights:
- Use fresh ingredients: Fresh garlic and herbs elevate the flavor significantly. Always opt for the freshest you can find!
- Don’t overmix the dough: Mix just until combined to keep your breadsticks light and fluffy.
- Experiment with flavors: Try adding red pepper flakes for a spicy kick or different cheeses for unique twists.
- Check for doneness: Keep an eye on your breadsticks towards the end of baking. You want them golden, not overdone!
- Serve warm: These breadsticks are best enjoyed fresh out of the oven while they’re warm and soft.
- Make them ahead: You can prepare the dough in advance, cut the breadsticks, and refrigerate them until you’re ready to bake.
- Try different shapes: Get creative! Roll them into knots or twist them for a fun presentation.
- Adjust the thickness: If you prefer thicker breadsticks, roll out the dough to 3/4-inch thickness. Just adjust the baking time accordingly.
Common Mistakes and Troubleshooting
Even the best cooks make mistakes! Here’s how to avoid some common pitfalls:
- Dough too wet or dry: Adjust flour or milk slightly if your dough isn’t holding together. It should be soft but not sticky.
- Overbaking: Keep a close eye on your breadsticks. If they’re browning too quickly, lower the oven temperature slightly.
- Flavor lacking: If your breadsticks taste bland, double-check your seasoning. A pinch of extra salt can make a big difference!
- Sticking to the pan: Ensure you use parchment paper or grease your baking sheet to prevent sticking.
Delicious Variations
Feeling adventurous? Here are some fun variations to try:
- Cheesy Garlic Breadsticks: Add extra cheese into the dough for a gooey, cheesy treat!
- Herb and Cheese Swirls: Roll out the dough, spread with herb-infused butter, and roll into a log before cutting.
- Garlic Parmesan Knots: Tie strips of dough into knots and brush with garlic butter for a twist on the classic.
- Spicy Jalapeño Breadsticks: Add diced jalapeños to the dough for a spicy kick that’s perfect for spicy lovers!
Storage and Make-Ahead Instructions
Want to keep your breadsticks fresh? Here’s how:
- Room temperature: Store leftover breadsticks in an airtight container at room temperature for up to 2 days.
- Refrigeration: For longer storage, place them in the fridge for up to a week. Reheat in the oven for best results!
- Freezing: You can freeze unbaked dough or baked breadsticks! Wrap them tightly in plastic wrap and foil. Bake from frozen, adding a few extra minutes to the baking time.
Nutrition Tips and Dietary Adaptations
These breadsticks can fit a variety of diets! Here are some tips:
- Gluten-free option: Substitute all-purpose flour with a gluten-free blend to make them gluten-free.
- Dairy-free option: Use plant-based milk and omit cheese for a dairy-free version that’s just as delicious.
- Low-carb adaptation: Consider using almond flour or coconut flour for a low-carb alternative!
Equipment Recommendations
Having the right tools can make your baking experience smoother. Here are some essentials:
- Mixing bowls: A good set of mixing bowls in various sizes is essential for combining your ingredients.
- Baking sheet: A sturdy baking sheet will help your breadsticks bake evenly.
- Parchment paper: This will prevent sticking and make cleanup a breeze!
- Measuring cups and spoons: Accurate measurements ensure your dough turns out perfectly.
Serving Suggestions
Pair your garlic herb breadsticks with these delicious options:
- Marinara sauce: A classic pairing for dipping!
- Soup: Serve alongside your favorite soup for a comforting meal.
- Salads: These breadsticks make a great side for any salad, adding a burst of flavor.
- Pasta dishes: They’re perfect for soaking up delicious pasta sauces!
FAQs
Got questions? We’ve got answers!
- Can I use whole wheat flour? Yes! Whole wheat flour can be substituted for a healthier option, but it may slightly alter the texture.
- Can these be made ahead of time? Absolutely! You can prepare the dough ahead of time and bake them when you’re ready.
- What if I don’t have fresh herbs? Dried herbs can be used instead. Just use about 1 teaspoon of dried herbs per tablespoon of fresh herbs.
- How do I know when they’re done baking? They should be golden brown and firm to the touch.
- Can I freeze the dough? Yes! You can freeze the dough for later use. Just thaw it in the fridge before baking.
- How long do leftovers last? Leftover breadsticks can be stored in an airtight container for up to 2 days at room temperature.
- Can I add cheese to the dough? Absolutely! Adding cheese to the dough will make it even more delicious!
- What’s the best way to reheat leftover breadsticks? Reheat them in the oven at 350°F (175°C) for about 10 minutes for a fresh-out-of-the-oven taste!
Conclusion
And there you have it! Delicious, homemade garlic herb breadsticks ready in just 30 minutes, perfect for any occasion. Whether you’re sharing them with family or enjoying them solo, these breadsticks are sure to bring a smile to your face. So gather your ingredients, roll up your sleeves, and let’s make some magic happen in the kitchen. Happy baking!
Garlic Herb Breadsticks (No Rise): 30-Minute Delight!
Ingredients
Dough
- 1 1/2 cups all-purpose flour
- 2 teaspoons baking powder
- 1/2 teaspoon salt
- 1/4 cup olive oil
- 3/4 cup milk
- 2 cloves garlic, minced
- 2 tablespoons chopped fresh herbs (such as parsley, oregano, or basil)
- 2 tablespoons grated Parmesan cheese (optional)
Instructions
- Preheat oven to 400°F (200°C). Whisk dry ingredients, then add wet ingredients and mix. Stir in garlic and herbs.
- Turn dough onto floured surface, pat to 1/2-inch thickness, and cut into breadsticks.
- Place on baking sheet, brush with olive oil, sprinkle Parmesan if desired, and bake for 12-15 minutes until golden.