Welcome to Your New Favorite Breakfast: Gluten-Free Banana Oat Waffles!
Hey there, kitchen adventurers! If you’re on a quest for a breakfast that’s not only delicious but also gluten-free, you’ve landed in the right spot. These gluten-free banana oat waffles are fluffy, flavorful, and incredibly easy to make. With just a few simple ingredients, you’ll whip up a batch that will have everyone smiling and coming back for seconds. Let’s dive into the wonderful world of waffle-making!
Why You’ll Love This Recipe
Here are a few reasons why these banana oat waffles will become a staple in your breakfast rotation:
- Nutritious and Filling: Made with oats and bananas, these waffles are packed with fiber and essential nutrients, ensuring you start your day on a healthy note.
- Quick and Easy: With minimal prep time, you can have a delicious breakfast ready in under 30 minutes. Perfect for busy mornings!
- Customizable: Add your favorite mix-ins like nuts, chocolate chips, or spices to make these waffles your own.
- Freezer-Friendly: Make a big batch, freeze them, and enjoy warm waffles anytime by popping them in the toaster.
- Gluten-Free Delight: Perfect for those with dietary restrictions or anyone wanting to try something new without sacrificing flavor.
Ingredients You’ll Need
To make these scrumptious gluten-free banana oat waffles, gather the following ingredients:
- 1/3 cup coconut oil (or substitute with your favorite oil for a different flavor)
- 1 cup mashed banana (about 2 large or 3 medium ripe bananas)
- 2 large eggs
- 1 cup unsweetened almond milk (feel free to use any dairy or non-dairy milk you prefer)
- 2 cups oat flour (make your own by blending rolled oats in a blender!)
- 2 teaspoons baking powder
- 1/2 teaspoon baking soda
- 1 teaspoon ground cinnamon
- 1/4 teaspoon sea salt
- Additional oil or cooking spray (for the waffle iron)
How to Make These Delicious Waffles
Ready to get cooking? Follow these simple steps to create your waffles:
- Preheat your waffle iron according to the manufacturer’s instructions, using the medium crispness setting.
- If using coconut oil and it’s solid, measure it into a large bowl and microwave for about 30 seconds or until melted.
- Add the mashed banana, eggs, and almond milk to the bowl. Whisk well until combined.
- Next, stir in the oat flour, baking powder, baking soda, cinnamon, and sea salt. Whisk until just combined, being careful not to overmix.
- Generously spray the waffle iron with cooking spray and pour the batter into each cavity. Cook according to the manufacturer’s instructions. Once cooked, place the waffles on a baking sheet and repeat with remaining batter.
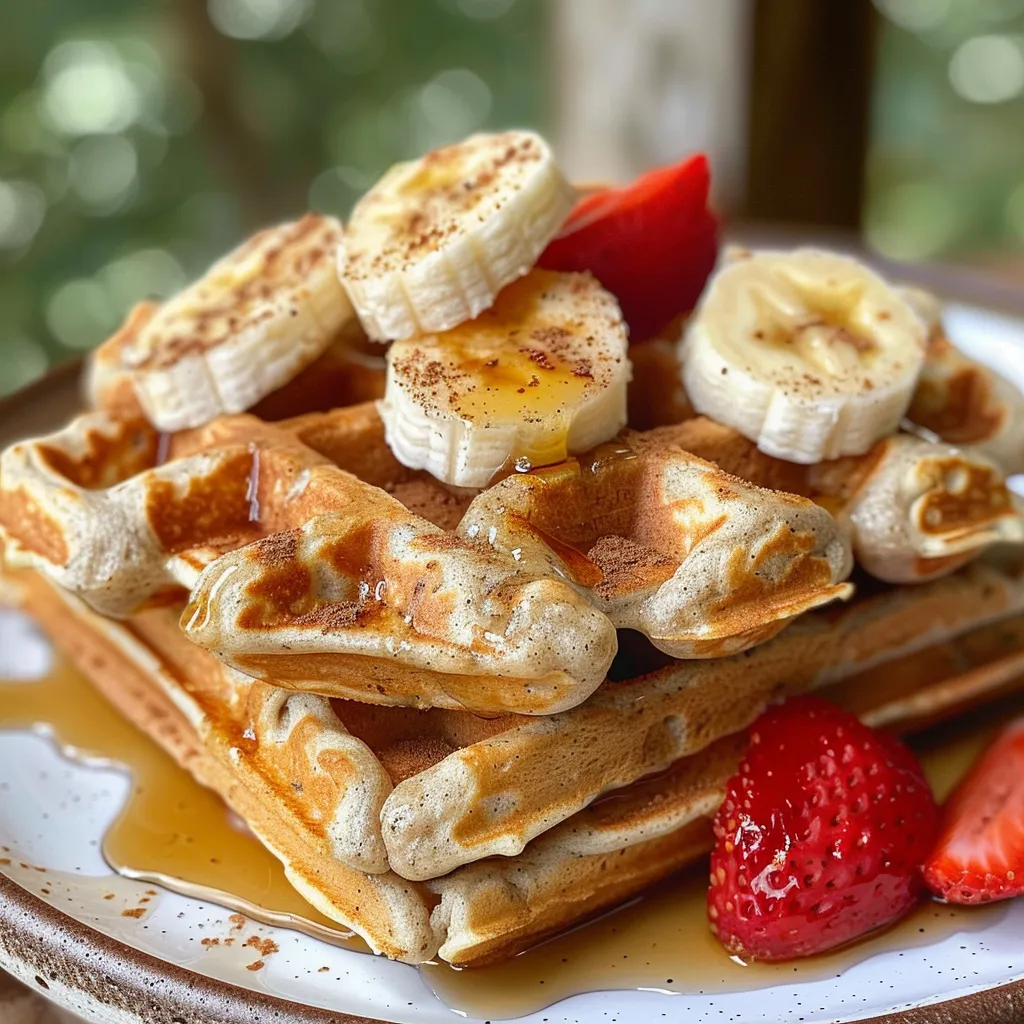
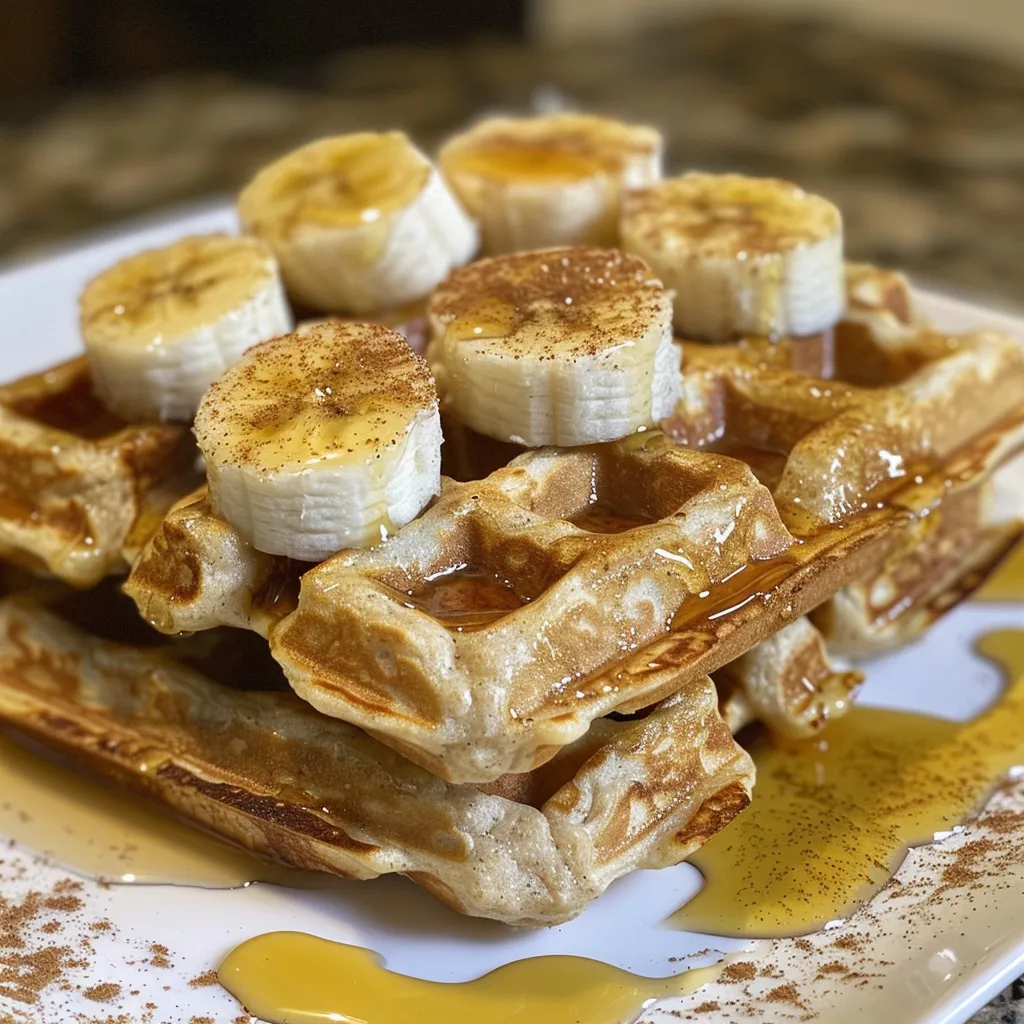
- Serve warm with maple syrup and your favorite toppings. Enjoy!
Pro Tips for Perfect Waffles
Here are some expert insights to ensure your waffles turn out perfectly every time:
- Use ripe bananas: The riper the bananas, the sweeter and more flavorful your waffles will be.
- Don’t overmix: A few lumps in the batter are okay. Overmixing can lead to dense waffles.
- Adjust the crispness: Everyone has their preference—experiment with the settings on your waffle iron for your ideal texture.
- Double the recipe: If you’re feeding a crowd, don’t hesitate to double the ingredients!
- Experiment with flavors: Try adding vanilla extract, nutmeg, or even cocoa powder for a different twist!
- Keep them warm: If making a large batch, keep cooked waffles warm in a low oven while you finish the rest.
- Don’t forget the toppings: Fresh fruits, yogurt, or nut butter can elevate your waffles to a whole new level!
- Store properly: Make sure to let the waffles cool completely before freezing to avoid sogginess.
Common Mistakes and Troubleshooting
Even the best of us can run into a few hiccups! Here are some common mistakes and how to fix them:
- Waffles sticking to the iron: Ensure you’re using enough cooking spray or oil. A non-stick waffle iron is key.
- Waffles are too dense: This can happen if the batter is overmixed or if there’s too much oat flour. Stick to the measurements and mix gently.
- Waffles not cooking through: If they seem soggy, try cooking them longer or at a higher setting.
- Flavor is lacking: Always taste your batter! Adjust sweetness or spices as needed before cooking.
Variations to Try
Want to mix things up? Here are some fun variations to try:
- Chocolate Chip Banana Oat Waffles: Add 1/2 cup of dark chocolate chips to the batter for a sweet treat.
- Blueberry Oat Waffles: Fold in a cup of fresh or frozen blueberries for a fruity twist.
- Spiced Pumpkin Waffles: Substitute 1 cup of mashed banana with 1 cup of pumpkin puree and add pumpkin pie spice.
- Nutty Banana Oat Waffles: Stir in 1/2 cup of chopped nuts like walnuts or pecans for added crunch.
Storage and Make-Ahead Instructions
Want to enjoy these waffles later? Here’s how:
- Make ahead: You can prepare the batter the night before and store it in the fridge. Just give it a good stir before cooking!
- Freezing: Cool the waffles completely, then place them in a single layer on a baking sheet to freeze. Once frozen, transfer them to a zip-top bag and store for up to 3 months.
- Reheating: To reheat, pop the frozen waffles in the toaster or oven until warmed through and crispy.
Frequently Asked Questions
Got questions? We’ve got answers! Here are some common queries about gluten-free banana oat waffles:
- Can I use regular flour instead of oat flour? Yes, but it will no longer be gluten-free. Oat flour is key for this recipe’s texture.
- Can I make these waffles vegan? Absolutely! Substitute the eggs with flax eggs (1 tablespoon ground flaxseed + 2.5 tablespoons water = 1 egg) and use a plant-based milk.
- How can I make these waffles sweeter? You can add a tablespoon of honey or maple syrup directly to the batter.
- What toppings work well with these waffles? Fresh fruits, whipped cream, yogurt, and nut butter are all fantastic options!
- Can I add protein powder to the batter? Yes! Just replace a small portion of the oat flour with your favorite protein powder.
- How do I know when the waffles are done? They should be golden brown and crisp on the outside. Check your waffle iron for its specific indicators.
- Can I use quick oats instead of rolled oats? Yes, but the texture might be slightly different. Rolled oats give a heartier bite.
- What if I don’t have a waffle iron? You can make pancakes instead! Cook them on a skillet over medium heat until golden brown on both sides.
Nutritional Tips and Dietary Adaptations
These waffles are not just delicious; they can be tailored to fit various dietary needs:
- Low-Calorie Option: Reduce the amount of oil used or substitute it with unsweetened applesauce.
- Protein Boost: Add protein powder or Greek yogurt to increase the protein content.
- Nut-Free: Omit any nuts if nut allergies are a concern; consider using sunflower seed butter as an alternative topping.
- Low-Carb Version: Substitute oat flour with almond flour for a lower-carb waffle.
Equipment Recommendations
Here are some essential tools to help you make the best gluten-free banana oat waffles:
- High-Quality Waffle Iron: A good non-stick waffle iron ensures even cooking and easy release.
- Blender or Food Processor: Perfect for making your own oat flour from rolled oats.
- Mixing Bowls: A set of nesting mixing bowls will help you easily mix and measure ingredients.
- Whisk and Spatula: Essential for mixing the batter and flipping your waffles!
Serving Suggestions
Now that your waffles are ready, how should you serve them? Here are some delicious ideas:
- Classic Maple Syrup: Drizzle warm maple syrup over your waffles for that sweet touch.
- Fresh Fruits: Top with sliced strawberries, blueberries, or bananas for a fruity flair.
- Nut Butter: Spread almond or peanut butter on top for added richness and protein.
- Yogurt and Honey: A dollop of yogurt and a drizzle of honey make for a creamy and sweet topping.
Final Thoughts
There you have it! Your ultimate guide to making delightful gluten-free banana oat waffles. These waffles are not just a meal; they’re a celebration of flavor and health, perfect for any breakfast or brunch table. So gather your ingredients and get ready to whip up a batch that’s sure to impress. Remember, cooking is all about enjoying the journey, making mistakes, and learning along the way. Have fun in the kitchen, and happy waffle-making!
Gluten-Free Banana Oat Waffles
Ingredients
Wet ingredients
- 1/3 cup coconut oil (sub with your favorite oil)
- 1 cup mashed banana (2 large or 3 medium bananas)
- 2 large eggs
- 1 cup unsweetened almond milk (sub with your favorite dairy or non-dairy milk)
Dry ingredients
- 2 cups oat flour
- 2 teaspoons baking powder
- 1/2 teaspoon baking soda
- 1 teaspoon ground cinnamon
- 1/4 teaspoon sea salt
Additional
- additional oil or cooking spray
Instructions
- Preheat the waffle iron to medium according to manufacturer's instructions.
- Melt coconut oil if solid, then whisk with mashed banana, eggs, and almond milk.
- Mix in oat flour, baking powder, baking soda, cinnamon, and salt until just combined.
- Spray waffle iron with cooking spray, pour batter into cavities, and cook until golden. Repeat with remaining batter.
- Serve warm with maple syrup and toppings of choice.