
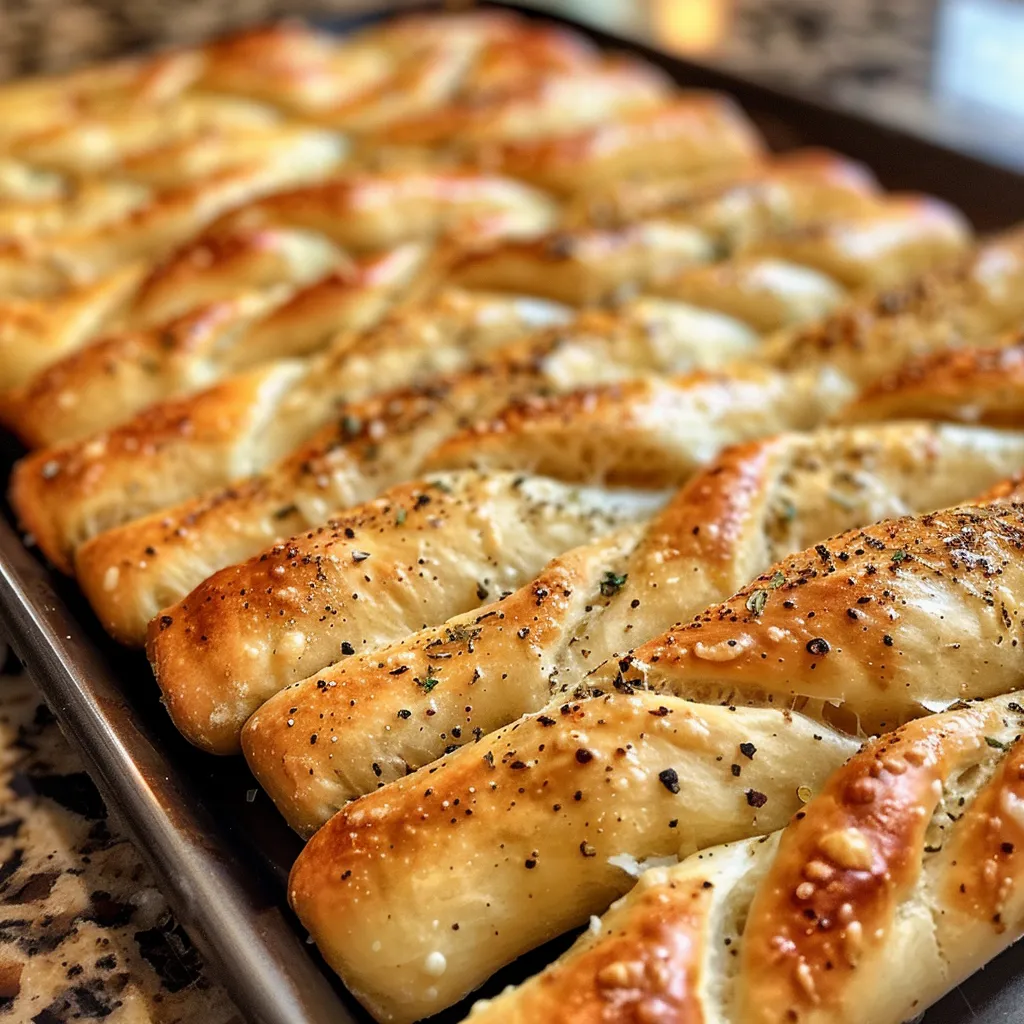
Are you ready to elevate your meals with a delightful touch? These homemade garlic butter breadsticks are not only irresistibly soft and flavorful but also incredibly easy to make! Perfect for any occasion, whether it’s a cozy family dinner or a festive gathering with friends, these breadsticks are sure to bring smiles to the table. In this article, we’ll explore everything you need to know to create the perfect batch of breadsticks that will have everyone asking for seconds!
Why You’ll Love This Recipe
This isn’t just another breadstick recipe; this is your ticket to a delightful kitchen adventure! Here are just a few reasons to love these buttery garlic treasures:
- Incredibly Soft & Fluffy: The dough rises beautifully, resulting in breadsticks that are light, airy, and melt-in-your-mouth delicious.
- Versatile Side Dish: These breadsticks are perfect for pairing with soups, salads, pastas, or even as a stand-alone snack!
- Quick to Make: With minimal prep time, you can whip up these warm, delicious breadsticks in about an hour, making them a great last-minute addition to any meal.
- Customizable Flavor: Want to kick it up a notch? Feel free to add extra garlic, herbs, or even cheese to the dough for a flavor explosion!
- Beginner-Friendly: Even if you’re new to baking, this recipe is broken down into simple steps, so you can feel confident in your kitchen skills.
Ingredient Breakdown
Let’s gather our ingredients to create the magic! Here’s what you’ll need:
- Warm Water: 1 and 1/2 cups (110-115°F) – This helps activate the yeast.
- Active Dry Yeast: 1 tablespoon – Essential for that perfect rise!
- Sugar: 2 tablespoons – Just a touch to help the yeast thrive.
- Unsalted Butter: 2 tablespoons, melted – Adds richness to the dough.
- Salt: 1 and 1/2 teaspoons – Enhances flavor throughout the breadsticks.
- All-Purpose Flour: 4 cups – The backbone of your breadsticks.
- Melted Butter for Brushing: 5 tablespoons – This gives the final touch of flavor.
- Garlic Powder: 1/2 teaspoon – For that irresistible garlic flavor.
- Italian Seasoning: 1 teaspoon – A dash of herbaceous goodness.
Substitutions: Don’t worry if you’re missing an ingredient; here are some easy swaps:
- Flour: You can use bread flour for a chewier texture.
- Butter: Olive oil can replace butter for a dairy-free option.
- Garlic Powder: Fresh minced garlic can be used for a bolder flavor.
- Italian Seasoning: Feel free to mix your favorite herbs like oregano or basil!
How to Make Your Homemade Garlic Butter Breadsticks
Ready to dive into the baking process? Let’s create those delectable breadsticks!
- Step 1: Prepare the Yeast Mixture – In a stand mixer bowl, combine warm water, yeast, and sugar. Allow it to sit for 5-10 minutes until it becomes frothy.
- Step 2: Mix the Dough – Add melted butter, salt, and half of the flour to the mixture. Gradually mix in the remaining flour until everything is well combined.
- Step 3: Knead the Dough – Knead the dough on medium-low speed for about 7-10 minutes until it’s smooth and elastic.
- Step 4: Let It Rise – Transfer the dough to an oiled bowl, cover it loosely, and let it rise in a warm area for about 1 to 1.5 hours until it doubles in size.
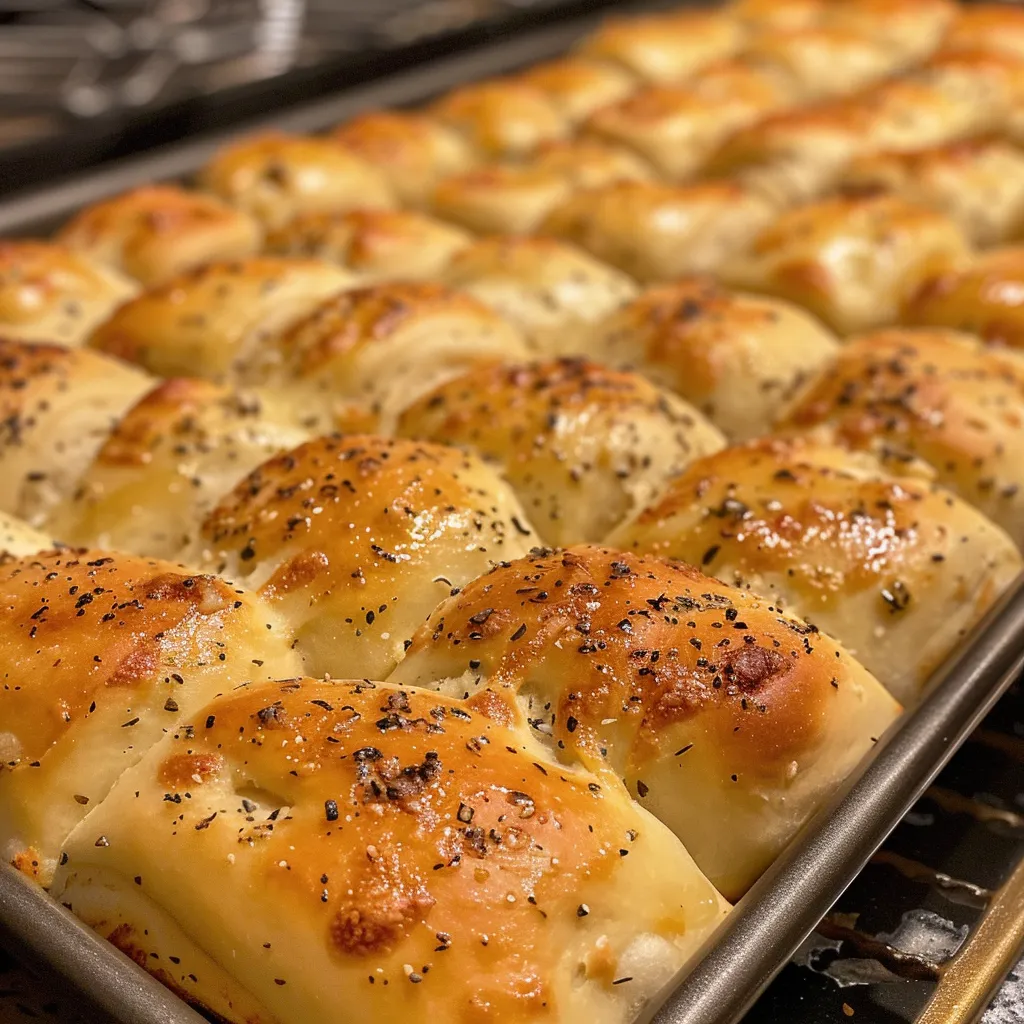
- Step 5: Shape the Breadsticks – Punch down the dough, shape it into a log, cut it into 16-18 pieces, and roll each piece into thin logs.
- Step 6: Second Rise – Place the shaped breadsticks on a greased baking sheet lined with parchment paper and allow them to rise again for about an hour.
- Step 7: Bake to Perfection – Preheat the oven to 400°F (200°C) and bake the breadsticks for approximately 14-15 minutes, or until golden brown.
- Step 8: Apply the Garlic Butter – While the breadsticks are baking, mix melted butter with garlic powder and Italian seasoning. Brush over warm breadsticks after baking.
Pro Tips for Success
Want to ensure your breadsticks turn out perfectly? Here are some expert insights:
- Check Your Yeast: Always ensure your yeast is fresh. If it doesn’t foam in the warm water, it’s likely dead.
- Don’t Overwork the Dough: Knead just until smooth. Overworking can lead to tough breadsticks.
- Warm Environment: Let the dough rise in a warm, draft-free space. If your kitchen is cold, consider preheating your oven slightly and turning it off before placing the dough inside.
- Use Parchment Paper: Line your baking sheet with parchment for easy cleanup and to prevent sticking.
- Brush Immediately: Brush the garlic butter on the breadsticks as soon as they come out of the oven for maximum flavor absorption.
- Experiment with Toppings: Don’t hesitate to sprinkle some grated Parmesan or additional herbs on top before baking for an added flavor boost!
Common Mistakes and Troubleshooting
Even the best bakers face challenges. Here’s how to troubleshoot:
- Flat Breadsticks: This can happen if the dough doesn’t rise properly. Always check your yeast and ensure the water is at the right temperature.
- Tough Texture: Kneading too long or using too much flour can lead to dense breadsticks. Measure flour accurately!
- Burned Bottoms: If your breadsticks are burning on the bottom, try using a lighter baking sheet or adjusting the oven rack.
Delicious Variations
Want to switch things up? Here are some fun variations to try:
- Cheesy Breadsticks: Incorporate shredded mozzarella or cheddar into the dough for a cheesy delight!
- Herb-Infused: Add fresh herbs like rosemary or thyme into the dough for an aromatic twist.
- Spicy Twist: Mix in some crushed red pepper flakes for a kick.
- Sweet Garlic Breadsticks: Replace some sugar with honey or maple syrup for a sweet version that pairs wonderfully with coffee.
Storage and Make-Ahead Instructions
Want to prepare in advance? Here’s how to store your garlic butter breadsticks:
- At Room Temperature: Store in an airtight container for up to 2 days.
- In the Refrigerator: For longer storage, keep them in the fridge for up to 5 days.
- Freezing: These breadsticks freeze well! Wrap them tightly and place them in a freezer bag for up to 3 months. Reheat directly from the freezer in the oven.
Frequently Asked Questions
You’ve got questions? We’ve got answers!
- Can I use whole wheat flour? Yes, but it may affect the texture. Consider mixing it with all-purpose flour for best results.
- How can I make these gluten-free? Use a gluten-free all-purpose flour blend and ensure all other ingredients are gluten-free.
- What if my dough doesn’t rise? Check your yeast and ensure the water temperature is correct. A warm, draft-free environment helps.
- Can I make these ahead of time? Absolutely! Prepare the dough and shape the breadsticks, then refrigerate overnight before baking.
- How do I reheat leftover breadsticks? Reheat in a preheated oven at 350°F (175°C) for about 5-7 minutes.
- Can I make these without a stand mixer? Yes! Mix by hand and knead on a floured surface if you don’t have a mixer.
- What should I serve with these breadsticks? They pair perfectly with soups, salads, or pasta dishes, adding a delicious touch to any meal!
- What’s the nutritional value of these breadsticks? Nutritional information varies based on ingredients; consider using a calculator to input your exact recipe.
Nutritional Tips and Dietary Adaptations
If you’re looking to adapt this recipe for dietary needs:
- Low-Carb Option: Consider using almond flour or a low-carb flour alternative.
- Dairy-Free: Use coconut oil instead of butter for a dairy-free option.
- Vegan: Substitute butter with plant-based margarine and ensure your yeast is vegan-friendly.
Equipment Recommendations
Here’s what you’ll need to get started:
- Stand Mixer: Makes kneading a breeze, but you can also do it by hand!
- Baking Sheet: A sturdy, non-stick baking sheet is ideal for even baking.
- Parchment Paper: For easy cleanup and to prevent sticking.
- Measuring Cups and Spoons: Accurate measurements are key for baking success!
Serving Suggestions
Once your garlic butter breadsticks are out of the oven, here’s how to enjoy them:
- With Dipping Sauces: Serve with marinara, ranch, or garlic aioli for added flavor.
- As a Side: Pair with your favorite pasta dishes or hearty soups for a complete meal.
- Garnished: Sprinkle with extra herbs or grated cheese before serving for an appealing presentation.
Now that you have all the tips and tricks for making the best homemade garlic butter breadsticks, it’s time to gather your ingredients and get baking! Remember, every kitchen mishap is just a step toward mastering your baking skills. Enjoy the process, savor every bite, and most importantly, have fun in the kitchen! Happy cooking!
Homemade Garlic Butter Breadsticks
Ingredients
Dough
- 1 1/2 cups warm water (110-115 F)
- 1 tablespoon active dry yeast
- 2 tablespoons granulated sugar
- 2 tablespoons unsalted butter, melted
- 1 1/2 teaspoons salt
- 4 cups all-purpose flour
- 5 tablespoons melted butter for brushing
- 1/2 teaspoon garlic powder
- 1 teaspoon Italian seasoning
Instructions
- Combine warm water, yeast, and sugar; let sit 5-10 mins until frothy.
- Add melted butter, salt, and half of the flour; mix, then add remaining flour and knead 7-10 mins until smooth.
- Let dough rise in an oiled bowl, covered, for 1-1.5 hours until doubled.
- Punch down, shape into logs, cut into 16-18 pieces, and roll into logs. Let rise on a greased sheet for 1 hour.
- Preheat oven to 400°F (200°C). Bake breadsticks 14-15 mins until golden.
- Mix melted butter with garlic powder and Italian seasoning; brush over warm breadsticks after baking.
