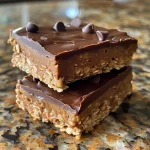
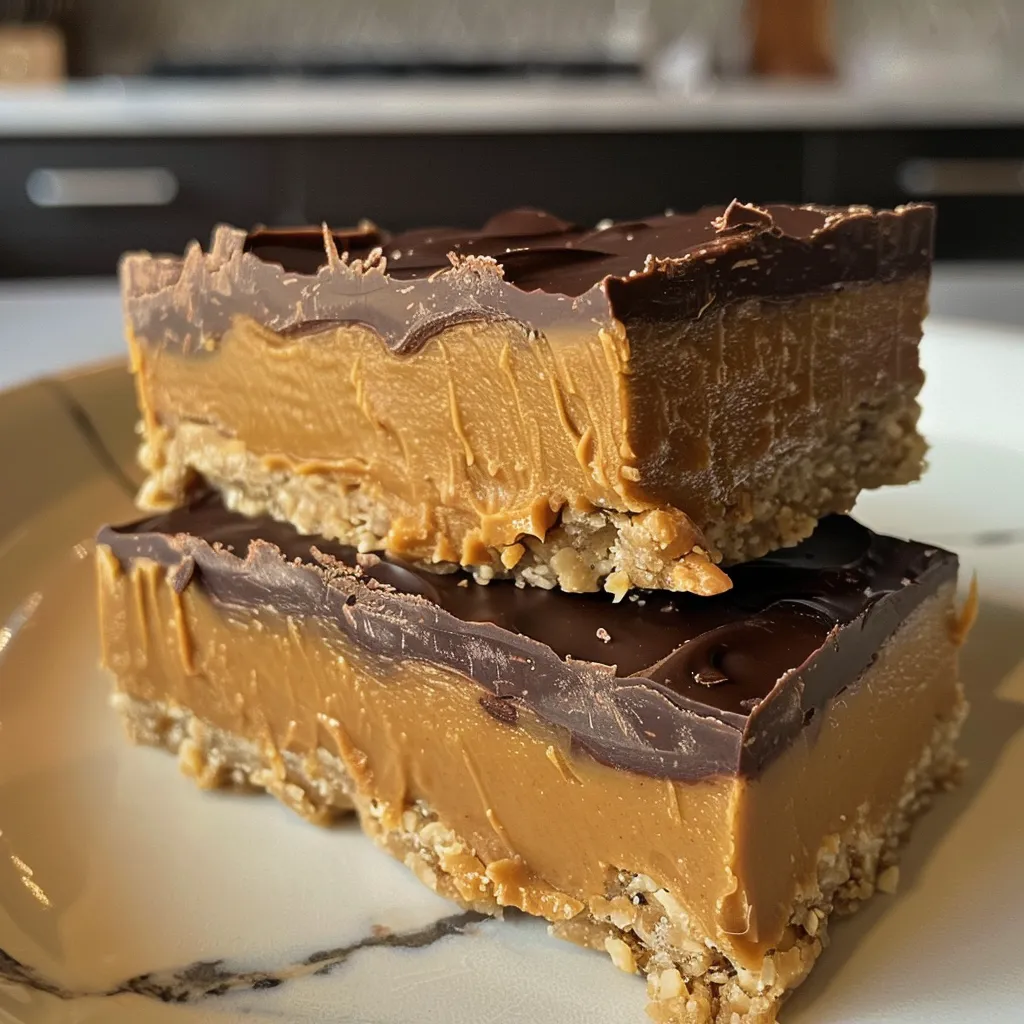
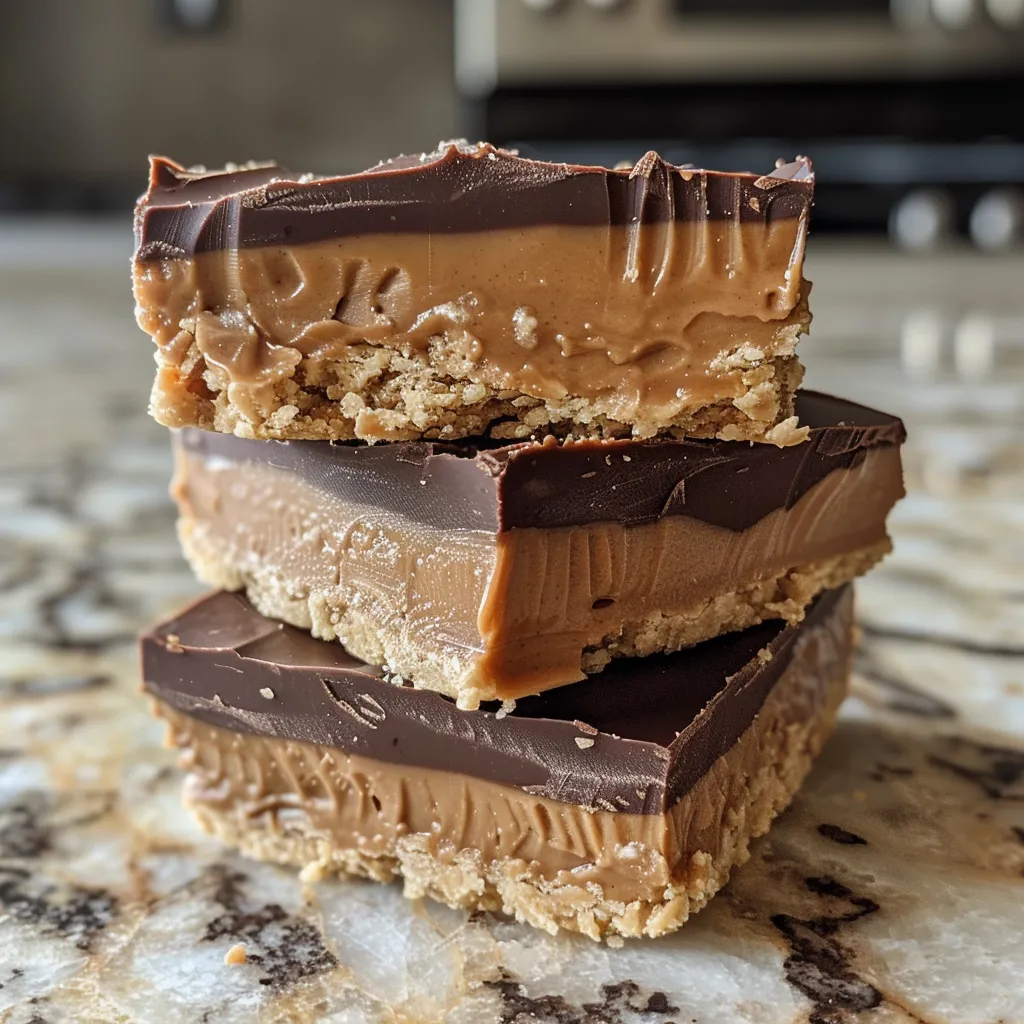
Discover the Joy of No-Bake Peanut Butter Cup Bars
Welcome to the world of no-bake treats, where flavor meets simplicity! If you’re looking for a delightful dessert that satisfies your sweet tooth without the hassle of turning on the oven, you’ve landed in the right place. These No-Bake Peanut Butter Cup Bars are not just easy to make; they’re a celebration of creamy peanut butter and rich chocolate that will leave everyone asking for more. So, let’s dive into why this recipe is a must-try!
Why You’ll Love This Recipe
- Quick and Convenient: Prep time is minimal—just a few steps and you’re on your way to a delicious treat!
- Nutritious Ingredients: Made with wholesome ingredients like almond flour and natural peanut butter, making them a healthier dessert option.
- Customizable: Easily tweak the recipe with different toppings or fillings to cater to your taste preferences.
- Perfect for Any Occasion: Whether it’s a family gathering or a cozy night in, these bars are sure to impress.
- No Baking Required: Enjoy the ease of a dessert that doesn’t require any baking—just mix, chill, and serve!
Ingredient Breakdown
Let’s take a closer look at what you’ll need to whip up these scrumptious bars. Each ingredient plays a vital role in achieving the perfect flavor and texture.
- Creamy Salted Peanut Butter: 3/4 cup. Opt for drippy, natural peanut butter for the best consistency. If you’re feeling adventurous, try making your own at home!
- Almond Flour: 1/2 cup. This adds a lovely nutty flavor and keeps the bars gluten-free. You can substitute with oat flour or all-purpose flour if preferred.
- Maple Syrup: 2 tablespoons. This natural sweetener enhances the flavor without overpowering it. Honey or agave syrup can be used as alternatives.
- Sea Salt: 1/4 teaspoon (optional). A little sprinkle enhances the peanut butter’s flavor. Feel free to skip this if using unsalted peanut butter.
- Semi-Sweet Chocolate Chips: 1/2 cup. Chocolate is the star here! You can also use dark chocolate for a richer flavor.
- Coconut Oil: 2 tablespoons. This helps in achieving a smooth chocolate topping. You can omit it, but it does help with the texture!
- Flaky Sea Salt: for garnishing. This is optional but recommended for that delightful crunch and flavor contrast.
Step-by-Step Instructions
Ready to get cooking? Here’s how to make your no-bake peanut butter cup bars in just a few simple steps.
- Line a standard-size loaf pan with parchment paper and set aside.
- PEANUT BUTTER BASE: In a medium microwavable mixing bowl, combine the peanut butter, almond flour, maple syrup, and optional sea salt. Mix well until fully combined. Scrape the mixture out into the prepared loaf pan and spread it evenly.
- CHOCOLATE TOPPING: In the same bowl, add the chocolate chips and microwave in 30-second intervals, stirring in between, until smooth and melted. Alternatively, melt on the stovetop using a double boiler. Once melted, stir in the coconut oil and 2 tablespoons of peanut butter until smooth.
- Pour the chocolate mixture over the peanut butter base, smoothing it out with a spatula. Sprinkle with flaky sea salt if desired.
- Chill in the freezer for about 20 minutes, or until the chocolate is set.
- Once set, lift the bars out of the pan using the parchment paper and slice into approximately 14 bars. Enjoy!
- Store leftovers in an airtight container in the refrigerator for up to 1-2 weeks, or freeze for up to 1 month.
Pro Tips for Perfect Bars
- Temperature Matters: Ensure your peanut butter is at room temperature for easier mixing.
- Uniform Size: Use a sharp knife to cut the bars into uniform sizes for even serving.
- Experiment with Toppings: Feel free to add nuts, shredded coconut, or even a drizzle of caramel on top for added flavor.
- Don’t Rush the Freezing: Allow enough time for the chocolate to set properly; this ensures a clean cut.
- Mix It Up: Try different nut butters like almond or cashew for a unique twist on flavor.
- Layering: For a fancier presentation, layer the chocolate and peanut butter mixtures in the pan.
- Use Quality Chocolate: The better the chocolate, the richer your bars will taste.
- Chill for a Longer Time: If you like firmer bars, chill them longer than 20 minutes.
- Watch for Over-Mixing: Stir just until combined to avoid a tough texture.
- Flavor Boost: Add a splash of vanilla extract to the peanut butter mixture for extra flavor.
Common Mistakes and Troubleshooting
Even the best recipes can have hiccups! Here are some common pitfalls and how to avoid them:
- Bars Too Soft: This can happen if the mixture isn’t chilled long enough. Make sure to give them sufficient time in the freezer to firm up.
- Chocolate Separation: If your chocolate isn’t melting well, try using a double boiler or ensure no water gets into your chocolate.
- Crumbly Texture: If the base is too crumbly, you may need to add a little more peanut butter or maple syrup to bind it better.
- Chocolate Not Setting: Make sure your chocolate mixture isn’t too warm when poured over the peanut butter base.
- Uneven Layers: Use a spatula to smooth out each layer before chilling to ensure an even finish.
Delicious Variations to Try
Feeling adventurous? Here are some variations to keep your taste buds excited:
- Cookie Dough Bars: Add mini chocolate chips to the peanut butter base for a cookie dough vibe.
- Mint Chocolate Version: Stir in peppermint extract into the chocolate layer for a minty twist!
- Fruit-Infused Bars: Add crushed freeze-dried strawberries or raspberries to the peanut butter base for a fruity flavor.
- Protein-Packed Bars: Mix in a scoop of your favorite protein powder into the peanut butter base for an extra boost.
Storage and Make-Ahead Instructions
These bars are perfect for meal prep! Here’s how to store and enjoy them:
- Refrigerator: Keep in an airtight container for up to 1-2 weeks. Enjoy them cold!
- Freezer: Store in a freezer-safe container for up to 1 month. Just thaw for a few minutes before serving for the best texture.
- Make-Ahead: Prepare these bars a day or two in advance for gatherings. They make for a great grab-and-go snack!
Nutritional Tips and Dietary Adaptations
Let’s make this treat fit your dietary needs:
- Nut-Free Option: Swap peanut butter for sunflower seed butter to make it nut-free.
- Vegan-Friendly: Ensure that your chocolate and maple syrup are vegan, and you’re good to go!
- Low-Carb Variant: Use a low-carb sweetener like erythritol instead of maple syrup for a keto-friendly version.
- Higher Protein: Add protein powder or use protein-rich nut butters for an extra nutritional boost.
Equipment Recommendations
To make this recipe a breeze, here’s what you’ll need:
- Loaf Pan: A standard size is perfect for shaping your bars.
- Microwave-Safe Bowl: For melting your chocolate and mixing your ingredients.
- Spatula: An essential tool for mixing and spreading your mixtures evenly.
- Parchment Paper: This is key for easy removal of your bars from the pan.
Serving Suggestions
Now that you’ve got your delicious bars ready, here’s how to serve them:
- Perfect for Parties: Arrange on a platter for a sweet addition to any gathering.
- Pair with Ice Cream: Serve these bars with a scoop of vanilla or chocolate ice cream for an indulgent dessert.
- Snack Time: Ideal for an afternoon pick-me-up or as a post-workout snack.
- Gift Them: Wrap them up as a thoughtful homemade gift for friends and family.
FAQ About No-Bake Peanut Butter Cup Bars
- Can I use crunchy peanut butter? Yes! Crunchy peanut butter will add a delightful texture to your bars.
- How do I know when they are set? The chocolate should be firm to the touch and not sticky.
- Can I double the recipe? Absolutely! Just use a larger pan and adjust the chilling time as needed.
- What can I use instead of almond flour? You can use oat flour, all-purpose flour, or even ground oats.
- How do I make these bars vegan? Use vegan chocolate and maple syrup for a delicious vegan treat!
- What’s the best way to cut the bars? Use a sharp knife, and for cleaner cuts, warm the knife under hot water before slicing.
- Can I freeze these bars? Yes! They freeze well, just wrap them tightly to prevent freezer burn.
- How long will they last? In the fridge, they’ll last 1-2 weeks, and up to 1 month in the freezer.
Conclusion: Your New Favorite Treat Awaits!
And there you have it—your guide to making No-Bake Peanut Butter Cup Bars that are sure to wow! With their creamy texture and rich flavor, these bars are a perfect treat for any occasion. Whether you’re treating yourself, hosting a gathering, or just looking for a quick snack, these bars will not disappoint. So gather your ingredients, roll up your sleeves, and let’s get cooking! Thank you for sharing this delicious journey with me. Happy baking!
No-Bake Peanut Butter Cup Bars
Ingredients
Base
- 3/4 cup creamy salted peanut butter (drippy, natural, preferably 2 ingredients: peanuts and salt)
- 1/2 cup almond flour
- 2 Tbsp maple syrup
- 1/4 tsp sea salt (optional, include for extra saltiness or if using unsalted peanut butter)
Chocolate Topping
- 1/2 cup semi-sweet chocolate chips or chunks
- 2 Tbsp creamy salted peanut butter
- 1/2 tsp coconut oil
Topping
- Flaky sea salt flaky sea salt (for sprinkling on top)
Instructions
- Line a loaf pan with parchment paper.
- Mix peanut butter, almond flour, maple syrup, and salt until combined; press into the pan.
- Melt chocolate chips with peanut butter and coconut oil until smooth.
- Pour chocolate over the base, sprinkle with flaky sea salt, and freeze for 20 minutes.
- Lift from pan, slice into bars, and enjoy.