
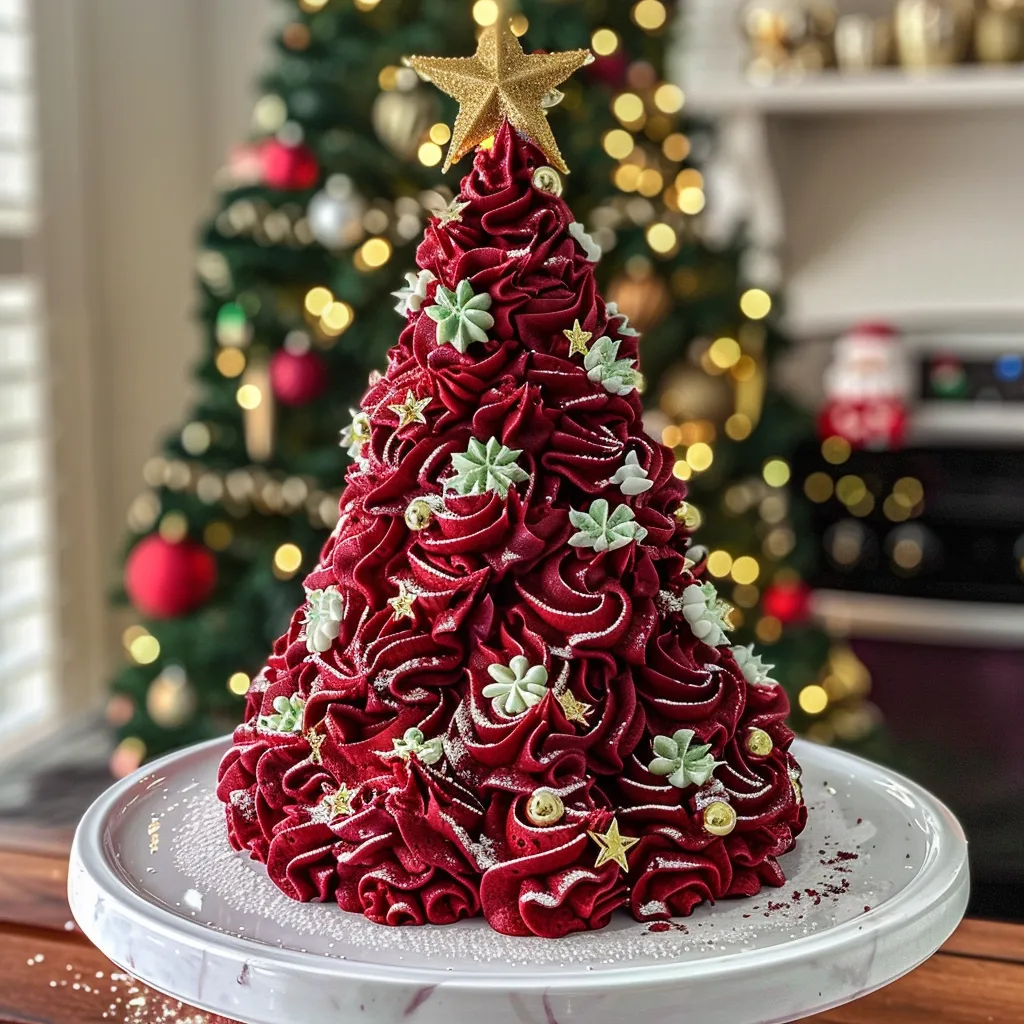
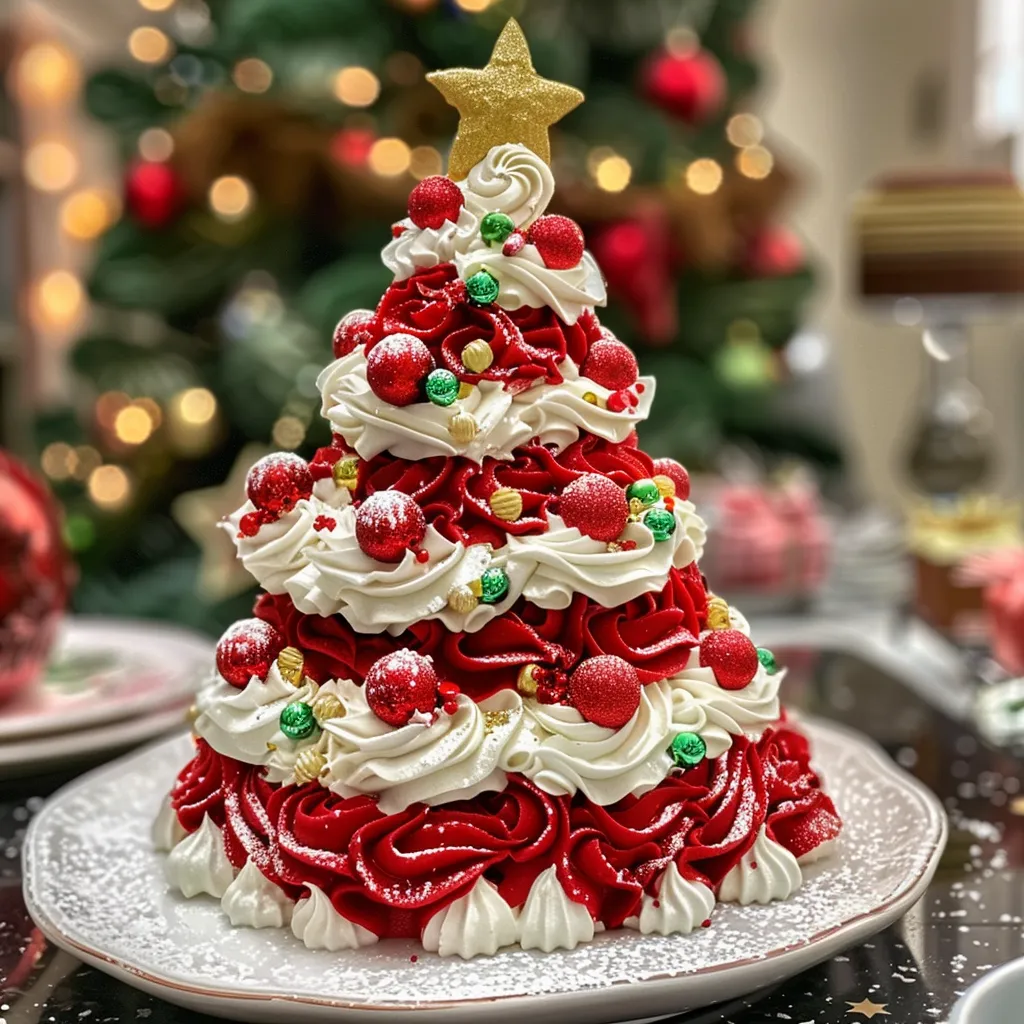
Welcome to the world of festive baking! If you’re looking to elevate your holiday celebrations, this Red Velvet Christmas Tree recipe is just the treat you need. Not only is it visually stunning, but it also bursts with flavor, making it a perfect centerpiece for your holiday table. Let’s dive into this delightful cake that will surely bring joy to your festive gatherings!
Why You’ll Love This Recipe
This red velvet christmas creation is more than just a treat; it’s an experience. Here are a few reasons why this recipe stands out:
- Eye-catching presentation: The vibrant red color and whimsical tree shape will impress your guests and bring a festive touch to your table.
- Flavor explosion: Rich flavors of red velvet combined with creamy cream cheese frosting create a delightful taste sensation.
- Fun to make: Baking this cake can be a joyful activity, perfect for involving family and friends in the kitchen.
- Customizable: You can easily add your twist to the recipe by incorporating different decorations or flavors.
- Perfect for any occasion: While it’s great for Christmas, this cake is suitable for birthdays, anniversaries, or any celebration!
Ingredients Breakdown
Let’s gather our ingredients! Here’s what you’ll need to create this beautiful velvet christmas tree cake:
- 2 1/2 cups all-purpose flour: This forms the base of your cake. You can substitute with gluten-free flour if needed.
- 2 cups granulated sugar: For sweetness and a tender cake texture.
- 1 tsp baking soda: Helps the cake rise beautifully.
- 1 tsp salt: Enhances flavor.
- 1 tsp cocoa powder: Adds subtle chocolate notes.
- 1 1/2 cups vegetable oil: Keeps the cake moist and tender.
- 2 large eggs: For structure and richness.
- 1 cup buttermilk: Adds moisture and flavor; you can use regular milk with a splash of vinegar as a substitute.
- 2 tbsp red food coloring: Gives the cake its signature color.
- 1 tsp vanilla extract: For a lovely aromatic flavor.
- 1 tsp white vinegar: Works with the baking soda for a fluffy texture.
- 1 1/2 cups unsalted butter, softened: Essential for the cream cheese frosting.
- 2 packages (8 oz) cream cheese, softened: The star of the frosting.
- 4 cups powdered sugar: Sweetens and thickens the frosting.
- 1 tsp vanilla extract: For flavor in the frosting.
- Green food coloring: To achieve a festive look for decorating.
- Red and green fondant balls: For decoration.
- Gold edible beads: Adds a touch of elegance.
- Small edible glitter or sugar crystals (optional): For that extra sparkle!
- A small edible gold star: To top off your tree.
Step-by-Step Instructions
Ready to bring this cake to life? Follow these simple steps:
- Preheat your oven to 350°F (175°C) and grease and line three 6-inch round cake pans.
- In a large bowl, whisk together flour, sugar, baking soda, salt, and cocoa powder.
- In another bowl, whisk together oil, eggs, buttermilk, red food coloring, vanilla, and vinegar.
- Gradually add the wet mix to the dry mix, stirring until smooth.
- Divide the batter among the prepared pans and bake for 25-30 minutes or until a toothpick comes out clean. Cool cakes in pans for 10 minutes before transferring to a wire rack to cool completely.
- In a bowl, beat the butter and cream cheese until fluffy. Gradually add powdered sugar, mixing until smooth. Stir in vanilla extract.
- Once the cakes are cool, level each layer, stack them largest to smallest, adding frosting between layers.
- Cover the cake with cream cheese frosting; tint some green and pipe decorations with a star tip.
- Decorate with fondant balls, gold beads, and finish with a small edible gold star.
- Lightly dust with edible glitter or sugar crystals for a festive touch.
Pro Tips for Success
To ensure your red velvet christmas tree turns out perfect, keep these tips in mind:
- Room temperature ingredients: Make sure all ingredients are at room temperature for a smoother batter.
- Cake cooling: Allow cakes to cool completely to avoid melting the frosting.
- Consistent baking: Rotate your cake pans halfway through baking for even results.
- Frosting thickness: If the cream cheese frosting is too thick, add a splash of milk to reach your desired consistency.
- Layering technique: Use a serrated knife to level your cake layers for a professional look.
- Decorating fun: Don’t hesitate to get creative with your decorations—use seasonal items!
- Storage awareness: Keep any leftover cake in an airtight container in the fridge.
- Experiment with flavors: Try adding a hint of almond extract for a different flavor profile!
Common Mistakes and Troubleshooting
Even the best bakers make mistakes! Here are some common ones and how to fix them:
- Dry cake: This can happen if you overmix or overbake. Check your cakes a few minutes before the suggested time.
- Frosting too runny: If your frosting is too thin, add more powdered sugar until it thickens to your liking.
- Uneven layers: If your cakes are uneven, use a cake leveler or a serrated knife to trim them.
- Color fading: Store your cake out of direct sunlight to maintain that vibrant red color.
Variations to Try
Feel free to put your spin on this recipe! Here are some fun variations:
- Chocolate Velvet Tree: Add melted chocolate to the batter for a richer taste.
- Layered Ombre Cake: Use different shades of red food coloring for a stunning ombre effect.
- Fruit Filling: Add a layer of raspberry or strawberry jam between the cake layers for extra fruity goodness.
- Nutty Surprise: Incorporate chopped walnuts or pecans into the batter for added texture and flavor.
Storage and Make-Ahead Instructions
This cake can be made ahead and stored properly:
- Storing: Keep the cake in the fridge in an airtight container for up to 5 days.
- Freezing: You can freeze the un-frosted cake layers for up to 3 months. Just wrap them tightly in plastic wrap!
- Make-ahead frosting: Prepare the cream cheese frosting in advance and store it in the fridge. Just re-whip before using!
Frequently Asked Questions
Here are some common questions you might have while making your velvet christmas tree:
- Can I use a different size pan? Yes! Adjust baking time accordingly; larger pans may require less time.
- What can I substitute for buttermilk? You can mix 1 cup of milk with 1 tablespoon of vinegar or lemon juice.
- Is there an alternative to cream cheese? You can use mascarpone cheese or a vegan cream cheese substitute.
- How do I achieve the perfect red color? Use high-quality food coloring and don’t be shy—add more for a deeper hue!
- Can I make this cake gluten-free? Yes, just swap all-purpose flour for a gluten-free blend.
- What’s the best way to serve this cake? Slice it into wedges and serve with a scoop of vanilla ice cream for an indulgent treat!
- How can I decorate the cake differently? Use different colored fondant or seasonal decorations to fit your theme.
- Can I make this a layer cake? Absolutely! Stack the layers with frosting in between for a more traditional cake look.
Nutrition Tips and Dietary Adaptations
Making this cake can fit into various dietary needs:
- Lower sugar option: Use a sugar substitute or reduce the sugar amount slightly.
- Gluten-free option: As mentioned, swap the flour for a gluten-free alternative.
- Vegan adaptation: Substitute eggs with flax eggs and use plant-based cream cheese.
- Healthier frosting: Use Greek yogurt in place of some cream cheese for a lighter frosting.
Equipment Recommendations
Here are some kitchen essentials that will make your baking experience smoother:
- Mixing bowls: A set of different sizes will help you manage various ingredients.
- Cake pans: Invest in good quality non-stick round pans for even baking.
- Electric mixer: This will save you time and effort when mixing the batter and frosting.
- Offset spatula: Perfect for spreading frosting evenly.
- Cooling rack: Essential for cooling your cakes properly and preventing sogginess.
Serving Suggestions
Get creative with how you present your red velvet christmas tree!
- Plate it up: Serve slices on festive plates with a drizzle of chocolate sauce.
- Pair with ice cream: A scoop of vanilla ice cream makes for a delicious combination.
- Fresh fruit: Add some berries or pomegranate seeds for a refreshing contrast.
- Coffee or tea: Pair with a warm beverage for a cozy dessert experience.
In conclusion, this Red Velvet Christmas Tree recipe is not just a cake; it’s a celebration of flavors, fun, and creativity. Don’t hesitate to experiment, laugh at any kitchen mishaps, and enjoy the joy of baking with loved ones. Wishing you a holiday season filled with warmth, joy, and delicious moments! Happy baking!
Red Velvet Christmas Tree
Ingredients
Dry ingredients
- 2 1/2 cups all-purpose flour
- 2 cups granulated sugar
- 1 tsp baking soda
- 1 tsp salt
- 1 tsp cocoa powder
Wet ingredients
- 1 1/2 cups vegetable oil
- 2 large eggs
- 1 cup buttermilk
- 2 tbsp red food coloring
- 1 tsp vanilla extract
- 1 tsp white vinegar
Frosting ingredients
- 1 1/2 cups unsalted butter, softened
- 2 packages (8 oz) cream cheese, softened
- 4 cups powdered sugar
- 1 tsp vanilla extract
Decorations
- Green food coloring
- Red and green fondant balls
- Gold edible beads
- Small edible glitter or sugar crystals (optional)
- A small edible gold star
Instructions
- Preheat oven to 350°F (175°C). Grease three 6-inch pans.
- Mix dry ingredients; in another bowl, combine wet ingredients. Combine both mixes and divide into pans. Bake 25-30 mins, cool completely.
- Beat butter and cream cheese, add powdered sugar and vanilla to make frosting. Level and stack cakes, applying frosting between layers.
- Cover with frosting, tint some green, pipe decorations, and add fondant balls, gold beads, and a star. Dust with glitter for a festive finish.

