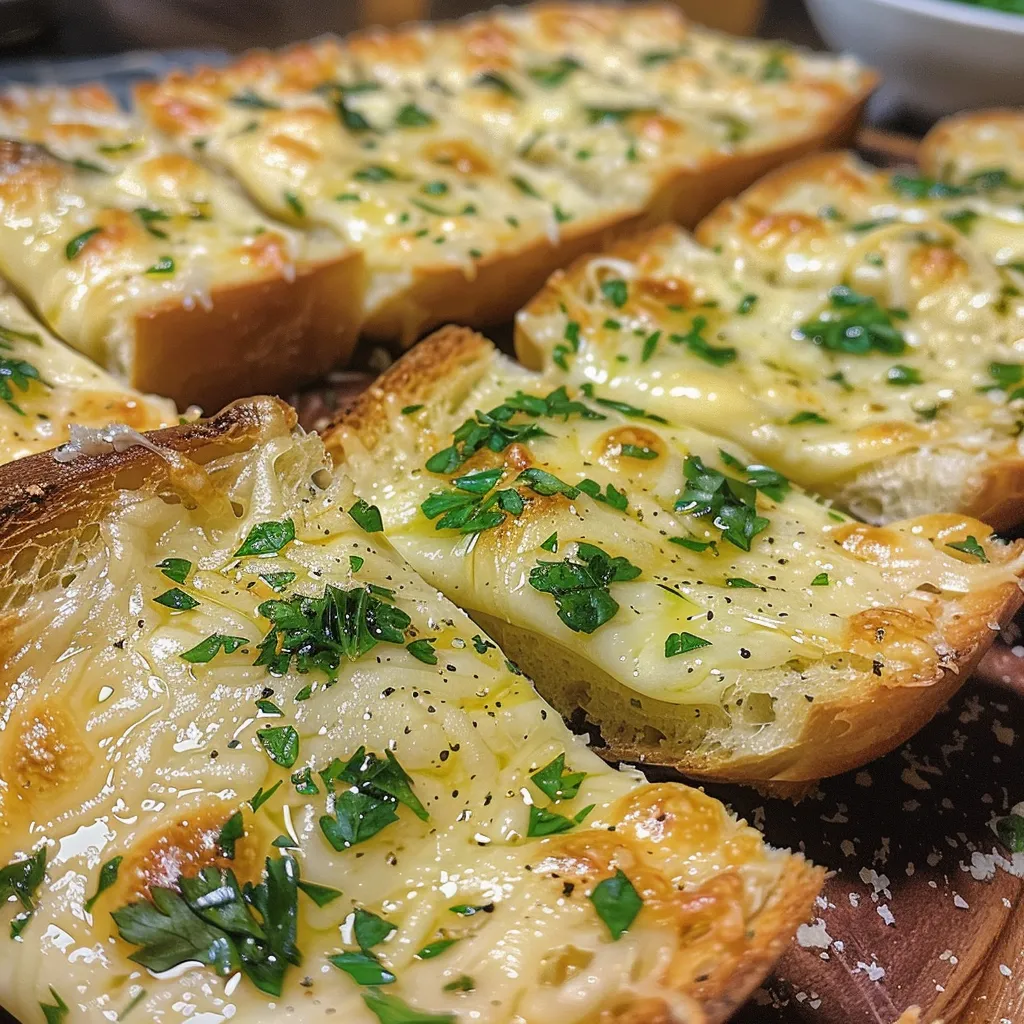
Experience the Ultimate Comfort Food: Toasted Cheesy Garlic Bread
Welcome to the delicious world of Toasted Cheesy Garlic Bread! If there’s one recipe that embodies comfort and indulgence, it’s this one. Made with buttery garlic goodness and topped with ooey-gooey cheese, this dish is perfect for any occasion—whether it’s a cozy family dinner, a lively gathering with friends, or simply a snack for yourself. With just a few simple ingredients, you’ll create a dish that dances on your taste buds and warms your heart.
But why settle for just any garlic bread? In this comprehensive guide, I’ll walk you through everything you need to know to make the best cheesy garlic bread ever, from choosing the right ingredients to troubleshooting common mistakes. Let’s dive in!
Why You’ll Love This Recipe
- Simple Ingredients: You likely have most of the ingredients in your pantry already! Just grab some bread, butter, garlic, and cheese.
- Quick and Easy: This recipe takes less than 30 minutes from start to finish, making it perfect for a last-minute side dish.
- Customizable: Whether you prefer mozzarella, cheddar, or a mix of cheeses, this recipe allows for delicious variations.
- Perfect for Sharing: Cut into slices or strips, this cheesy delight is perfect for sharing with friends and family.
- Ultimate Comfort Food: The combination of crispy bread, savory garlic butter, and melted cheese is a guaranteed crowd-pleaser!
Ingredient Breakdown
Let’s take a closer look at the ingredients you’ll need for this recipe, along with helpful substitutions to make this dish truly yours:
- Bread: A large loaf of Italian or French bread works best, but you can also use sourdough or ciabatta for a twist.
- Unsalted Butter: Use room temperature butter for easy spreading. If you want to cut back on dairy, try using vegan butter.
- Garlic: Fresh garlic gives the best flavor, but if you’re in a pinch, garlic powder can substitute (about 1 teaspoon should suffice).
- Cheese: I recommend using a blend of mozzarella for stretchiness and Parmesan for a nutty flavor. Feel free to experiment with your favorites!
- Herbs: Fresh parsley adds a pop of color and flavor. Oregano is optional, but it can enhance the herbaceous notes.
- Salt: A pinch of salt elevates the flavors of the garlic and cheese.
How to Make Toasted Cheesy Garlic Bread
Now that you have all your ingredients ready, let’s get started on making this mouthwatering cheesy garlic bread!
- Preheat the Oven: Set your oven to 375°F (190°C) and line a baking tray with parchment paper or aluminum foil for easier cleanup.
- Prepare the Garlic Butter: In a mixing bowl, combine the softened butter with the minced garlic, chopped parsley, oregano (if using), and a small pinch of salt. Stir until you have a smooth garlic butter spread.
- Butter the Bread: Lay the bread halves cut-side up on the prepared baking sheet. Evenly distribute the garlic butter mixture across the surfaces of both halves.
- Add the Cheese: Generously scatter the shredded mozzarella over the buttered bread, followed by an even layer of grated Parmesan.
- Bake to Perfection: Transfer the baking tray to the oven and bake for approximately 12 to 15 minutes, or until the cheese is fully melted and bubbling.
- Broil for Extra Crisp: For a crispy, golden topping, switch the oven setting to broil and toast the bread for an additional 1 to 2 minutes. Keep a close eye to prevent burning!
- Slice and Serve: Remove from the oven, slice into portions, and serve immediately. Garnish with additional fresh parsley if desired.
Pro Tips for Perfect Cheesy Garlic Bread
- Fresh is Best: Always use fresh garlic for the strongest flavor. Avoid pre-minced garlic from jars if possible.
- Experiment with Cheeses: Mix and match cheeses to suit your taste! Try adding gouda or provolone for a unique flavor.
- Don’t Overdo It: While it’s tempting to load on the cheese, a moderate amount allows the bread to crisp nicely.
- Watch the Broil: When broiling, stay nearby! Cheese can go from bubbly to burnt in seconds.
- Serve Immediately: This dish is best enjoyed hot and fresh from the oven, so plan to serve right away.
- Make It Ahead: You can prepare the garlic butter ahead of time and store it in the fridge for up to a week.
- Cutting Technique: For even slices, use a serrated knife and cut the bread while it’s warm, but not steaming hot.
- Storing Leftovers: Any leftover garlic bread can be wrapped in foil and stored in the fridge for up to 3 days.
Common Mistakes and Troubleshooting
Even the best cooks can have mishaps in the kitchen! Here are some common mistakes to avoid and how to troubleshoot them:
- Soggy Bread: If your bread turns out soggy, it could be due to too much butter or not allowing it to bake long enough. Try reducing the butter slightly or baking longer.
- Cheese Not Melting: If the cheese isn’t melting, your oven may not be hot enough. Ensure the oven is preheated to the correct temperature.
- Burnt Edges: If the edges burn while the center is undercooked, try cutting the bread into smaller pieces to ensure even cooking.
- Too Garlic-y: For a milder flavor, reduce the amount of garlic used, or mix in a bit of cream cheese to balance the flavors.
Variations to Try
Feeling adventurous? Here are a few variations to the classic cheesy garlic bread:
- Spinach and Artichoke: Add a layer of sautéed spinach and chopped artichokes on top for a creamy twist.
- Buffalo Chicken: Mix shredded cooked chicken with buffalo sauce and sprinkle it over the cheese before baking for a spicy kick.
- Pesto Delight: Spread a layer of pesto on the bread before adding the garlic butter for a herbaceous flavor.
- Herb-Infused: Infuse the butter with herbs like rosemary or thyme for an aromatic touch.
Storage and Make-Ahead Instructions
If you want to prepare this dish ahead of time, here’s how:
- Make Ahead: Prepare the garlic butter and spread it on the bread. Wrap it tightly in plastic wrap and store it in the fridge for up to 24 hours.
- Freezing: You can freeze unbaked garlic bread for up to a month. Just wrap it well and bake straight from the freezer, adding a few extra minutes to the baking time.
- Reheating: To reheat, place the bread in a preheated oven at 350°F (175°C) for 10 minutes or until warmed through.
FAQ: Your Cheesy Garlic Bread Questions Answered
- Can I use a different type of cheese? Absolutely! Feel free to mix and match cheeses according to your preference.
- Can I use garlic powder instead of fresh garlic? Yes, but fresh garlic offers a bolder flavor. If using powder, about 1 teaspoon should suffice.
- How do I know when it’s done? The cheese should be melted and bubbly, and the edges of the bread should be golden brown.
- Can I make this vegan? Yes! Use vegan butter and your favorite plant-based cheese.
- What can I serve with this garlic bread? This bread pairs wonderfully with spaghetti, salads, or soups!
- Can I add toppings? Definitely! Chopped olives, jalapeños, or even crispy bacon bits can be delicious additions.
- How do I store leftovers? Wrap any leftover garlic bread in foil and store it in the fridge for up to 3 days.
- Can I use bagged shredded cheese? While you can, freshly shredded cheese melts better than pre-shredded varieties.
Nutritional Tips and Dietary Adaptations
This cheesy garlic bread can be tailored to fit various dietary needs:
- Gluten-Free: Use gluten-free bread for a delicious alternative that everyone can enjoy.
- Low-Carb: Substitute bread with zucchini slices or portobello mushrooms for a low-carb version.
- Dairy-Free: Opt for dairy-free butter and cheese alternatives to make this recipe suitable for a dairy-free diet.
Essential Equipment
To make this delicious cheesy garlic bread, you’ll need the following kitchen tools:
- Baking Sheet: A sturdy baking sheet is essential for even cooking.
- Parchment Paper: For easy cleanup and to prevent sticking.
- Mixing Bowl: A medium-sized bowl for mixing the garlic butter.
- Serrated Knife: Perfect for slicing the bread without squishing it.
Serving Suggestions
Toasted Cheesy Garlic Bread is incredibly versatile! Here are some serving suggestions:
- Pair it with your favorite pasta dish, like marinara or alfredo.
- Serve alongside a fresh salad for a balanced meal.
- Use it as a base for a loaded garlic bread pizza!
- Enjoy it as a standalone snack with a side of marinara sauce for dipping.
With this ultimate guide to making the best Toasted Cheesy Garlic Bread, you’re all set to impress your friends and family with your culinary skills. Remember, cooking should be fun and stress-free, so don’t hesitate to experiment and make this recipe your own. Happy cooking, and enjoy every cheesy, garlicky bite!
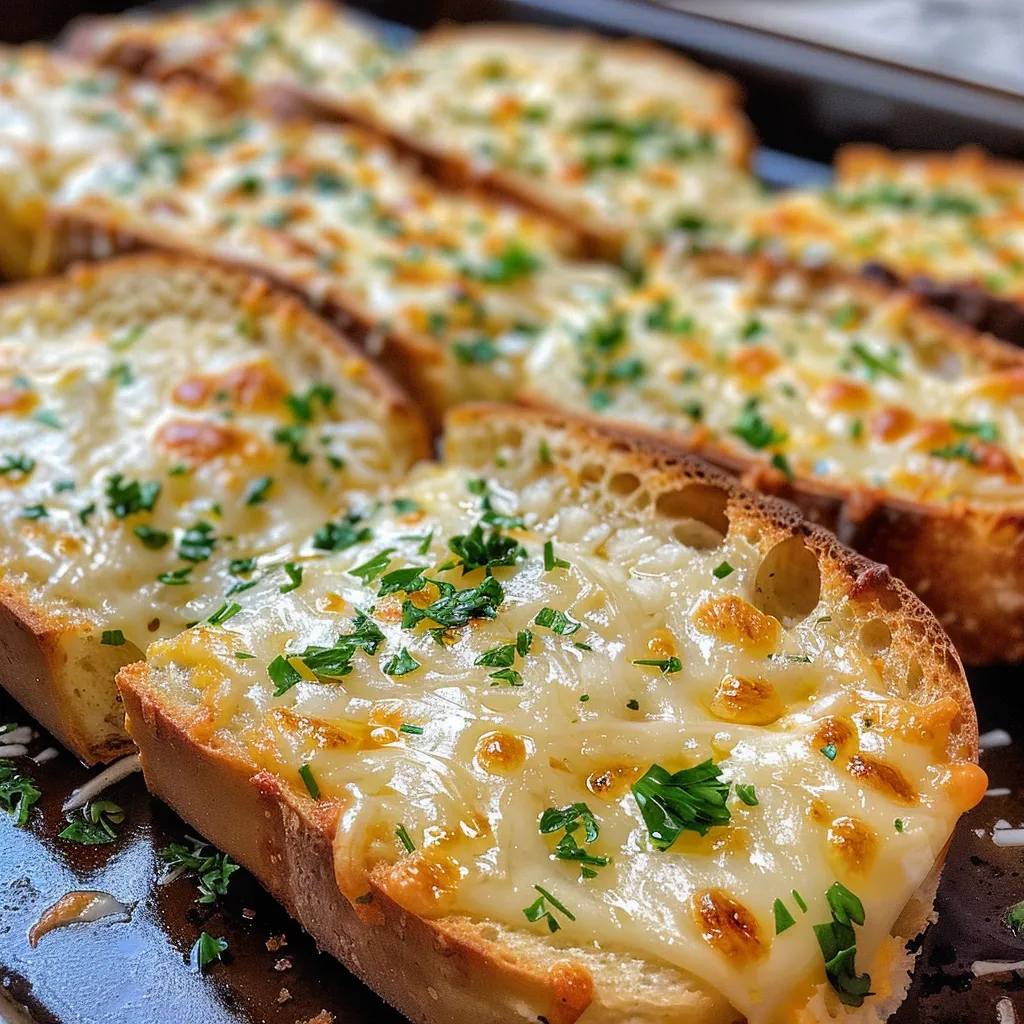
Toasted Cheesy Garlic Bread Slices
Ingredients
Bread
- 2 tablespoons finely chopped fresh parsley (plus extra for finishing)
- 2 cups shredded mozzarella cheese
- 3 cloves garlic, finely minced
- ½ teaspoon dried oregano (optional)
- 1 stick unsalted butter, brought to room temperature (½ cup)
- A pinch salt
- ½ cup grated Parmesan cheese
- 1 large loaf Italian or French bread, halved lengthwise
Instructions
- Preheat oven to 375°F (190°C). Line a baking tray with parchment or foil.
- Mix softened butter with minced garlic, chopped parsley, oregano (if using), and salt to make garlic butter.
- Spread garlic butter evenly on cut sides of bread halves.
- Top with shredded mozzarella and Parmesan cheeses.
- Bake for 12-15 minutes until cheese melts and bubbles, then broil for 1-2 minutes for a golden top. Slice and garnish with parsley.