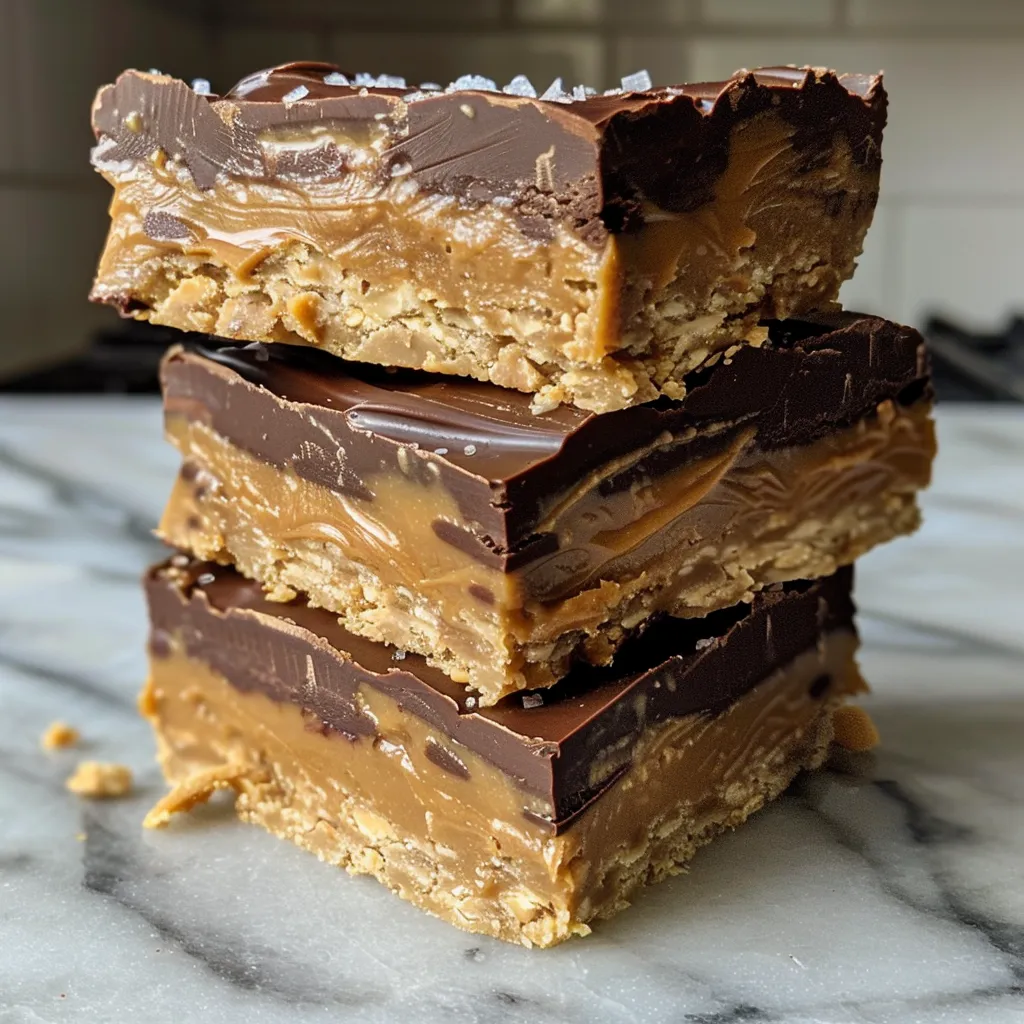
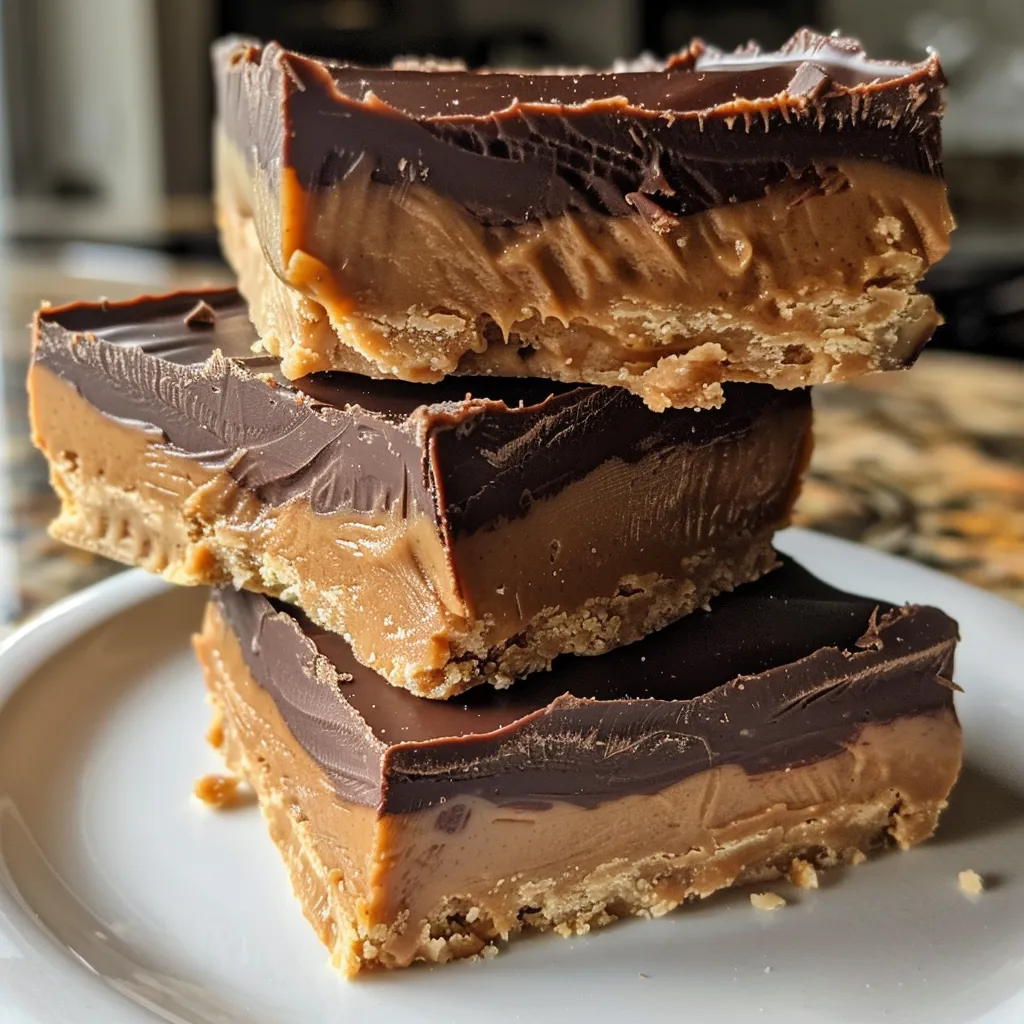
Why No-Bake Peanut Butter Cup Bars Will Become Your Go-To Treat
If you’re looking for a delightful and indulgent dessert that doesn’t require turning on the oven, you’ve come to the right place! These No-Bake Peanut Butter Cup Bars are rich, creamy, and incredibly satisfying. Here’s why this recipe is a must-try:
- Quick and Easy: With just a handful of ingredients, you can whip up these bars in no time—perfect for when you’re short on time but still want something delicious.
- Rich Flavor: The combination of creamy peanut butter and smooth chocolate creates a flavor explosion that will have your taste buds dancing.
- Customizable: Feel free to tweak the recipe to suit your preferences—add nuts, change the type of chocolate, or swap ingredients for a different flavor profile!
- Healthy Indulgence: With wholesome ingredients like almond flour and natural peanut butter, these bars are a guilt-free treat that satisfies your sweet tooth.
- Perfect for Sharing: Whether it’s a family gathering or a casual get-together with friends, these bars are sure to impress everyone!
Ingredient Breakdown: What You Need for Success
Let’s dive into the star ingredients that make this recipe shine, along with some handy substitutions!
- Creamy Salted Peanut Butter: Aim for drippy, natural peanut butter made with just peanuts and salt. If you prefer almond butter, feel free to swap it out!
- Almond Flour: This ingredient gives the bars a wonderfully crumbly texture. If you need a nut-free option, try using oat flour.
- Maple Syrup: A lovely natural sweetener that complements the peanut butter beautifully. Honey or agave syrup can be used as alternatives.
- Sea Salt: Optional but recommended if you’re using unsalted peanut butter. It enhances the flavors and balances the sweetness.
- Semi-Sweet Chocolate Chips: For the topping, use high-quality chocolate for the best results. Dark chocolate or dairy-free options work well too!
- Coconut Oil: This helps to create a smooth chocolate topping. If you don’t have any, you can omit it, but it does create a lovely texture.
Pro Tips for Perfect Peanut Butter Cup Bars
Follow these expert insights to ensure your bars turn out perfectly every time:
- Room Temperature Ingredients: Make sure your peanut butter and any other ingredients are at room temperature for easier mixing.
- Don’t Rush the Melting: When melting chocolate, do it slowly in 30-second intervals to avoid scorching. Stir well between intervals.
- Chill Time Matters: Letting the bars chill in the freezer for at least 20 minutes ensures they set properly and makes them easier to cut.
- Line Your Pan: Using parchment paper makes it super easy to lift the bars out of the pan once they’ve chilled.
- Adjust to Taste: Feel free to add more maple syrup or a pinch of sea salt according to your taste preferences.
- Use Quality Chocolate: The flavor of the chocolate will shine through, so choose a brand you love!
- Portion Control: These bars are rich, so consider cutting them into smaller pieces for easier snacking.
- Experiment with Toppings: Try adding crushed nuts, a sprinkle of cocoa powder, or even a swirl of additional peanut butter on top for added flair.
Avoiding Common Mistakes
Even the best of us can make a few blunders in the kitchen! Here’s how to avoid common mistakes:
- Overmixing the Base: Mix just until combined—overmixing can lead to a dense texture.
- Skipping the Freezer: If you skip the chill time, the bars won’t set properly and will be difficult to cut!
- Not Measuring Ingredients: Be precise with your measurements to ensure the right consistency and flavor.
- Using Cold Ingredients: Cold peanut butter can make mixing difficult. Always use it at room temperature.
- Burning the Chocolate: Keep a close eye on the melting chocolate—it can go from perfect to burnt in seconds!
Variations to Try: Make It Your Own!
Feeling adventurous? Here are some fun variations to explore:
- Nutty Crunch: Add chopped nuts like almonds or walnuts to the peanut butter base for an extra crunch!
- Mint Chocolate: Mix in peppermint extract into the melted chocolate for a refreshing twist.
- Spicy Kick: Add a dash of cayenne pepper to the peanut butter mixture for a surprising heat!
- Fruit Delight: Top with sliced strawberries or bananas before the chocolate sets for a fruity addition.
Storage and Make-Ahead Instructions
Want to prepare these bars ahead of time? No problem! Here’s how to store and make them in advance:
- Refrigerator Storage: Store your bars in an airtight container in the fridge for 1-2 weeks. They’ll stay fresh and delicious!
- Freezer Storage: For longer storage, freeze them for up to 1 month. Just wrap them tightly in plastic wrap and then place them in a freezer-safe container.
- Make Ahead: You can prepare the base and topping a day in advance—just assemble and chill before serving.
Comprehensive FAQ: All Your Questions Answered
Curious about something specific? Here are some common questions about this recipe:
- Can I use crunchy peanut butter? Yes, crunchy peanut butter will add a delightful texture to your bars!
- How do I make these bars vegan? Use vegan chocolate and maple syrup as a sweetener, and ensure your peanut butter is vegan-friendly.
- What if I’m allergic to nuts? Try using sunbutter or seed butter as a nut-free alternative!
- Can I make these bars gluten-free? Absolutely! Just make sure your almond flour is certified gluten-free.
- How do I cut the bars neatly? Use a sharp knife and wipe it clean between cuts for clean edges!
- Can I use different sweeteners? Yes, feel free to experiment with agave syrup, honey, or stevia as alternatives.
- What’s the best way to serve these? Serve chilled or at room temperature, and consider topping them with whipped cream or additional peanut butter!
- How do I know when they’re set? The chocolate should be firm to the touch, and the bars should hold their shape when removed from the pan.
Nutritional Tips and Dietary Adaptations
These No-Bake Peanut Butter Cup Bars can be adapted to fit various dietary needs:
- Low-Carb Option: Use sugar-free chocolate and erythritol or stevia instead of maple syrup for a low-carb treat.
- Keto-Friendly: Make with almond flour and a low-carb sweetener to keep it keto compliant.
- Protein Boost: Add a scoop of your favorite protein powder to the peanut butter mixture for an extra protein kick!
Essential Equipment for Success
Having the right tools can make all the difference. Here’s what you’ll need:
- Microwave-Safe Bowl: For melting chocolate and mixing the peanut butter base.
- Loaf Pan: A standard-size loaf pan works perfectly for shaping your bars.
- Parchment Paper: To line the pan for easy removal.
- Spatula or Spoon: For mixing and spreading the peanut butter mixture evenly.
Serving Suggestions: How to Enjoy Your Bars
These bars can be enjoyed in various ways. Here are some fun serving suggestions:
- As a Snack: Perfect for an afternoon pick-me-up or post-workout treat.
- With Coffee or Tea: Pair these bars with your favorite hot beverage for a cozy treat.
- For Meal Prep: Slice them into squares and pack them for a week’s worth of snacks!
Wrap-Up: Celebrate Your Kitchen Wins!
Now that you have the ultimate guide to making No-Bake Peanut Butter Cup Bars, it’s time to get cooking! Remember, cooking should be fun and enjoyable, so don’t forget to celebrate your kitchen wins—big or small. Whether you’re indulging solo or sharing with friends, these bars are sure to bring joy to your taste buds. Thank you for sharing this culinary adventure with me, and I’m so glad you’re here! Happy cooking!
No-Bake Peanut Butter Cup Bars
Ingredients
Base
- 0.5 cup creamy salted peanut butter (preferably just peanuts and salt)
- 0.125 cup almond flour
- 2 Tbsp maple syrup
- 0.25 tsp sea salt (optional, include for extra saltiness or if using unsalted peanut butter)
Chocolate Topping
- 0.5 cup semi-sweet chocolate chips or chunks
- 2 Tbsp creamy salted peanut butter
- 0.5 tsp coconut oil
Flaky sea salt
Instructions
- Line a loaf pan with parchment paper.
- Mix peanut butter, almond flour, maple syrup, and optional sea salt until well combined. Press into the prepared pan.
- Microwave chocolate chips in 30-second intervals, stirring until smooth. Mix in peanut butter and coconut oil.
- Pour chocolate over the peanut butter base and sprinkle with flaky sea salt. Freeze for 20 minutes until set.
- Lift the bars out of the pan using parchment and slice into 14 bars. Store in an airtight container in the refrigerator or freezer.